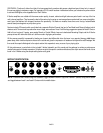
MASTER: (Continued) -rectly to a mixing board or recorder, this control will determine the amount of signal you will be sending via
this jack. In this application it is usually best to start with the MASTER controls set to ( 7:00 ) and gradually increase them to the
proper level. This minimizes the possibility of blowing speakers or eardrums in the event the engineer has an extremely sensitive
input headroom setting in place at the console.
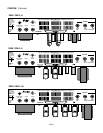
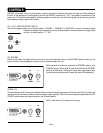
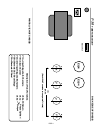
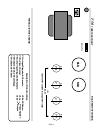
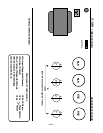
CH.1 / CH.2 / CONTOUR SELECT SWITCH:
Use this mini-toggle to select one of the three Modes - CHANNEL 1, CHANNEL 2 or CONTOUR. In order for the channel select
Footswitch to operate when connected to your new F-Series amplifier, the channel select mini-toggle switch
must be in its middle position - FT . SW.
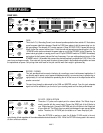
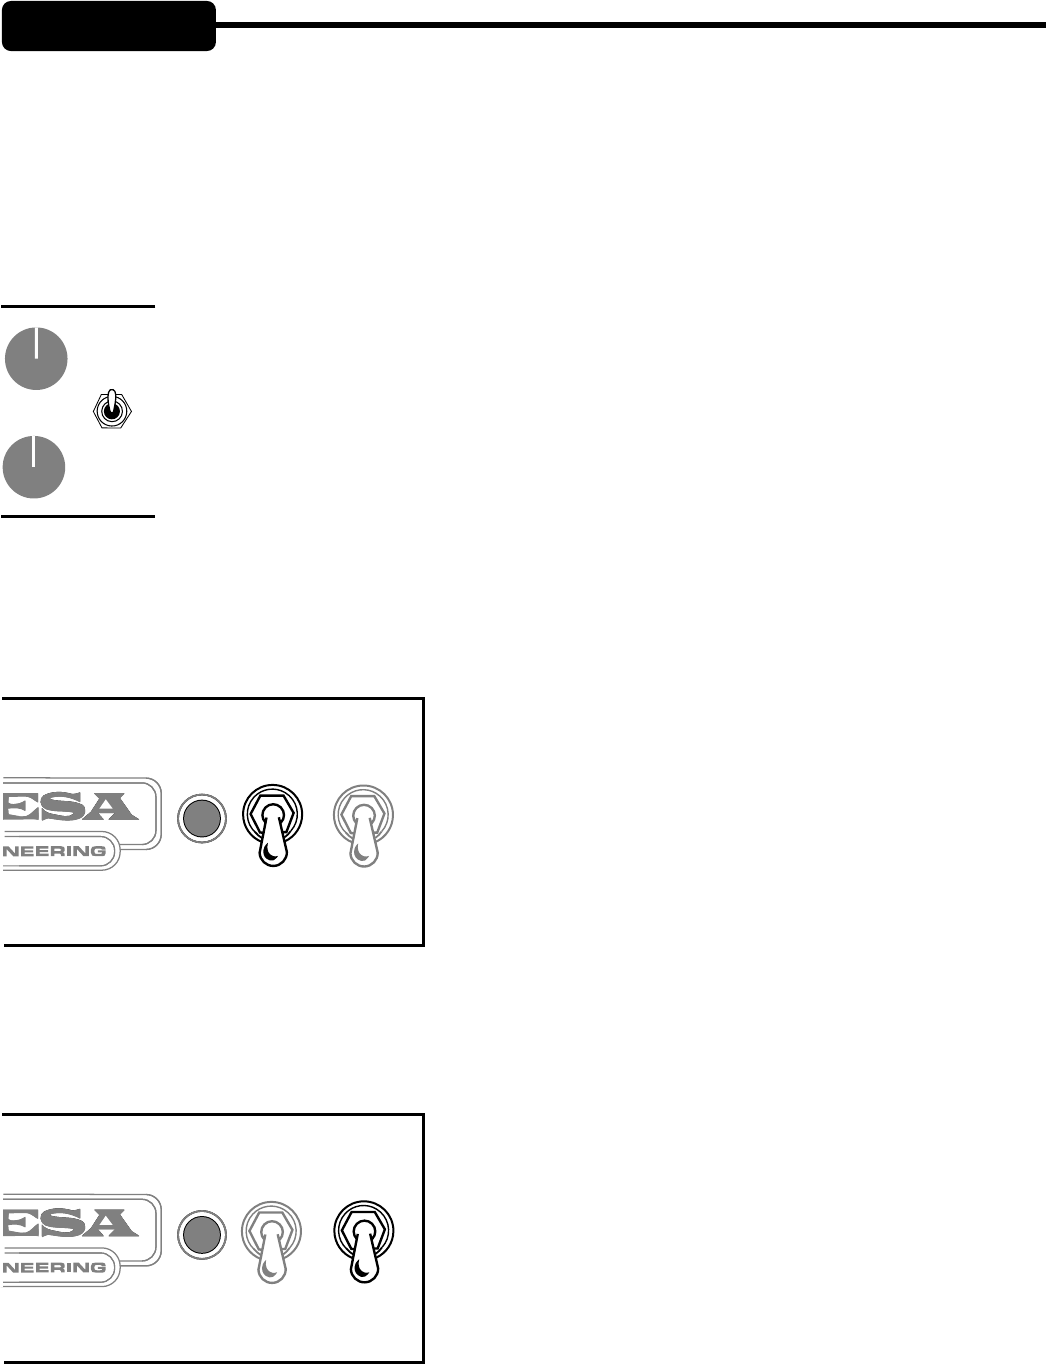
ON / STANDBY:
Perfect for set breaks...this toggle switch also serves an even more important purpose. In the STANDBY position (switch up), the
tubes are at idle so that during power up they may warm up before being put to use.
Before the power is switched on, make sure the STANDBY switch is in the
STANDBY position. Wait at least 30 seconds and then flip the STANDBY
switch to its ON position. Following this simple warm up procedure helps
in preventing tube problems and increase their toneful life substantially.
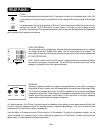
POWER / ON:
This switch delivers the A.C. power to the F-Series. Make sure the unit is properly grounded ( all three terminals of the A.C. power cord
must be connected whenever possible and that the proper voltage is present. Follow the cold start procedure described in the ON/
STANDBY section above when powering up your new F-Series amplifier.
NOTE: Never alter the A.C. power cord in any way.
PAGE 6
CONTROLS:
CH1
FT
SW
.
CH
2
CH
CONTOUR
MASTER
STANDBY
ON
POWER
ON
STANDBY
ON
POWER
ON


