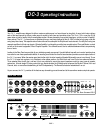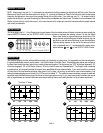
sounds in this channel. In the LEAD Channel, try setting the BASS Control somewhere between
3
and
6
. These settings will vary
with the amount of Gain and Treble you have dialed up.
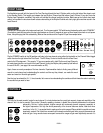
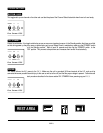
These two controls attenuate the upper high end harmonics and control dynamic compression in the power section. High settings
produce more sparkle and cut, lending a more open quality to the Channel. Low settings of the PRESENCE Control compress the
sound and enhance the more vocal qualities of single notes.
This control can also produce a fatter, warmer character, especially in the LEAD Channel. Lower Treble settings, combined with low
PRESENCE Control settings produce the richest, roundest lead
sounds. Try setting the RHYTHM Channels’ PRESENCE Control at
around
5
or
6
for the sweet blend of sparkle and cut. This range
in the RHYTHM Channel also tends to give the impression of more
headroom. Try a LEAD Channel PRESENCE Control setting of
3
to
start with and adjust to taste. Avoid setting the LEAD PRESENCE
Control to
10
when high Gain and Treble settings are in use. This
reduces the likelihood of annoying microphonic tube problems.
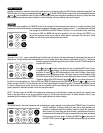
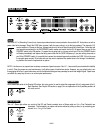
The DC-3 has an individual REVERB Control per channel. This enables different amounts of the rich ALL TUBE reverb to be mixed
with the dry signal of each channel. It is normal for extreme settings of the REVERB Control to slightly alter the character of the
channel as the voicing of the reverb circuit becomes more
dominant in the mix.
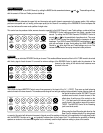
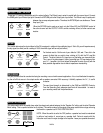
The individual channel MASTER Controls serve three purposes in the layout of the DC-3. FIRST: They serve as level balancing
controls for each of the two channels. This enables a wide range of front end gain settings to be matched to a given listening level and
the level of the other channel. SECOND: They act
as effects send controls, for each channel, in the
effects loop. As with many of the controls on the
DC-3, the best results for balance and tone are
usually found in the medium range of this control.
THIRD: The MASTER Control is the Recording
jacks’ send level control.
When using the direct Recording jack found on the
Rear Panel to interface directly to a mixing board
or recorder, this control will determine the amount of signal you will be sending via this jack. In this application it is usually best to start
with the MASTER Controls set to
0
and gradually increase them to the proper level. This minimizes the possibility of blowing
speakers or eardrums in the event the engineer has an extremely sensitive input headroom setting in place at the console.
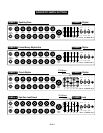
BASS:
(Continued)
PRESENCE:
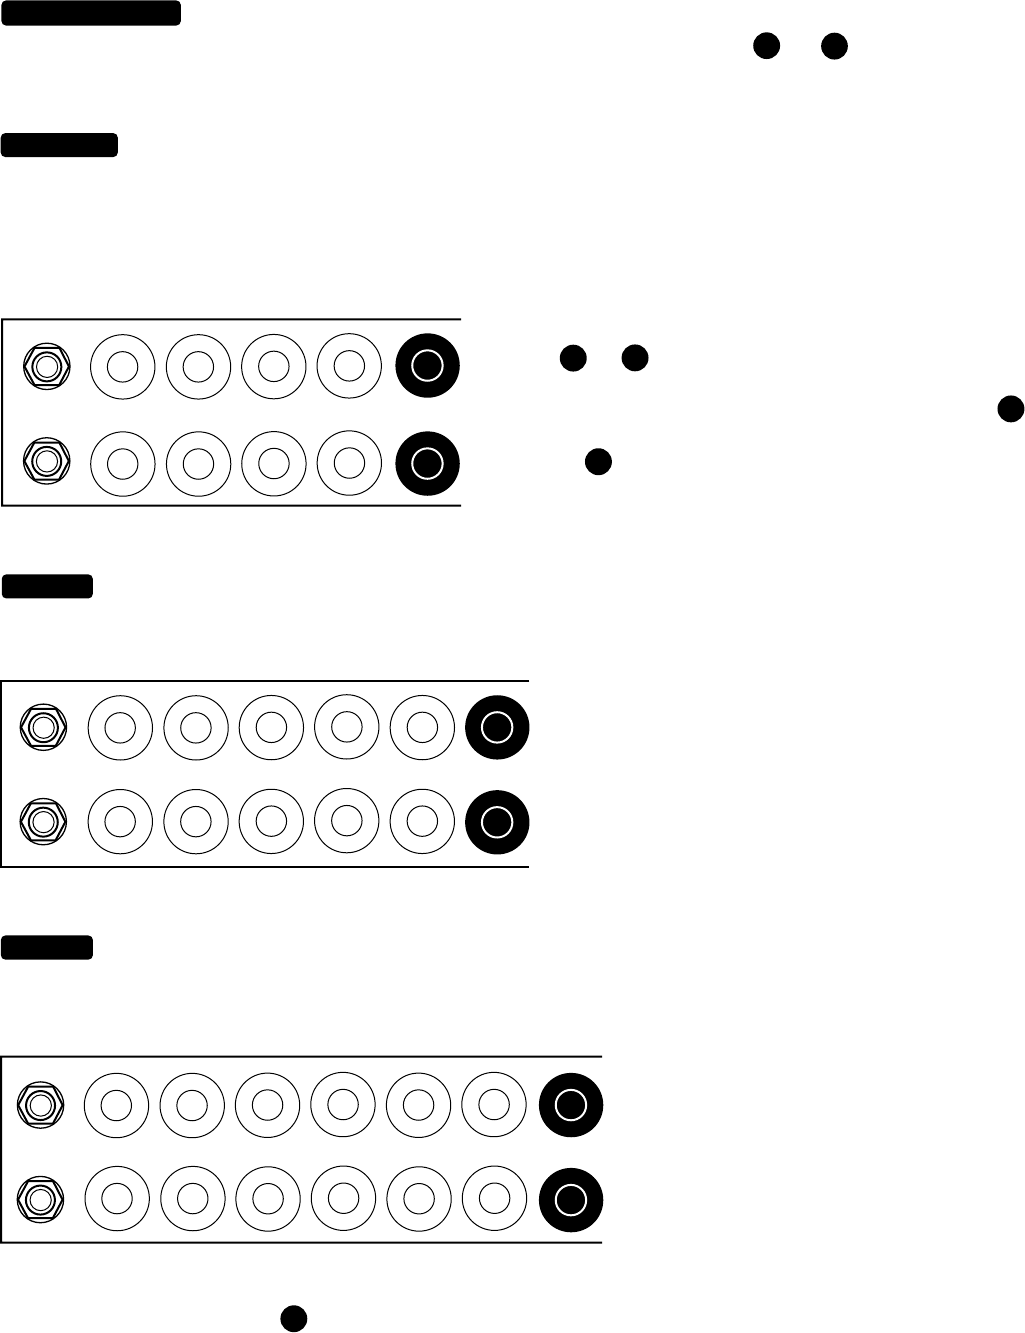
GAIN TREBLE MID BASS PRESENCE
INPUT
FOOT
SWITCH
3
2
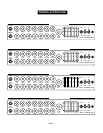
REVERB:
GAIN TREBLE MID BASS PRESENCE REVERB
INPUT
FOOT
SWITCH
3
3
MASTER:
PAGE 4
GAIN TREBLE MID BASS PRESENCE REVERB MASTER
INPUT
FOOT
SWITCH
4
4


