All material © 2007. Martin Audio Ltd. Subject to change without notice.
Note that all models are protected with a PTC (positive temperature coefficient) device and
will quieten, if overdriven. The PTC device will reset itself once the signal is reduced to a
more sensible level.
Installation
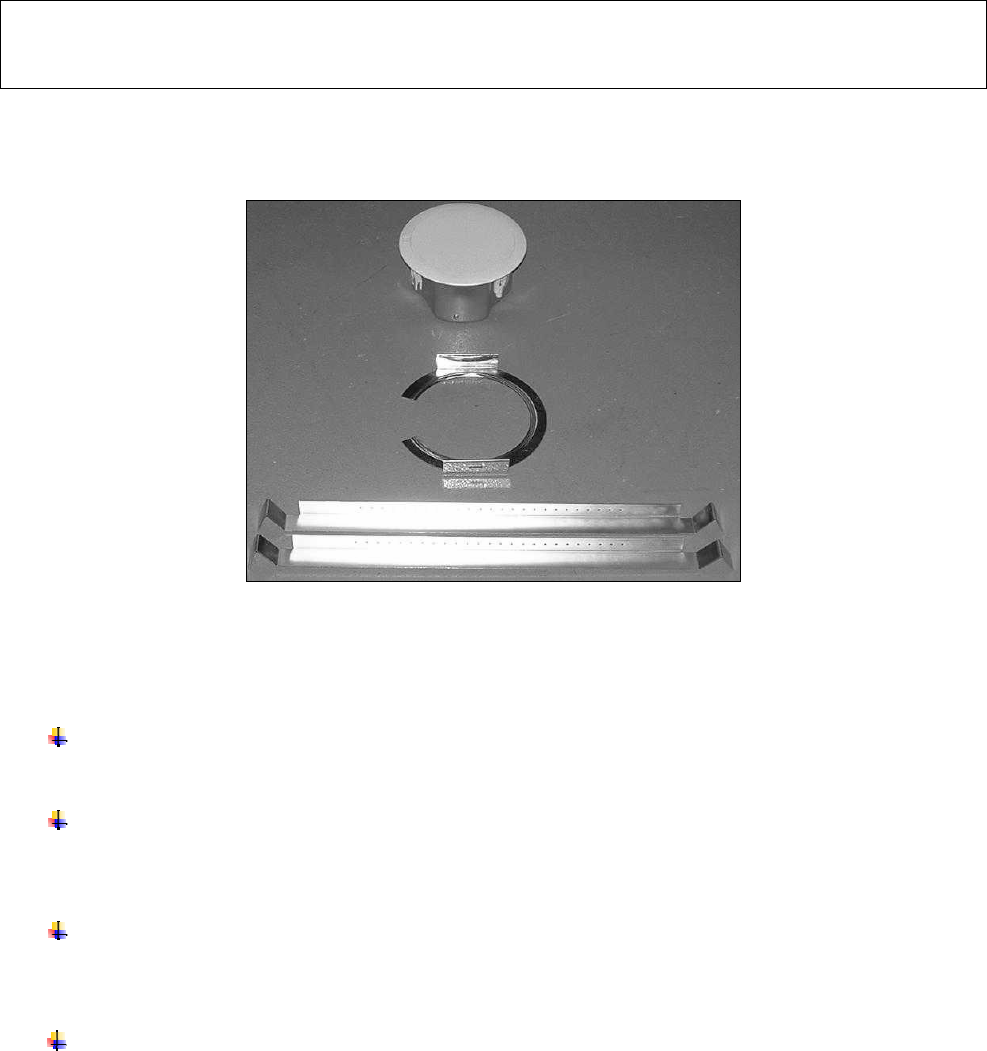
Ceiling loudspeaker with C-bracket
and tile rails (foreground)
Please note carefully
Martin Audio ceiling loudspeakers must be installed by experienced ceiling
loudspeaker installation personnel using the full installation kit provided
The installer must check with all relevant local, national and international electrical,
fire and building safety authorities to ensure that all regulations are being complied
with
Every ceiling loudspeaker must be fitted with a steel safety wire between its rear
can safety tag and a suitable overhead supporting structure to provide backup
support in the event of ceiling damage
When installed in an air handling space the steel cover plates must be sealed
to the loudspeaker back cans with firestop putty or a suitable alternative to ensure
plenum tight enclosure of the electrical connections
Step 1
Cut the ceiling hole as follows using the template provided:
C4.8T 178mm dia cut-out
C6.8T 224mm dia cut-out
C8.1T 308mm dia cut-out


