


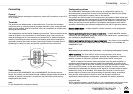
Link strip information
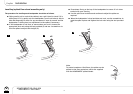
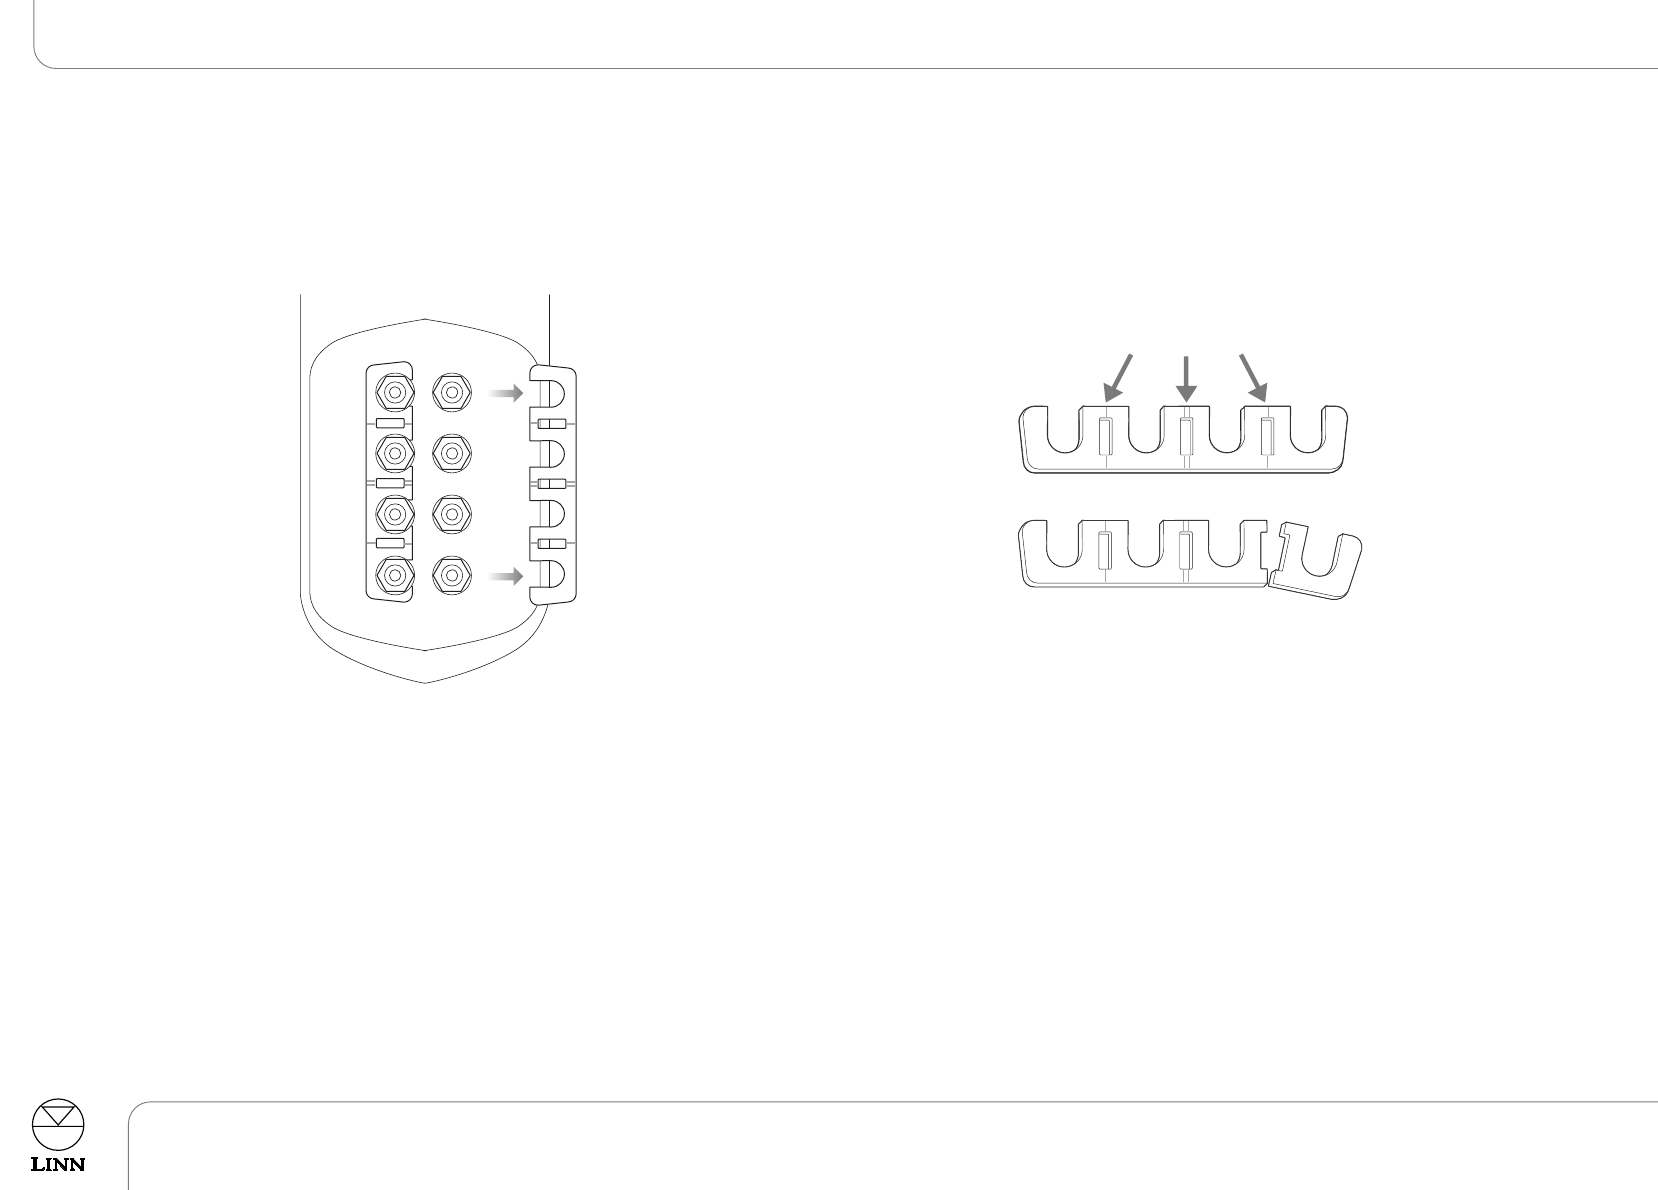
To remove / fit the link strips:
●
Loosen the outer section of each binding post on one row of terminals (do
not remove these posts completely).
●
Slide the link strip outwards to remove.
●
When refitting the strips, please ensure that they are fully and correctly
inserted.
●
Ensure that all the binding posts are tight (whether the strips are being
refitted or not).
●
Repeat the process for the second row.
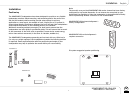
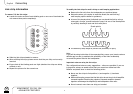
To modify the link strips for multi-wiring or multi-amping applications:
●
Remove the link strip from the loudspeaker, as explained above.
●
Determine where you require to make the break (see multi-wiring /
multi-amping options below for guidance).
●
At one of the break-points (indicated) you can break the link by using a
strong pair of snips, a small hacksaw or snap it at one of the break-points
by carefully bending it back and forth with pliers.
●
File down any sharp edges to prevent the possibility of injury.
Note:
If you will be using both sides of the separated link, ensure your break creates a
definite gap in order to eradicate the possibility of the links accidentally
re-connecting when fitted to the loudspeaker.
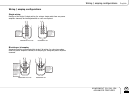
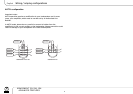
Important notes on using the link strips
The configurations below are only suggestions – others are possible. If you are
trying other setups, we would advise that you consult an Authorised Linn
Retailer and please bear in mind the following points:
●
Never use the strips to link positive (+) and negative (-) terminals
together.
●
When multi-amping, ensure that the link strips do not short-circuit amplifier
channels together. Shorting the outputs of separate amplifier channels
together can damage the amplifier(s) and loudspeaker drive units.
●
Do not connect more than one strip per terminal.
4
KOMPONENT 110, 106, 104
ADVANCED FEATURES
Connecting
English
Break points