


ESD Ceiling Speaker - Installing the ESD Ceiling Speaker 9
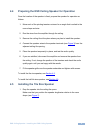
4.4 Preparing the ESD Ceiling Speaker for Operation
Once the location of the speaker is fixed, prepare the speaker for operation as
follows:
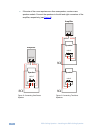
1. Move each of the pivoting tweeters outward in an angle that is suited to the
room shape and size.
2. Run the wires from the amplifier through the ceiling.
3. Remove the ceiling tile at the place where you plan to install the speaker.
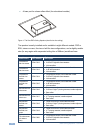
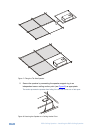
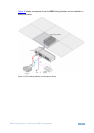
4. Connect the speaker wires to the speaker terminals (see
Figure 3) from the
adjacent ceiling tile opening.
5. Place the speaker temporarily in place, and test the audio quality.
6. If you are satisfied, disconnect the amplifier and remove the speaker from
the ceiling. If not, change the position of the tweeters and check the audio
quality again until you are happy with the results.
7. Fit the speaker grille over the speaker underside and tighten with screws.
To install the tile size speaker, see
Section 4.5
To install the half-tile size speaker, see
.
Section 4.6
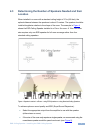
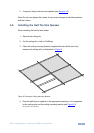
4.5 Installing the Tile Size Speaker
.
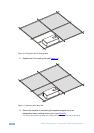
1. Drop the speaker into the ceiling tile space.
Make sure that you position the speaker lengthwise relative to the room
shape (see
Figure 7).