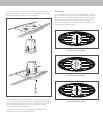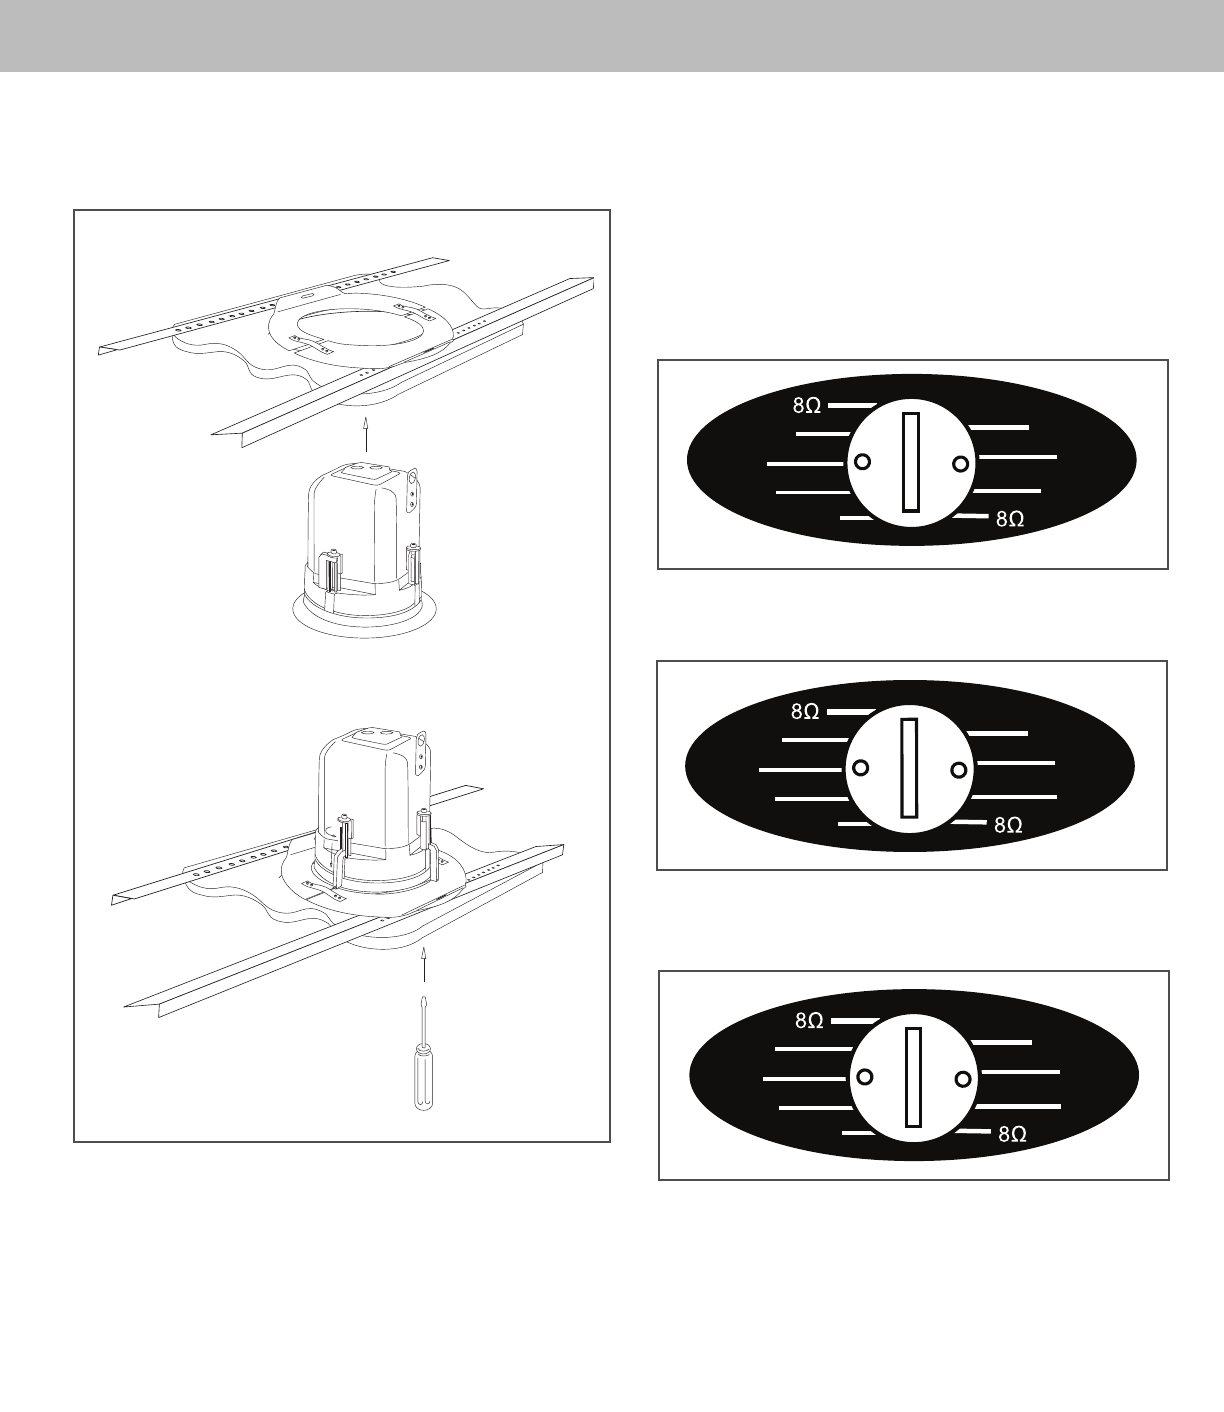
5. Insert the speaker into the cutout hole. With a #2 Phillips screw-
driver, tighten the four dog clamps until they are seated securely
against the ceiling surface. Do not overtighten.
6. For installations using 70v/100v input connection, set the switch
on the front panel to the desired setting. For applications where 8
Ohm impedance is desired, the switch should be set to 8 Ohms.
Note: The speaker comes from the factory set at the lowest
output setting (highest impedance).
7. Using the flat of your hand, insert grille into speaker frame
making sure it is securely seated and flush.
Seismic Tab
A seismic tab, located on the back of the speaker, is used
as a secondary security point. Some construction codes may
r
equire its use. To utilize the seismic tab, run a support wire
from a secure point in the ceiling and attach it to the tab.
Be sure to consult the construction codes in your area.
Klipsch recommends the use of this tab in all installations as
a secondary means of support.
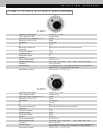
15W
7.5W
15W
1.875W
3.75W
3.75W
7.5W
70V
100V
IC-400-T tap selectable
30W
7.5W
15W
30W
3.75W
7.5W
15W
70V
100V
IC-525-T tap selectable
60W
60W
15W
30W
7.5W
15W
30W
70V
100V
IC-650-T tap selectable


