


20
Operations
Preparing for surround sound
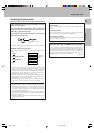
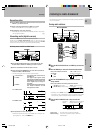
Input level adjustment (analog sources only)
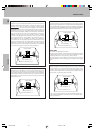
If the input level of an analog source signal is too high, the CLIP
indicator will blink to indicate the source signal. Adjust the input level.
1 Use the INPUT SELECTOR knob to select the source of
which the input level you want to adjust.
• You can store a separate input level for each input source. If the
MONITOR function is ON, you can store an input level for when
MONITOR is on independently of the input levels for the input
sources.
2 Press the SOUND key repeatedly until the “INPUT” indication
appears.
3
Use the MULTI CONTROL knob or keys to adjust the input level.
• The adjustment mode is displayed for approximately eight
seconds.
• The input level may be adjusted to any one of three settings: 0dB,
-3dB, and -6dB. (The initial setting is 0dB.)
4 Press the SOUND key again to return to the input indication.
Preparing for playback
Normal playback
Some preparatory steps are needed before starting playback.
Turning on the receiver
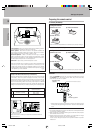
1 Turn on the power to the related components.
2 Turn on the power to this receiver by pressing POWER and
ON/STANDBY keys.
Selecting MD/TAPE
Select the source name corresponding to the component connected
to the MD/TAPE jacks. The initial factory setting is “TAPE”. To change
the source to “MD,” follow the steps below:
1 Use the INPUT SELECTOR knob to select “TAPE”.
2 Hold down the AUTO/CINEMA EQ. key for more than 2
seconds.
• The source indication changes to “MD”.
• To return to the original indication, repeat procedure 2.
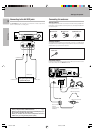
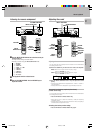
A ON : Sound from the speakers connected to the SPEAKERS A
terminals on the rear panel.
B ON : Sound from the speakers connected to the SPEAKERS B
terminals on the rear panel. No sound will be heard from
the subwoofer.
A+B ON : Sound from both the speakers connected to the
SPEAKERS A and B terminals on the rear panel.
A+B OFF : No sound from the speakers. Use this setting when
listening with headphones for stereo sound in all playback
modes.
5 Setup is complete when the input indication reappears.
Display when all speakers have been selected.
•The speakers you have selected should appear on the display.
Confirm that all the speakers have been correctly selected.
4
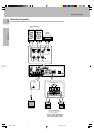
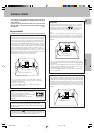
The speaker indicator to be adjusted blinks.
Indication in feet Indication in meters
1 Measure the distance from the listening position to each of
the speakers.
Jot down the distance to each of the speakers.
Distance to front speakers: ____ feet (meters)
Distance to center speaker: ____ feet (meters)
Distance to surround speakers: ____ feet (meters)
2 Use the MULTI CONTROL knob or keys to select the dis-
tance to the front speakers.
• The allowable setting range is 1 to 30 feet (0.3 to 9.0 m), adjustable
in 1 foot (0.3 m) increments.
3 Press the SET UP key to accept the settings.
4 Repeat steps 2 and 3 to input the distance for each of the
speakers.
Input the distance to the speakers.
LFE
C
S
RSLS
TI.VOLB
CLIP MUTE
RDS EON PTY
TP TA NEWS
L
SP A
R
SW
SW
STEREO
FM
AM
MHz
kHz
PRO LOGIC
3
DOWN MIX
DIGITAL
S.DIRECT
MONITOR
DSP
MEMO
ST.
TUNED
AUTO SOUND
AUTO
LFE
C
S
RSLS
TI.VOLB
CLIP MUTE
RDS EON PTY
TP TA NEWS
L
SP A
R
STEREO
STEREO
FM
AM
MHz
kHz
PRO LOGIC
3
DOWN MIX
DIGITAL
S.DIRECT
MONITOR
DSP
MEMO
ST.
TUNED
AUTO SOUND
AUTO
LFE
C
S
RSLS
TI.VOLB
CLIP MUTE
RDS EON PTY
TP TA NEWS
L
SP A
R
STEREO
SW
LFE
C
S
RSLS
TI.VOL
CLIP MUTE
RDS EON PTY
TP TA NEWS
L
SP A
R
SW
B
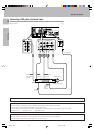
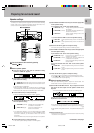
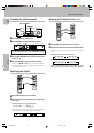
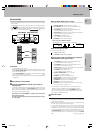
Selecting the speaker system
Press the SPEAKERS A or B key to select the speaker system
to be used.
The indicator for the speakers
you want to use should be lit.
• Selecting “6ch INPT” by pressing the INPUT MODE key, whereby “DVD/
6ch” is the input source will cause SPEAKER A to be selected automati-
cally.
AUTO/CINEMA EQ.
INPUT MODE
POWER
(KRF-V7050D)
ON/STANDBY
INPUT SELECTOR
SPEAKERS A/B
RDS
TP
CLIP
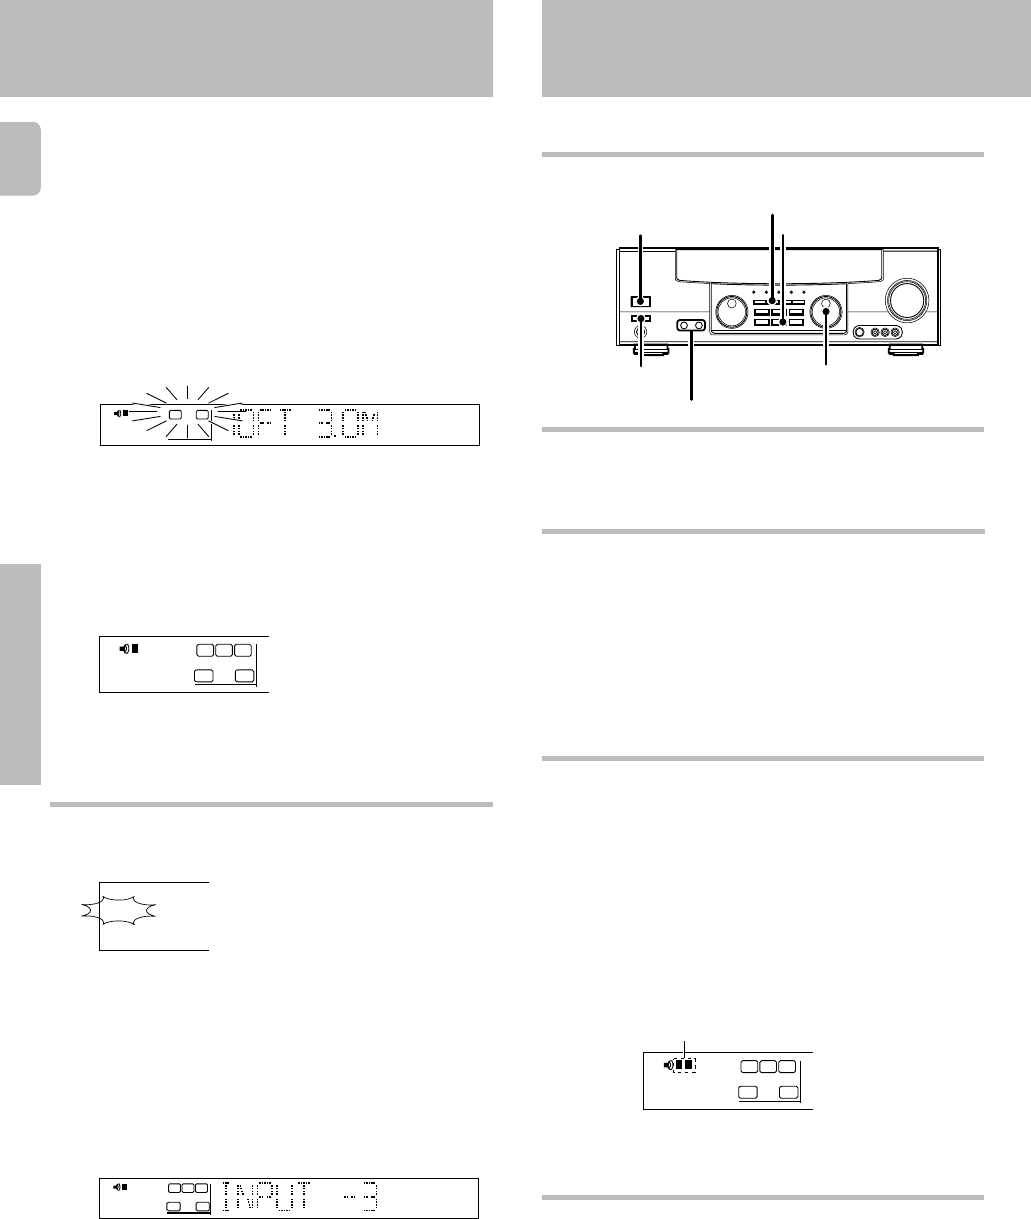
Selecting the input mode
If you have selected a component connected to the CD/DVD, VIDEO2,
VIDEO3 or DVD/6ch jacks, make sure that the input mode setting is
correct for the type of audio signal to be used. 9
*5027/20-22/EN 3/15/01, 3:10 PM20