


English
|
7
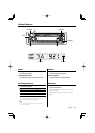
Speaker Setting
Fine-tuning so that the System Q value is optimal
when setting the speaker type.
1 Enter Standby
Press the [SRC] button.
Select the "STBY" display.
2 Enter Speaker Setting mode
Press the [VOL] knob.
3 Select the Speaker type
Turn the [VOL] knob.
Each time you turn the knob, the setting alternates
between the settings shown in the table below.
Speaker type Display
OFF "SP-F"
For 5 & 4 in. speaker "SP-5"
For 6 & 6x9 in. speaker "SP-6"
For the OEM speaker "SP-O"
4 Exit Speaker Setting mode
Press the [VOL] knob.
Clock Display
Press the Control knob for at least 1 second.
Each time you press the button, the clock display
turns ON and OFF.
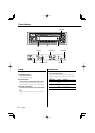
Function of KDC-135
Subwoofer Output
Turning the Subwoofer output ON or OFF.
Push the Control knob toward [AM] for at least
2 seconds.
Each time you push the knob, Subwoofer output
switches ON and OFF.
When it is ON, "On SUB" is displayed.
Theft Deterrent Faceplate
The faceplate of the unit can be detached and taken
with you, helping to deter theft.
TEL Mute
The audio system automatically mutes when a call
comes in.
When a call comes in
"CALL" is displayed.
The audio system pauses.
Listening to the audio during a call
Press the [SRC] button.
The "CALL" display disappears and the audio system
comes back ON.
When the call ends
Hang up the phone.
The "CALL" display disappears and the audio system
comes back ON.
⁄
• To use the TEL Mute feature, you need to hook up
the MUTE wire to your telephone using a commercial
telephone accessory. Refer to <Connecting Wires to
Terminals> (page 15).
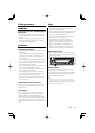
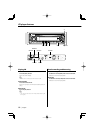
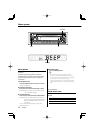
Removing the Faceplate
Press the Release button.
The faceplate unlocks, allowing you to detach it.
¤
• The faceplate is a precision piece of equipment and can
be damaged by shocks or jolts.
• Keep the faceplate in its faceplate case while detached.
(Faceplate case: Accessory of KDC-135CR)
• Do not expose the faceplate (and the faceplate case) to
direct sunlight or excessive heat or humidity. Also avoid
places with too much dust or the possibility of water
splashing.
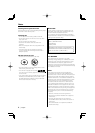
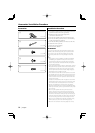
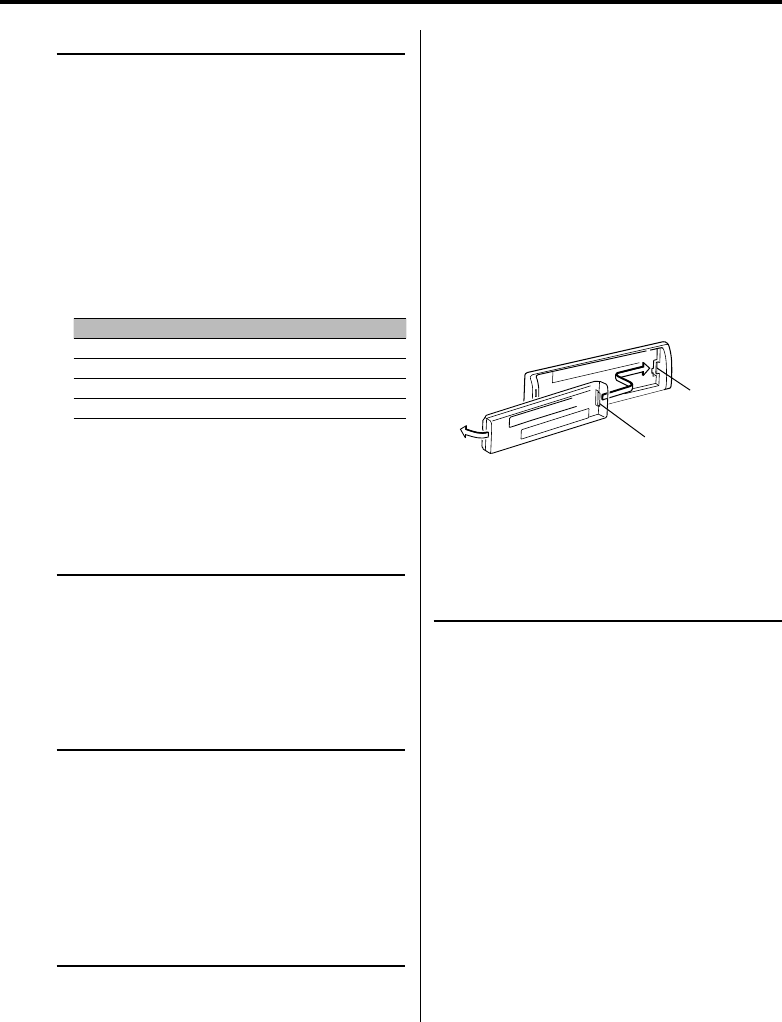
Reattaching the Faceplate
1 Align the projections on the unit with the
grooves on the faceplate.
Projections
Grooves
2 Push the faceplate in until it clicks.
The faceplate is locked in place, allowing you to use
the unit.