


Operation Reference Introduction
10
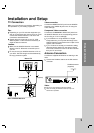
Installation and Setup
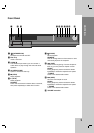
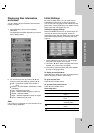
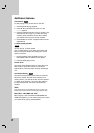
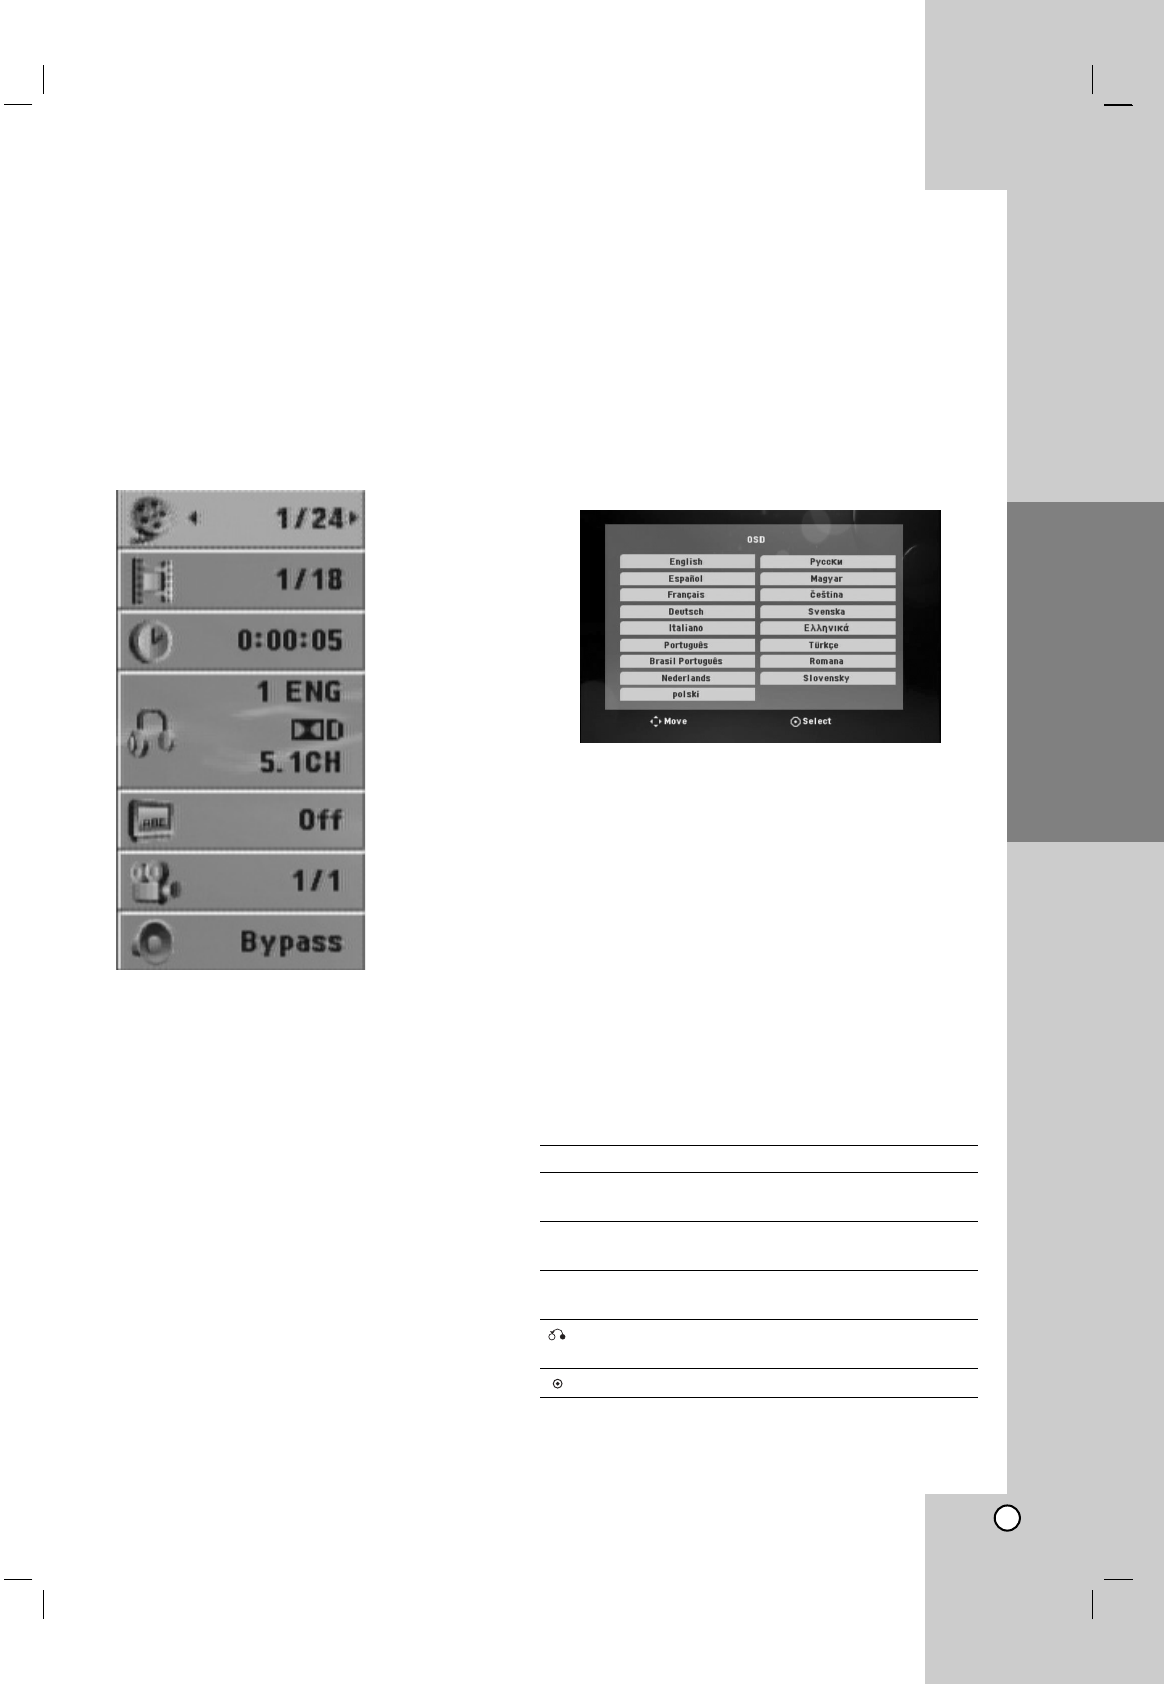
Displaying Disc Information
on-screen
You can display various information about the disc
loaded on-screen.
1. Press DISPLAY to show various playback
information.
The displayed items differ depending on the disc
type or playing status.
2. You can select an item by pressing v / V and
change or select the setting by pressing b / B.
Title – Current title number/ total number of
titles.
Chapter – Current chapter number/total number
of chapters.
Time – Elapsed playing time.
Audio – Selected audio language or channel.
Subtitle – Selected subtitle.
Angle – Selected angle/total number of angles.
Sound – Selected sound mode.
Note:
If any button is not pressed for a few seconds, the on-
screen display disappears.
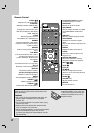
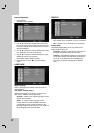
Initial Settings
By using the Setup menu, you can make various
adjustments to items such as picture and sound.
You can also set a language for the subtitles and the
Setup menu, among other things. For details on each
Setup menu item, see pages 10 to 13.
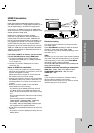
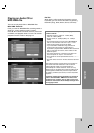
OSD Initial language settings:
When the POWER is turned on for the first time, the
unit need to set the menu language. Follow the
descriptions below after the display connections. After
OSD Initial language setting, to set Area code (see
page 13)
1. Press POWER to turn the unit on. The language
setup menu will appear on the screen.
2. Use b / B / v / V to select a language then press
ENTER. The confirm menu will appear.
3. Use b / B to select the [Enter] then press ENTER
to finish the language setup.
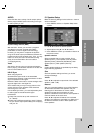
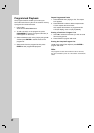
To display and exit the Menu:
Press SETUP to display the menu. A second press of
SETUP will take you back to initial screen.
To go to the next level:
Press B on the remote control.
To go back to the previous level:
Press b on the remote control.
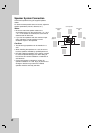
About help menu
Menu Buttons Operation
v / V Move v / V Moving to another
menu
b Prev. b Moving to previous
level
B Select B Moving to next level or
selecting menu
RETURN 5.1 Speaker Setup
menu
ENTER To confirm menu