25
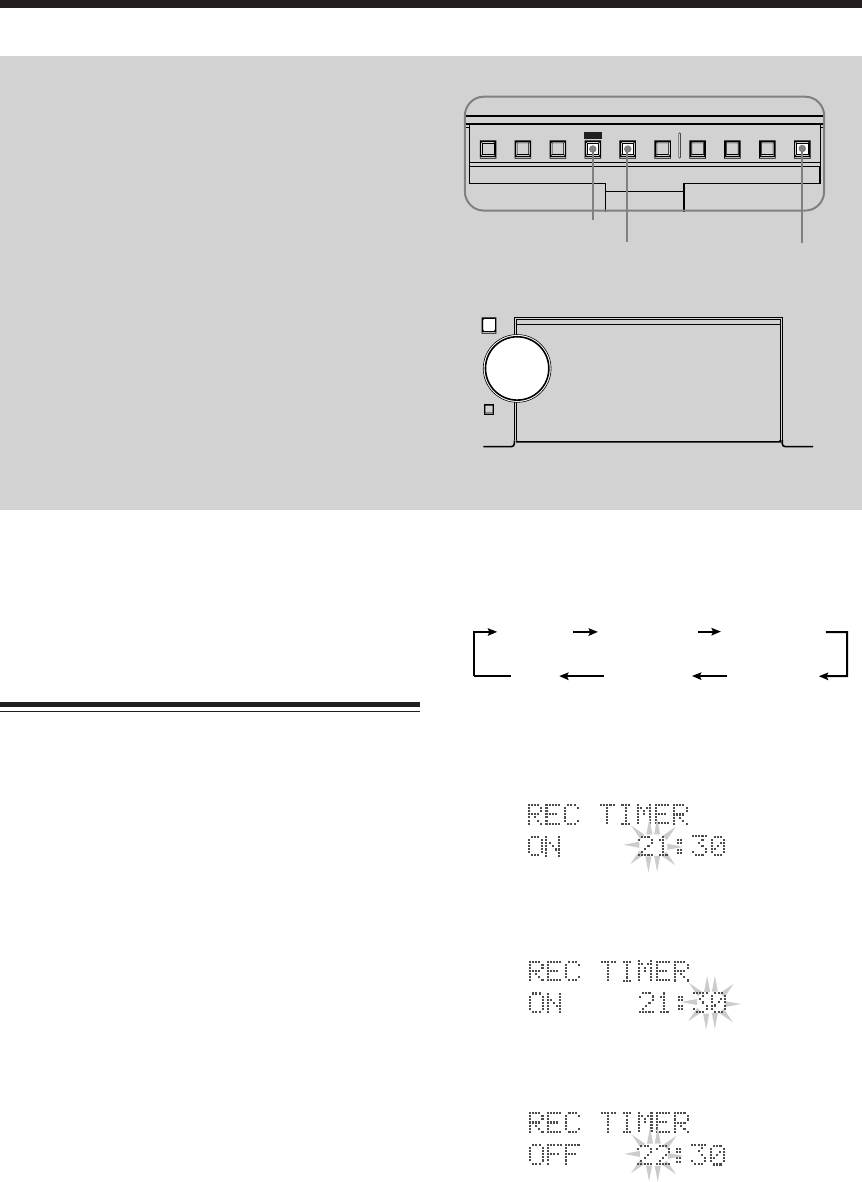
• Each time you press the button, the timer mode
changes as follows:
2
Rotate MULTI JOG dial (
<
/
>
button on the remote
control also available) to select the hour of the timer-
on time, then press SET button.
3
Rotate MULTI JOG dial (
<
/
>
button on the remote
control also available) to select the minute of the
timer-on time, then press SET button.
4
Rotate MULTI JOG dial (
<
/
>
button on the
remote control also available) to select the hour of
the timer-off time, then press SET button.
On UX-G66 system, three timer features are available —
Recording Timer, Daily Timer, and Sleep Timer.
Before using these timers, you need to set the clock built in
the system (see page 10).
Using Recording Timer
With Recording Timer, you can make a tape of a radio
broadcast automatically.
• You can set Recording Timer whether the system is turned
on or off.
• To correct a mis-entry any time during the setting process,
press CANCEL button.
How Recording Timer actually works
The system automatically turns on, tunes into the specified
station, turns off the volume, and starts recording when the
timer-on time comes.
Then, when the timer-off time comes, the system
automatically turns off (standby).
The timer settings remain stored in memory until you reset
them or unplug the AC power cord.
1
Press CLOCK/TIMER button repeatedly until
“REC TIMER” and its timer-on time appear in the
display window.
You can select the timer-on/off time, a tuner preset
channel to record, and recording media.
• If MD recorder XM-G6 (not supplied) connected, you
can select MD as recording media (see page 7).
Using the Timers
DAILY TIMER
REC TIMER
Clock
(canceled)
DAILY TIMER
ON 0:00
REC TIMER
ON 0:00
DISPLAY
/CHARA.
PLAY
MODE
REC
MODE
TITLE
/EDIT
CLOCK
/TIMERCANCEL ENTER
SET
SET
CANCEL
CLOCK/TIMER
Buttons behind the sliding panel
4 ¢


