


11
Preparation
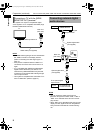
To view an image on the TV screen, select the
video signal type correctly according to the TV
after connecting the main unit to the TV.
■ IMPORTANT
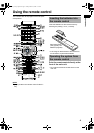
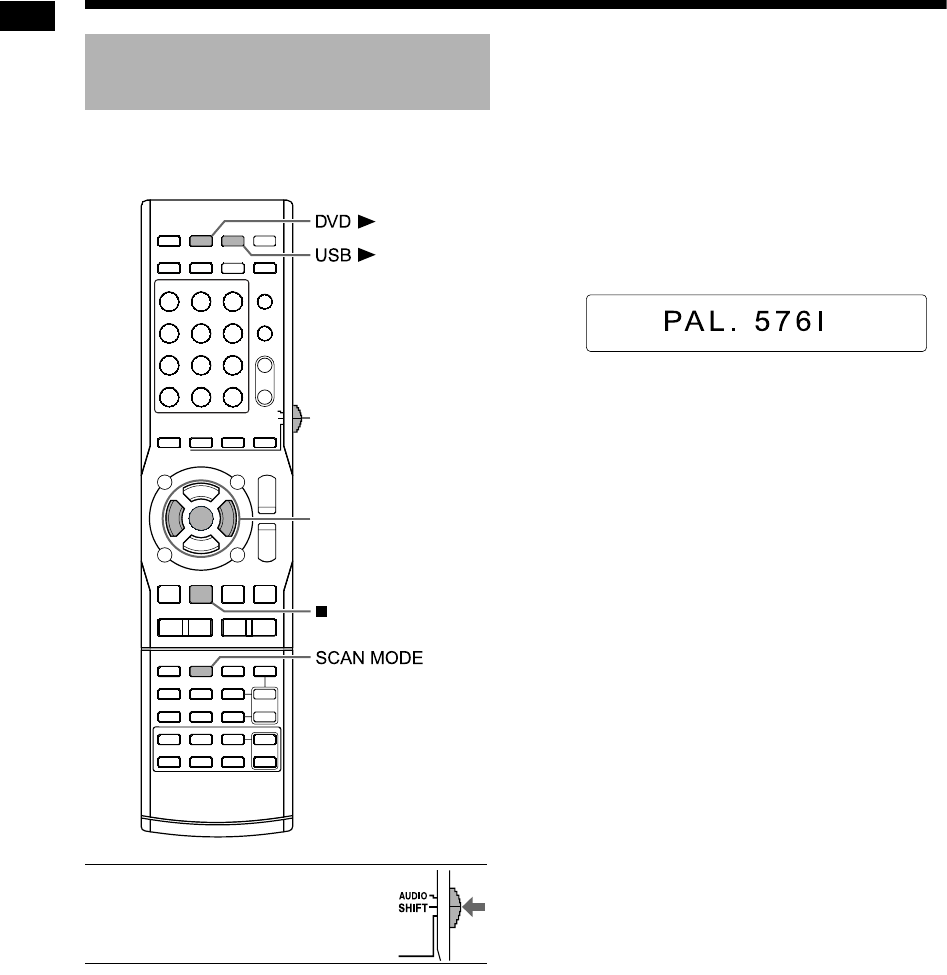
• Slide the remote control mode
selector to [SHIFT].
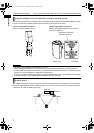
1 Turn on the main unit.
• Refer to “Turning on/off the main unit” on
page 13.
2 Press [DVD 3] or [USB 3].
• When a disc is loaded or a USB device is
connected, press
7 to stop playback.
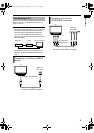
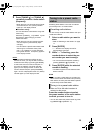
3 Press [SCAN MODE].
• The current video signal type appears.
Example: When “PAL. 576I” is selected as
the video signal
4 Press 2 or 3 (cursor) to select the
video signal type suitable for the
TV.
• When the TV is connected to the [VIDEO]
terminal or the [COMPONENT] terminals,
the video signal type can be selected as
instructed below.
- Select “PAL. 576I” for a TV only compatible
with a PAL interlaced video signal.
- Select “PAL. 576P” for a TV equipped with
a component terminal and compatible with
a PAL progressive video signal.
- Select “NT. 480I” for a TV only compatible
with an NTSC interlaced video signal.
- Select “NT. 480P” for a TV equipped with a
component terminal and compatible with
an NTSC progressive video signal.
• When the TV is connected to the [HDMI MON-
ITOR OUT] terminal, the video signal type can
be selected as instructed below.
- Select “AUTO” for normal usage. (the ini-
tial setting)
- Select “PAL. 576P”, “PAL. 720P”,
“PAL.1080I”, “PAL.1080P”, “NT. 480P”,
“NT. 720P”, “NT.1080I” or “NT.1080P” as
needed. (The selectable settings differ
according to the resolution of the con-
nected TV.)
• You can also select the video signal type by
repeatedly pressing [SCAN MODE].
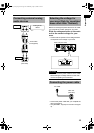
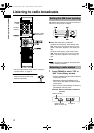
Selecting the video signal
type
Remote control
mode selector
2/3 (cursor)/
ENTER
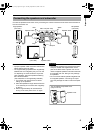
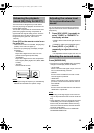
Preparation (continued) Do not connect the power cable until all other connections have been made.
NX-F3_NX-F7[US].book Page 11 Tuesday, March 4, 2008 2:43 PM