


24
6
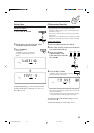
Select the preset station
number.
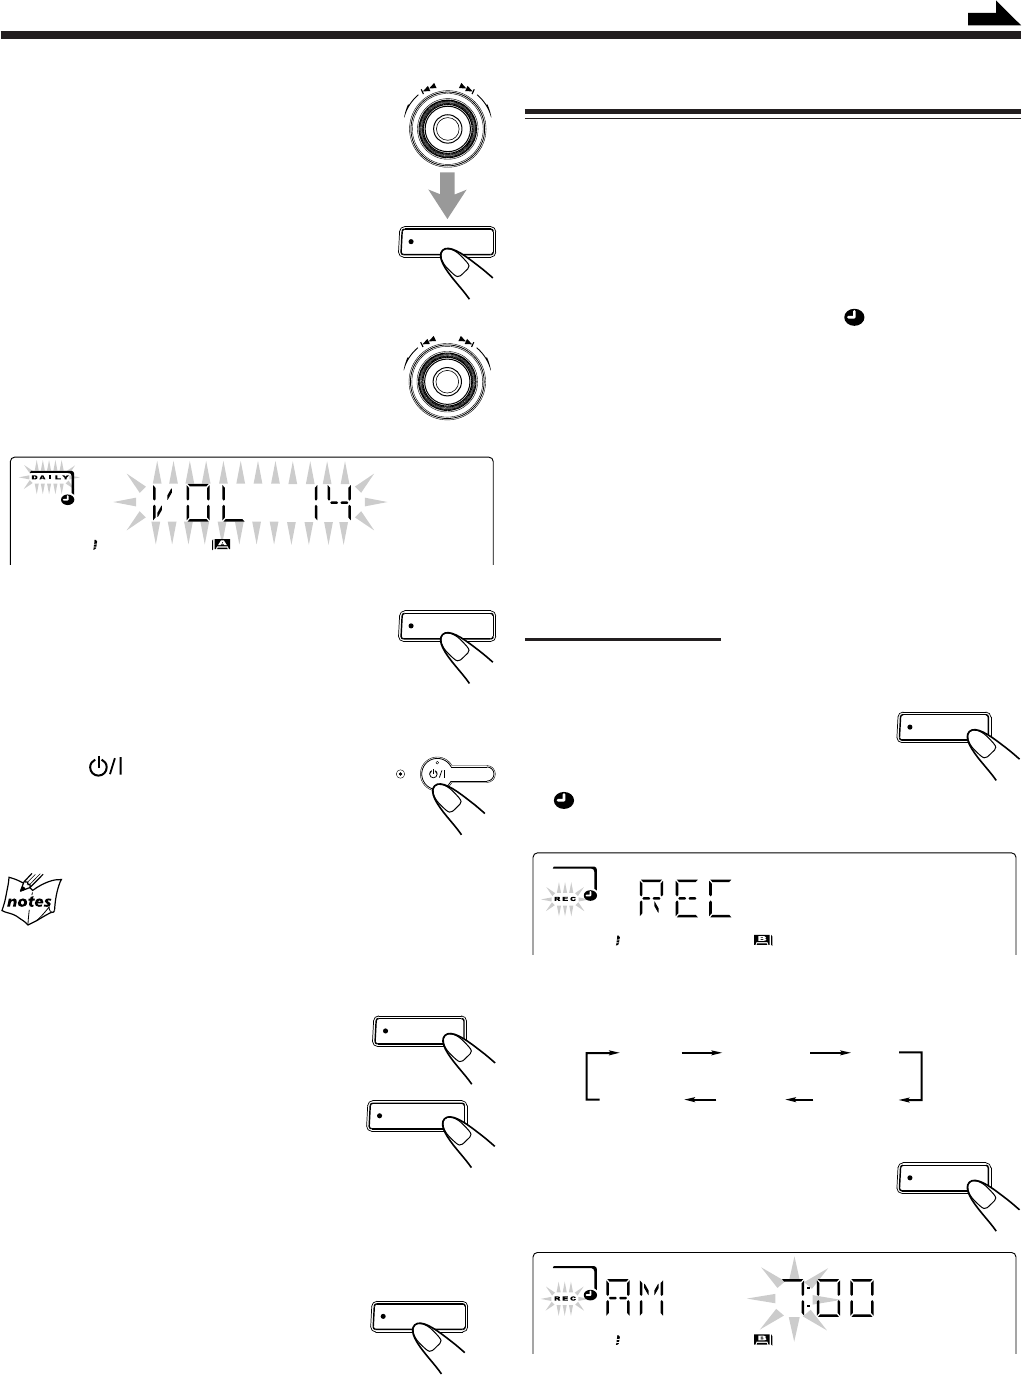
Turn the 4/¢ control to select the
preset station number, then press SET.
The unit enters volume setting mode.
7
Turn the 4/¢ control to set
the volume level.
• You can select the volume level from VOL
MIN, VOL 1 — VOL 30, and VOL MAX.
8
Press SET to complete the Daily
Timer setting.
The DAILY (daily timer) indicator stops
flashing and remains lit. The settings you have done are
shown on the display in sequence for your confirmation.
9
Press STANDBY/ON to turn
off the unit (on standby) if you
have set the Daily Timer with the
unit turned on.
If the unit is turned on when the timer-on time comes
Daily Timer does not work.
To turn on or off Daily Timer after its setting is done
1
Press CLOCK/TIMER repeatedly
until “DAILY” appears on the display.
2
To turn off the Daily Timer, press
CANCEL/DEMO.
The DAILY (daily timer) indicator goes
off from the display (“OFF” appears for
a while).
The Daily Timer is canceled, but the
setting for the Daily Timer remains in
memory until you change it.
To turn on the Daily Timer, press SET.
The DAILY (daily timer) indicator lights
up on the display. The settings you have
done are shown on the display in
sequence for your confirmation.
Using Recording Timer
With Recording Timer, you can make a tape of a radio
broadcast automatically. You can set the timer whether the
unit is on or off.
How Recording Timer actually works
The unit automatically turns on, tunes in to the specified
station, sets the volume level to “VOL MIN,” and starts
recording when the on-time comes (the indicator flashes
while the timer is operating). Then, when the off-time comes,
the unit automatically turns off (stands by).
Recording Timer works only once, but the timer setting
remains in memory until you change it.
• There is a time limit in doing the following steps. If the
setting is canceled before you finish, start from step
2
again.
• If you have made a mistake while setting the timer, press
CANCEL/DEMO. (However, this does not always work. If
CANCEL/DEMO does not work, press CLOCK/TIMER
repeatedly and start from step
2
again.)
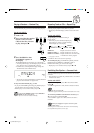
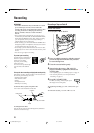
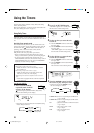
On the unit ONLY:
1
Put a recordable cassette into deck B.
2
Press CLOCK/TIMER
repeatedly until “REC”
appears on the display.
indicator lights up and the REC (recording timer)
indicator starts flashing on the display.
• Each time you press the button, the clock/timer setting
modes change as follows:
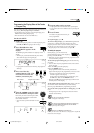
3
Press CLOCK/TIMER again.
“ON TIME” appears for 2 seconds, then
the unit enters on-time setting mode.
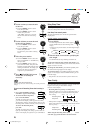
DAILY
Canceled
ON TIME
(Recording Timer)
CLOCK
(See page 9.)
RECON TIME
(Daily Timer)
Continued
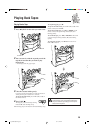
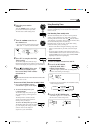
SET
WOOFER
SET
STANDBY
STANDBY/ON
CLOCK
/ TIMER
CANCEL
/ DEMO
SET
CLOCK
/ TIMER
CLOCK
/ TIMER
WOOFER
WOOFER
21_28MXGT88&GA77[J].pm6 03.1.10, 4:22 PM24