


1. Unpack the FS110-W5 and
determine where it will be
mounted. Consider access to the
opposite side of the mounting
surface for securing mounting
bolts and visual conrmation
you are not drilling through any
wires, hoses or even the hull of
the vessel. In addition, consider
the structural integrity of the
mounting surface itself and that
installation does not interfere with
water drainage, hatch lids, or any
moving parts on the vessel.
2. Using a Phillips-head screwdriver,
remove the 3 Stainless-Steel screws
that mount the woofer to the
enclosure and remove the woofer.
3. Mark the enclosure for the
location of the mounting holes.
There should be at least 2
mounting bolts used to secure the
enclosure (3 or more mounting
bolts are recommended for extra
strength and stability). On the
inside of the enclosure, ensure
there is ample room around the
mounting points for the mounting
hardware (not included).
4. In addition to the mounting holes,
one additional hole must be
marked for the entry of the speaker
wire into the enclosure. For this
hole, consider the most clean and
protected wire run (this may mean
the top or back of the enclosure).
5. Drill a pilot hole into the
enclosure at each of the marks
made in Step 3. Enlarge each
pilot hole to the appropriate
diameter, as dictated by the
mounting hardware and speaker
cable used.
6. Once all of the holes are drilled
through the enclosure, hold it
in the exact mounting location
determined in Step 1. Using the
holes drilled in Step 5 as a guide,
mark the mounting surface so
that corresponding enclosure
mounting holes can be drilled.
7. At each mark made in Step 6, drill
pilot holes and then appropriately-
sized mounting holes into the
mounting surface.
8. Run the wire into the enclosure
leaving 18" within the enclosure
so that the woofer can be easily
wired and mounted. Fill the hole
through which the wire is run
with silicone caulk to both seal
the enclosure and protect the
wire from abrasion.
9. Securely mount the enclosure
using the mounting hardware and
seal the enclosure at the mounting
holes with a silicone caulk.
10. Make the terminal connections to
the woofer observing the correct
polarity and set the woofer in the
enclosure’s woofer mounting hole.
Orient the woofer’s logo so it is
appropriate for the installation
and so that each of the woofer’s
mounting holes line up with the
pre-drilled holes in the enclosure.
Re-mount the woofer using the
3 Stainless-Steel screws removed
in Step 2 and the 3 additional
Stainless-Steel screws included
with the enclosure.
11. You have completed the
installation of your FS110-W5.
Enjoy your new Enclosed Marine
Subwoofer System.
For questions concerning installation of
this product, contact JL Audio Technical
Support during regular business hours at
(954) 443-1100.
The FS110-W5 is designed to be a universal-application Subwoofer
System. The exact mounting procedure employed will vary based
on the requirements of the installation. The steps outlined in these
instructions take most considerations into account and should be
read thoroughly prior to beginning your installation.
FS 11 0 -W5
Installation Instructions
(all models)
SKU#011292_02_09
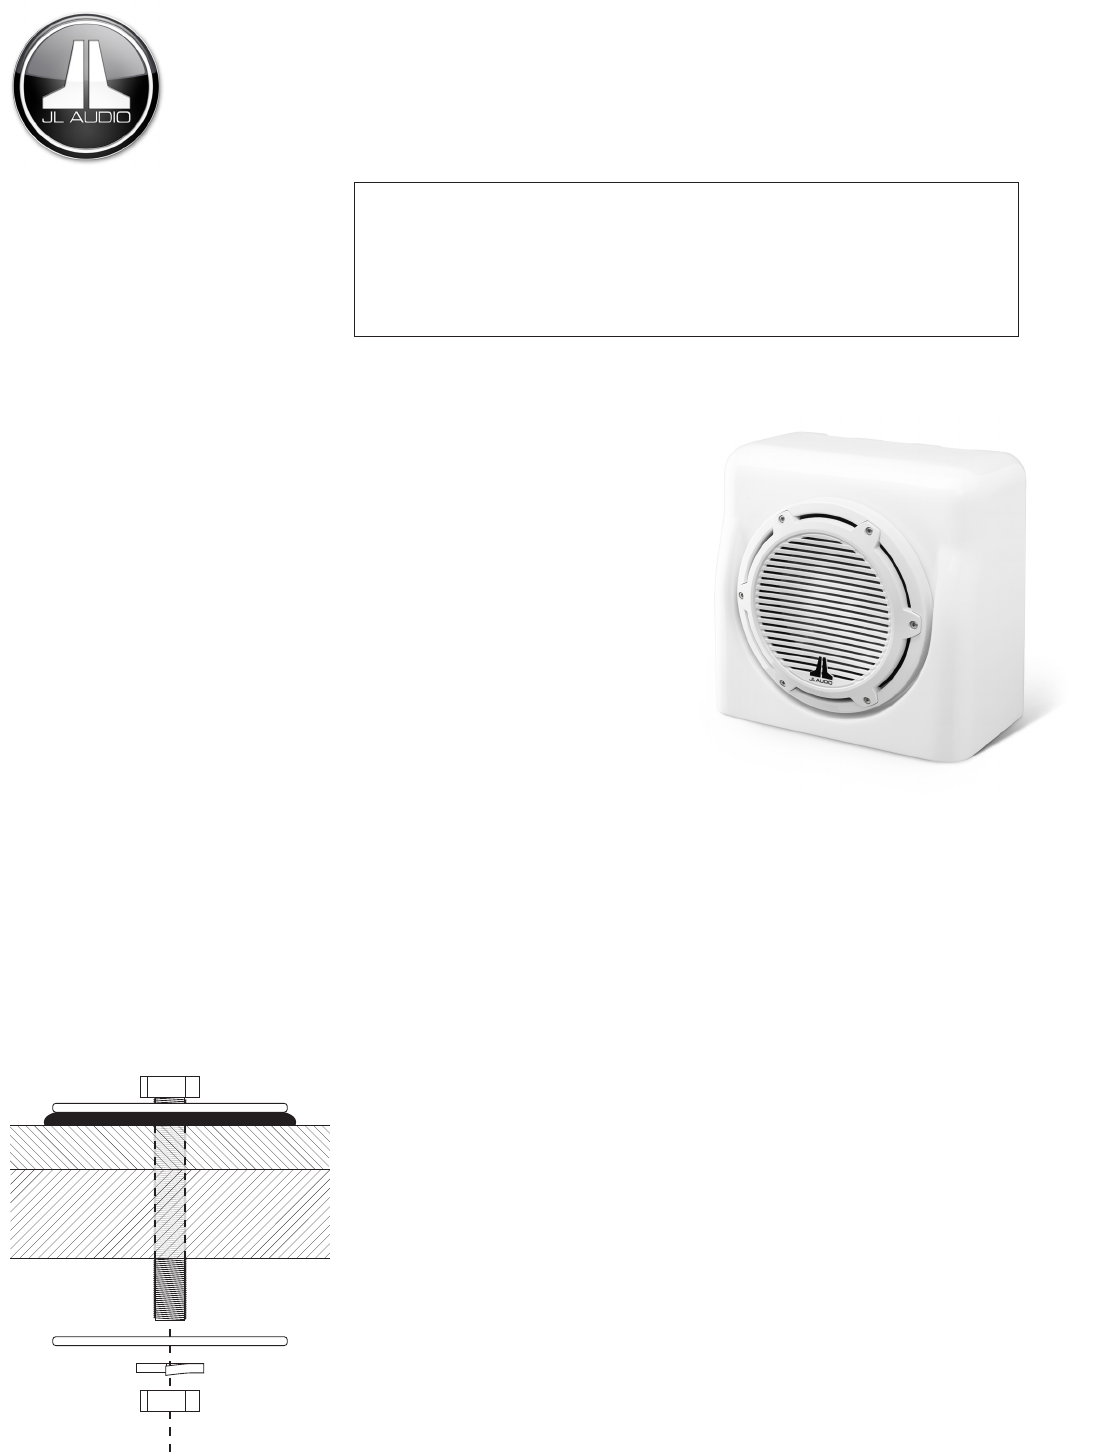
Reccomended Hardware/Mounting
(Stainless-Steel)
ENCLOSURE W A LL
MOUNTING SURFACE
Fender Washer
Fender Washer
Lock Washer
Hex Nut
Hex Head Bolt
Silicone Sealant