


6
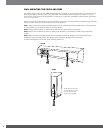
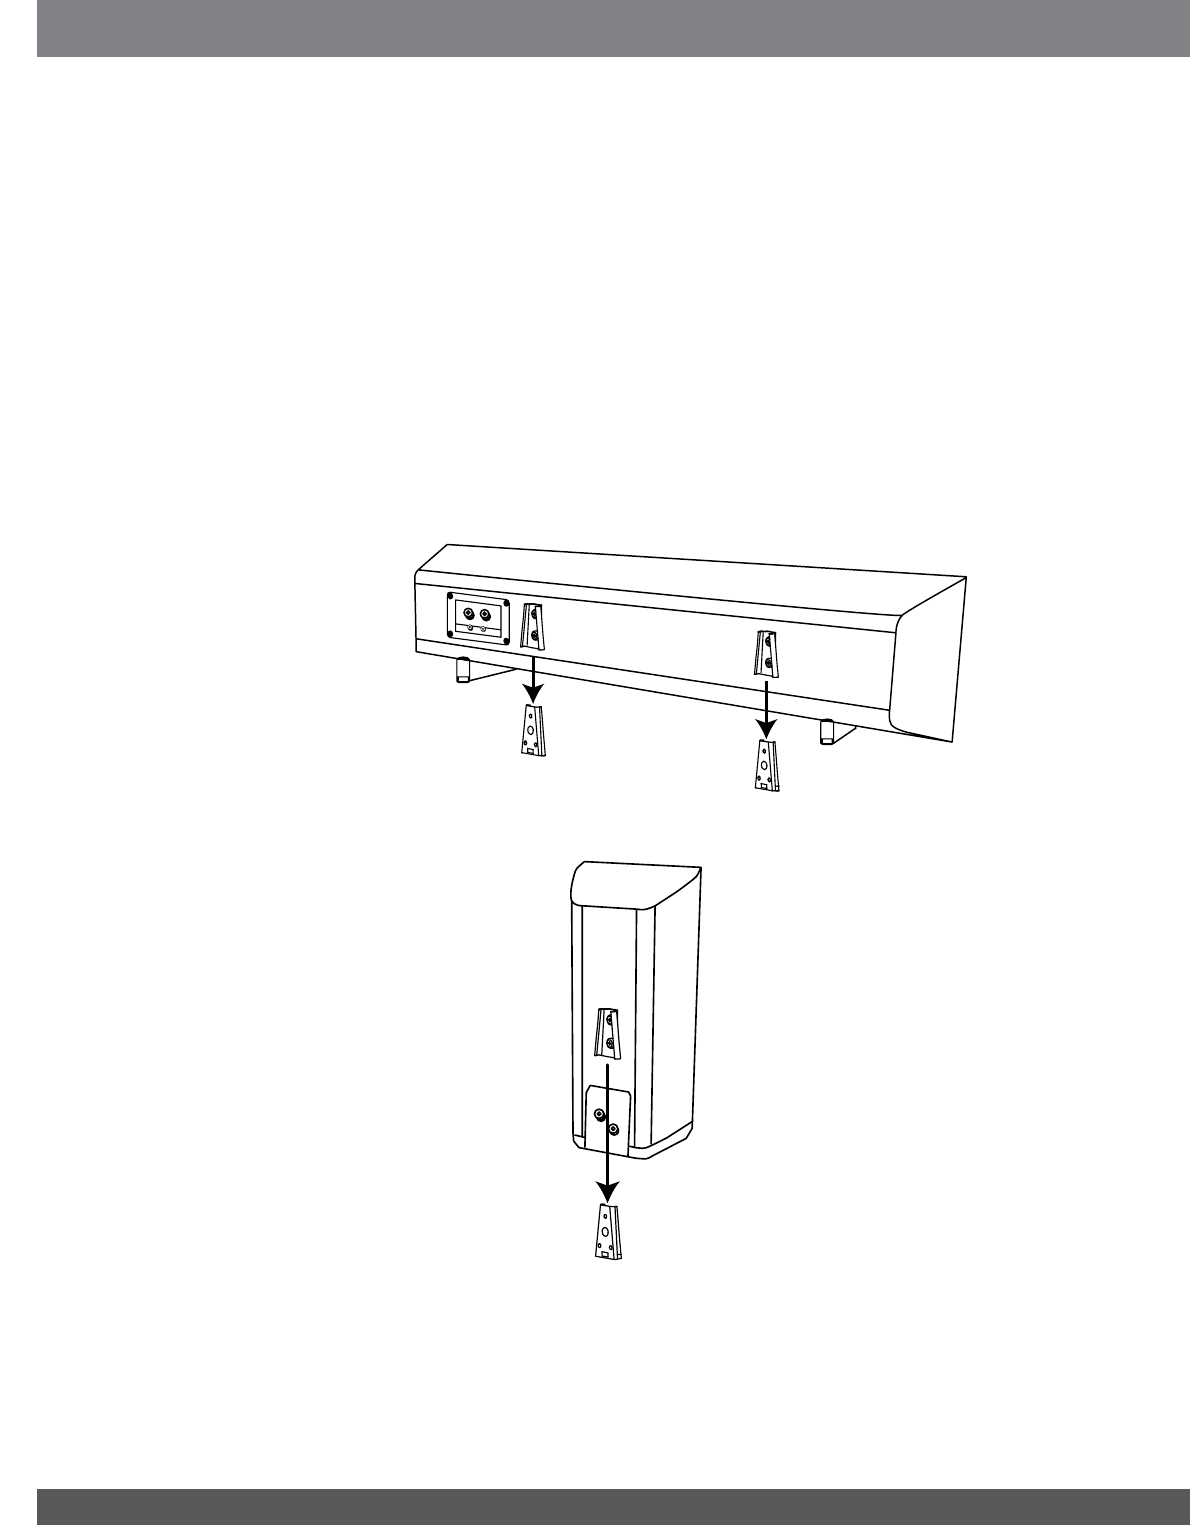
WALL-MOUNtINg thE CSC56 AND CSB6
The CSC56 center channel and the CSB6 are designed to be mounted on the wall. There are two (2) fixed-mount wall
brackets provided for the CSC56, and one for the CSB6. Each speaker bracket will require up to three 1-1/2" #10
wood screws; each screw should be fastened to a wall stud. If a wall stud is unavailable, install an anchor appropriate
for a 1-1/2" #10 screw.
NOTE: The customer is responsible for the correct selection and use of mounting hardware (available through hardware
stores) to ensure the proper and safe wall-mounting of the speakers.
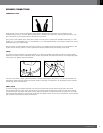
Step 1: Using the included mounting template (CSC56 only) or the bracket back plate (CSB6 only), mark the positions
on the wall where you would like to place the mounting screws.
Step 2: Attach the back plate(s) of the brackets to the wall using three screws (not included).
Step 3: Attach the front plate(s) (with the two holes) of the bracket(s) to the CSC56 or CSB6, using the provided
screws.
Step 4: Slide the CSC56 or CSB6 speaker with the attached bracket front plate(s) onto the back plate(s) of the
bracket(s). Once positioned properly, the speaker should slide down slightly and become secure.
To remove the speaker from the wall, simply slide the speaker up.
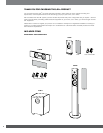
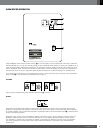
CSC56
CSB6
NOTE: Remove the base
of the CSB6 by removing
the two screws on the
bottom of the speaker.