


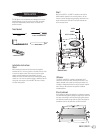


5
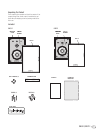
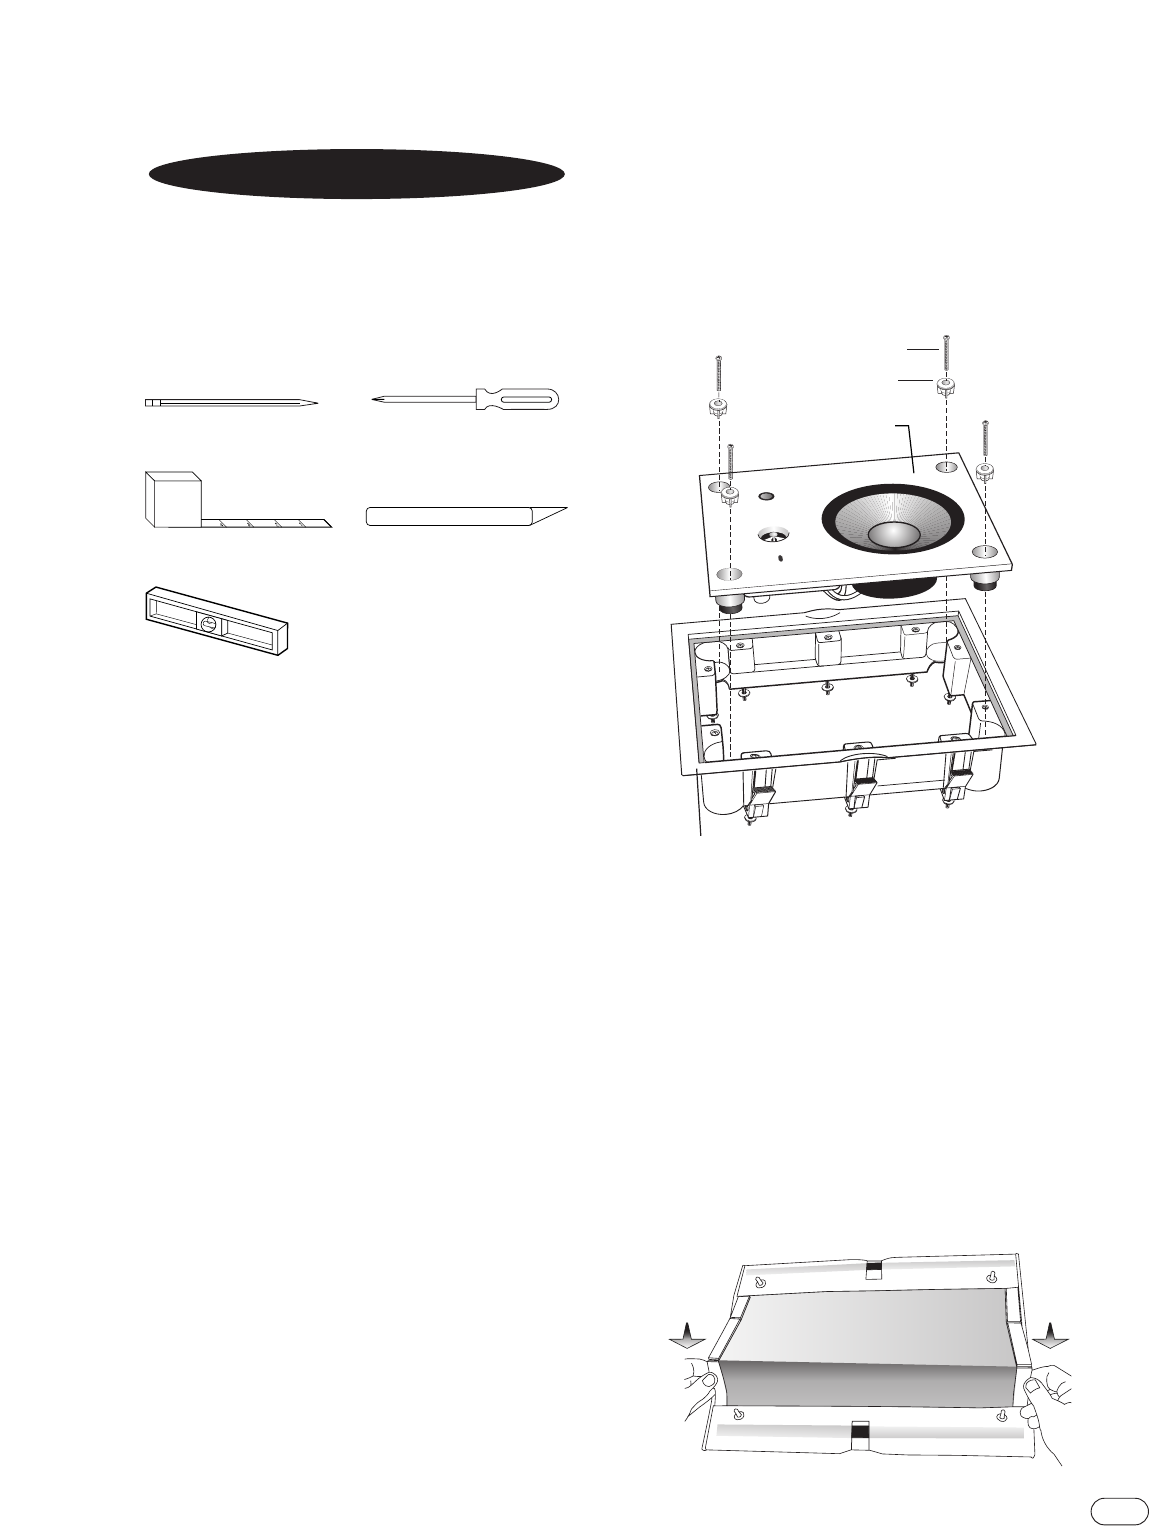
Phillips #2 screwdriver
Measuring tape
Utility knife
Pencil
Tools Needed
The CAS Series of in-wall speakers were designed to be easily
installed. However, if you are unsure of your ability to properly
install these loudspeakers, please contact your dealer or a
qualified installer.
INSTALLATION
Carpenter’s level
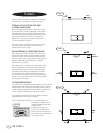
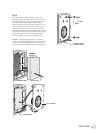
Step 2
Note that the CAS 3.1 and CAS 2.1 speakers come with the
baffle assembly attached to the mounting frame at its four
corners to prevent damage during shipping.Unscrew the four
screws as shown and carefully lift the baffle assembly out
of the mounting frame. Note that the CAS 3.1 and CAS 2.1
speakers are designed for IR connectivity.The IR lens cover is
located on the front of the SPEAKER ASSEMBLY and a place for
mounting the sensor is located behind this lens on the crossover
network board. See your IR instructions for specific installation
recommendations.
Installation Instructions
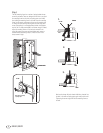
Step 1
After removing all parts from the box, locate the supplied
template and use it to trace a pattern on the wall where you want
to mount the speaker system.Take care to locate the system
roughly centered between wall studs, allowing at least 1"
between the cutout and wall studs. Cut the mounting hole, being
careful not to cut into any electrical wiring or plumbing. Run the
wiring from your system to the hole. NOTE: Be sure to comply
with local wiring codes.
BAFFLE ASSEMBLY
MOUNTING FRAME
SCREWS
INSERTS
IR Sensor
The CAS 3.1 and CAS 2.1 speakers are designed for IR
connectivity.The IR lens cover is located on the front of the
speaker assembly and a place for mounting the sensor (not
included) is located behind this lens on the crossover network
board. See your IR instructions for specific installation
recommendations.
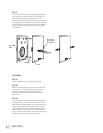
Step 3 (optional)
If the grilles are going to be painted, it is necessary to remove
the cloth behind the grille by lifting the edges of the cloth from
the center and pulling it out.After painting the grille, replace
the cloth.Also, remove the logo from the grille. Extra logos are
provided to attach to the grille after the paint has dried.
CAS 3.1/CAS 2.1
PENCIL
#2 PHILLIPS SCREWDRIVER
MEASURING TAPE UTILITY KNIFE
CARPENTER’S LEVEL
SCREWS
INSERTS
MOUNTING FRAME