2. Your iPod/iPhone will begin charging, until fully charged.
NOTE: Your iPod/iPhone will charge even if the POWER button is
turned off. The Dock n Party only needs to be plugged in for the
iPod/iPhone to charge.
3. To remove/replace an insert, first remove your iPod/iPhone then insert
fingernail in slot on insert (Fig. 2), and gently pull up.
Listening to Your iPod/iPhone
1. Press the POWER button on the back of the Dock n Party to turn it
on (Fig. 3).
2. Press the PLAY/PAUSE button on your iPod/iPhone to pause play; press
again to resume play.
3. Press the ‘+’ or ‘-’ button on the Dock n Party unit to adjust volume (Fig. 1).
4. Press the or on your iPod/iPhone to go to the next or previous track.
5. To turn off the unit, press the POWER button on the back of the unit. The
iPod/iPhone will continue charging in the dock.
6
7
Getting Started
1. Attach the DC adaptor to the DC Jack located on the back of the unit.
(Fig 3)
2. Plug the cord into 120V household outlet.
Charging your iPod/iPhone™
The Dock n Party comes with one dock insert, which fits the Apple 2nd
Generation Nano.
When you want to connect a different size iPod/iPhone, remove the insert from
the Dock n Party and replace with the correct size insert. To remove dock
insert, place fingernail in slot on insert (Fig. 2) and gently pull up. You must
always use the appropriate size insert for your iPod/iPhone. You may contact
HoMedics Consumer Relations at 1.800.466.3342 to order the correct insert
for your iPod/iPhone.
Note: Make sure you are using the correct insert for your iPod/iPhone
and that it is properly placed in the dock of the Dock n Party unit.
Failure to do so may damage your iPod/iPhone.
WARNING: INSERT AND PIN CONNECTOR ARE DESIGNED FOR
APPLE iPOD MUSIC PLAYERS ONLY. ATTEMPTING TO ATTACH OR
FORCE ANY NON-iPOD MUSIC PLAYER INTO ENCLOSED INSERT OR
ONTO THE PIN CONNECTOR WILL
DAMAGE AND EVEN DESTROY
YOUR DEVICE.
1. Before you begin, remove your iPod/iPhone from its case or ‘skin’.
USING INSERT
Place insert in dock, being sure that the two plastic tabs face the front of the
unit. Press insert into place, ensuring it is firmly placed in the dock (Fig. 2).
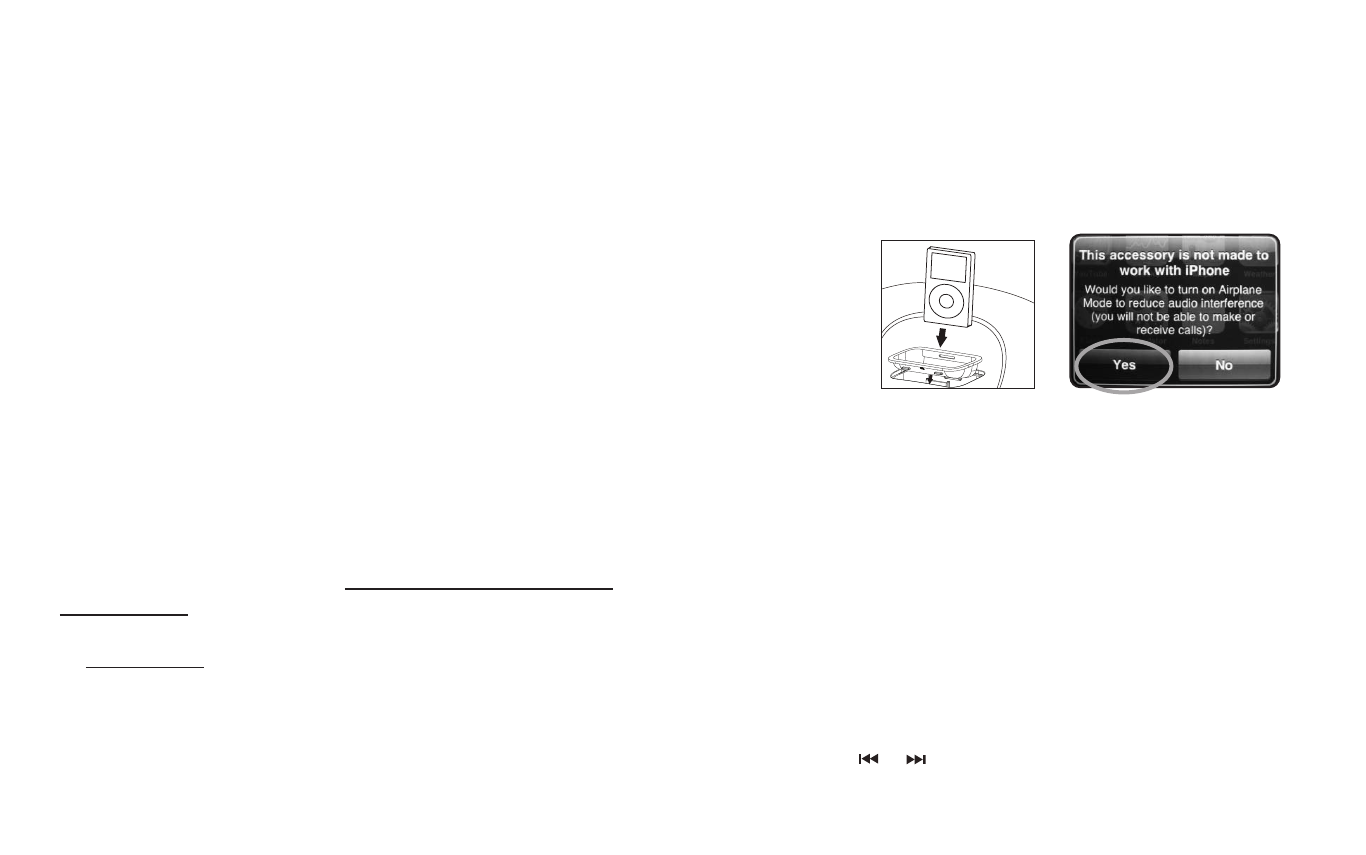
Carefully place your iPod/iPhone into the docking area so that the pin
connector in the dock is fully connected to the pin socket on the bottom of
your iPod/iPhone (Fig. 4). You will hear a “chirp”, indicating that your iPod is
properly connected.
DC IN
LINE IN POWER
DC IN
LINE IN POWER
Figure 4
FOR iPHONE USERS ONLY:
Once properly connected, your iPhone will ask you if you’d like to turn
on Airplane Mode. Select “Yes” (Fig.5). When your iPhone is set to
Airplane mode, no cell phone, radio, Wi-Fi, or Bluetooth signals are
emitted from iPhone. As a result, all incoming calls will be sent directly
to voicemail.
NOTE: If iPhone is already in Airplane Mode you will need to
click “OK”.
Figure 5
