


22
4 Getting started
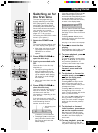
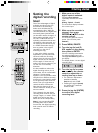
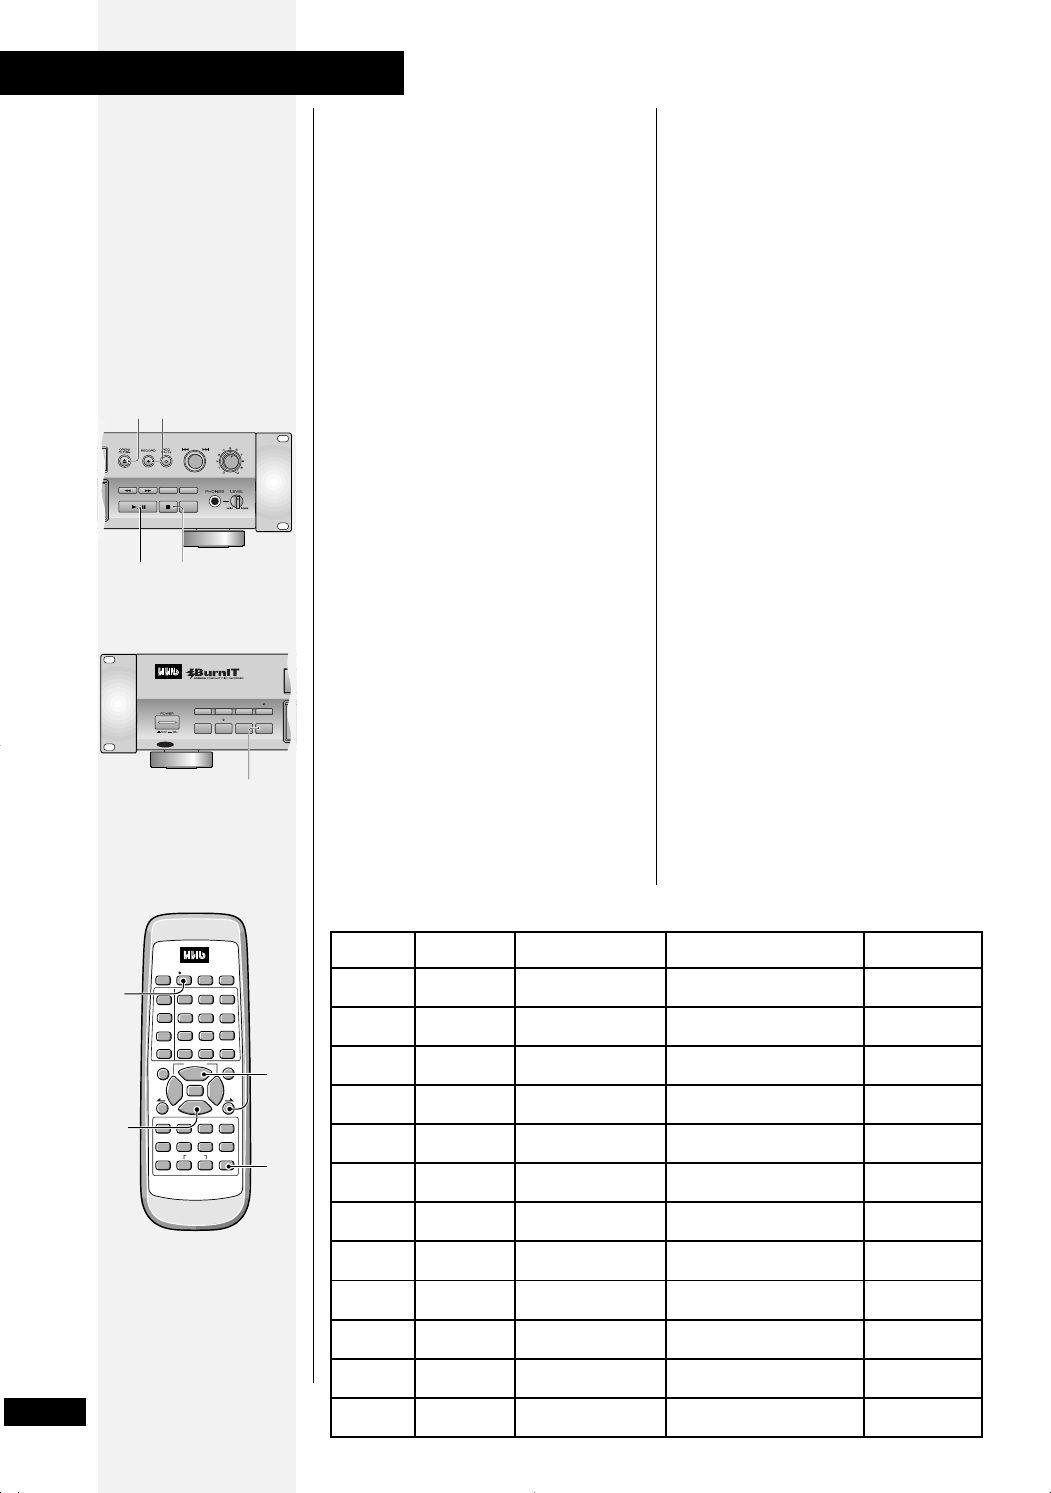
3 Press RECORD
¶¶
¶¶
¶ (
¶¶
¶¶
¶ REC
on the remote control).
The recorder goes into record-
pause. (You can also press
MONITOR.)
4 Start playing the source to
check the signal.
If necessary, set the recording
level (see page 23).
If the signal appears OK, stop the
source.
5 Check that the time display
reads 00:00, then press
88
88
8
or
33
33
3 (
66
66
6 on the front
panel) to start recording.
If you pressed MONITOR in step 3,
you’ll need to press RECORD 
here, then 8 or 3 (6) to start
recording.
6 Restart playback of the
source material.
If the AUTO TRACK indicator is lit in
the display then the recorder will
start a new track each time it
detects a sound after at least two
seconds of continuous silence.
(To switch off auto track
numbering see
Manually
numbering tracks
on page 33.)
7 When you're done, press
77
77
7.
After pressing 7, the display
shows PMA REC while it records
the track information to the disc.
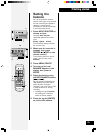
ENTER
CURSOR
MENU/
DELETE
TEXTMARK
SET
CLEAR
TITLE
/MODE
7
1
¡
8
3
4
¢
ABC DEF
GHI MNOJKL
PQRS TUV WXYZ
REC SYNCHRO
REPEAT RANDOMNAME CLIP
I
NPUT
SELECTER
FADER
SKIP PLAY
COMPACT DISC RECORDER
REMOTE CONTROL UNIT
SKIP ID
PROGRAM CHECK CLEAR
AUTO /
MANUAL
123
4
56
78
9
10/0 >10
SCROLL
DISPLAY
•
5
7
3
2
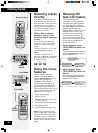
Manual
recording
Use the manual recording
method with a source where
syncho recording is not suitable.
For example, if you are recording
from a digital source that does
not have ID flags, synchro
recording is not possible since
there are no track numbers or
start IDs to signal the start and
end points of the recording.
Manual recording is also useful
with a noisy analog source, such
as an old recording, or from a
source with long quiet sections,
where the recorder may not
recognize the end of tracks.
1 Load a CD-R or CD-RW disc.
Check the display to make sure
that there's enough space on the
disc for what you want to record.
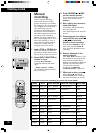
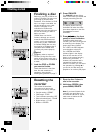
2 Press INPUT SELECTOR to
choose an input.
Pressing INPUT SELECTOR
repeatedly switches the active
input:
Analog - Optical - Coaxial
The recorder's display indicates
the current input.
DIGITAL
REC LEVEL
ANALOG
REC LEVEL
MENU/
DELETE
TEXT
SYNCHRO
PROFESSIONAL
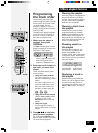
7
5
3
1
MONITOR
INPUT
SELECTOR
AUTO
MANUAL
TITLE/MODE
TRACK NO.
WRITE
DISPLAY
FINALIZEERASE
SCROLL
CD TEXT
2
MODE INPUT START METHOD TRACK INC. METHOD AUTO/MAN
SYNCHRO CD&MD dig. Level > −90 dBFS CD, MD Sub-code AUTO
SYNCHRO DAT dig. DAT START ID DAT START ID AUTO
SYNCHRO ANALOG
Level > A.LVL(MENU)
Level Threshold(A.LVL in MENU)
AUTO
SYNCHRO CD&MD dig. Level > −90 dBFS None MANUAL
SYNCHRO DAT dig. DAT START ID None MANUAL
SYNCHRO ANALOG
Level > A.LVL(MENU)
None MANUAL
NORMAL CD&MD dig. Manual CD, MD Sub-code AUTO
NORMAL DAT dig. Manual DAT START ID AUTO
NORMAL ANALOG Manual
Level Threshold(A.LVL in MENU)
AUTO
NORMAL CD&MD dig. Manual None MANUAL
NORMAL DAT dig. Manual None MANUAL
NORMAL ANALOG Manual None MANUAL
Start method and track numbering in synchro and normal modes