CONNECTIONS
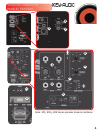
All Connections should be made, all fader controls should be set at their
minimum levels, and all other equipment should be powered on prior to
powering on your iKEY audio monitors.
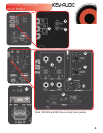
The power On/Off switch is located on the rear panel a red LED locat-
ed on the front of the speaker behind the iKEY logo will illuminate when
power is applied
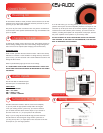
To change the voltage, remove the power cord, slide voltage selector to
desired voltage setting. Please note when making voltage changes the
fuses will have to be replaced (See changing fuses section below)
CHANGING FUSES
Under normal operation the fuses should not blow. A blown fuse usually
indicates an overload or fault condition. To change the fuse, remove the
power cord pry off the fuse block with a small flathead screwdriver and
change the blown fuses.
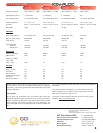
Refer to specifications page (8) for fuse current ratings.
IF A FUSE BLOWS UPON POWER UP THIS INDICATES A FAULT CON-
DITION AND THE MONITOR SHOULD BE RETURNED TO IKEY AUDIO
FOR REPAIR.
The XLR and TRS are balanced inputs
The RCA input is an unbalanced input.
AUDIO INPUT
10K OHMS BALANCED
PIN2 + TIP =HIGH
PIN 3 + RING = LOW
PIN 1 + SLEAVE = GROUND
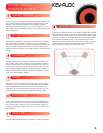
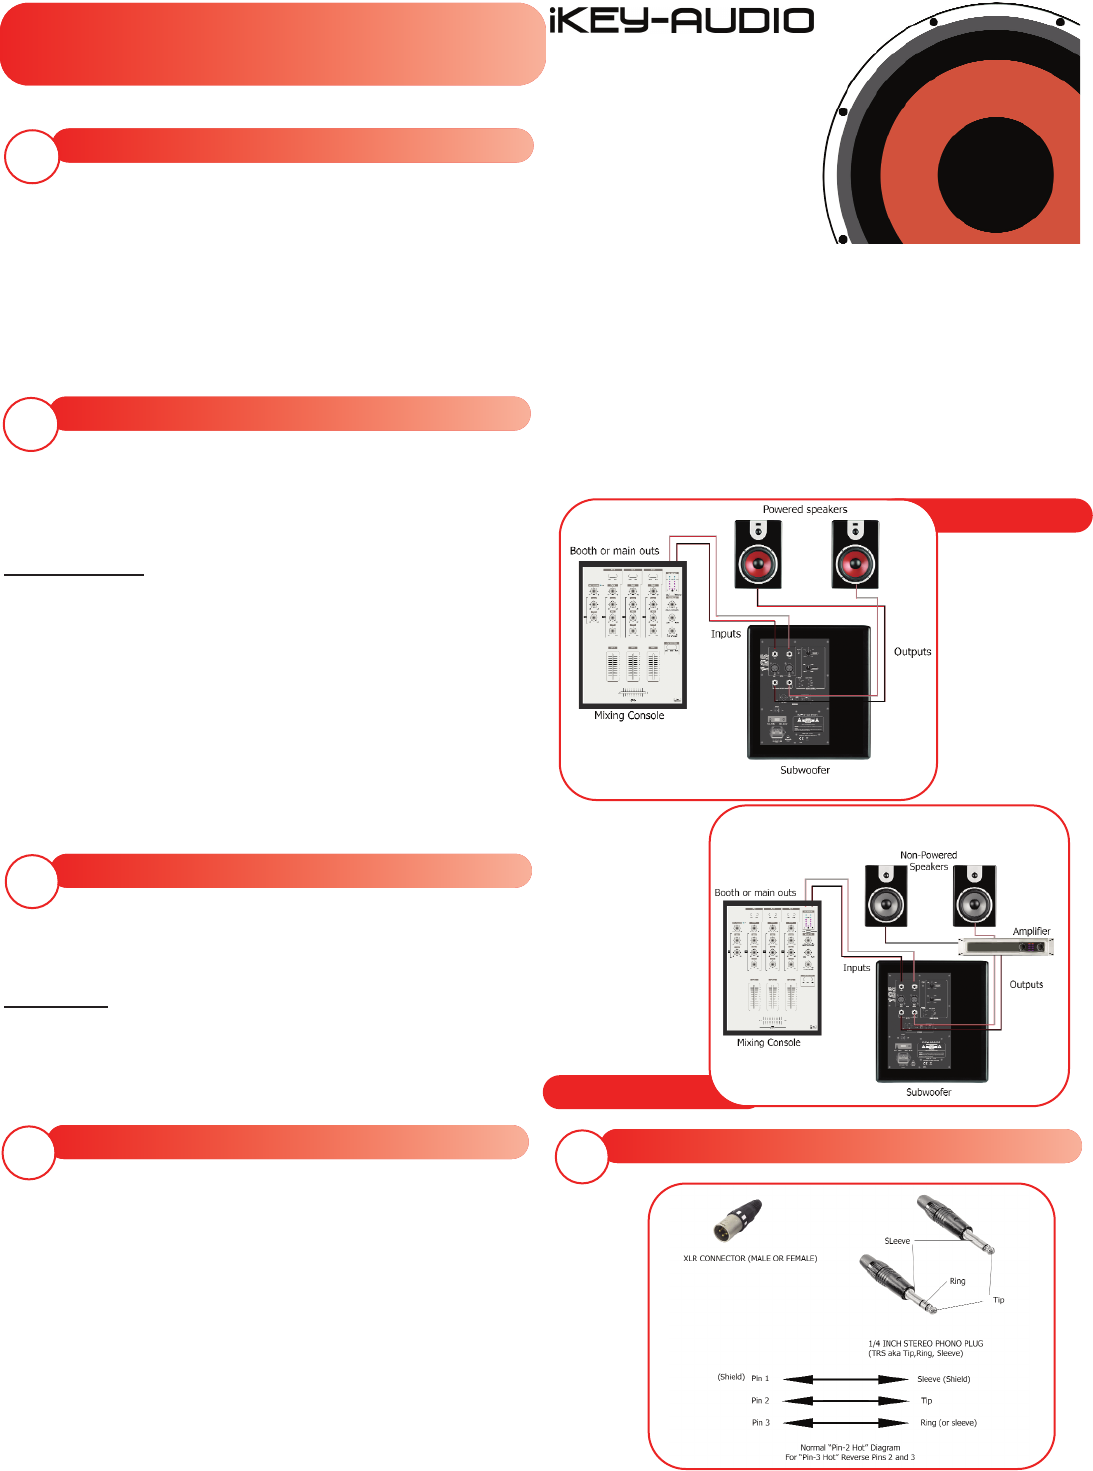
The iKEY Subwoofer includes a built-in crossover and amplifier,
so you only need the appropriate hookup cables to integrate
it into your existing monitor system. First, you need to connect a
pair of cables from the stereo monitor outputs of your console or
DJ mixer to the XLR or 1/4” input jacks on the subwoofer.
Next, if you are using the internal 80-hz high-pass filter built into
the subwoofer for the existing full-range monitors (and most of-
you will), hook up the 1/4” output jacks on the subwoofer to the line-
level inputs of your full range speakers
If on the other hand, you are using passive (non-powered) monitor
speakers that require an external amplifier, hook the two outputs of the
subwoofer up to the inputs of the stereo monitor amplifier. Typically this
would also be an XLR connector, but if need be, you could use the con-
nections providing the amplifier will accept them at amp input. Connect
the power amplifier to the speakers as you normally would.
DO NOT ATTEMPT TO HOOK THE SPEAKER OUTPUT OF THE MONI-
TOR AMPLIFIER TO THE INPUT OF THE SUBWOOFER, YOU RUN THE
RISK OF DAMAGING THE EQUIPMENT.
Powering On
1
Changing Voltage
2
Audio Inputs
3
Subwoofer Hook-Up
4
Wiring
5
Typical setup
Passive Setup
5


