www.fender.com
4
www.mrgearhead.net
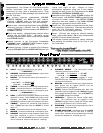
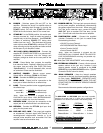
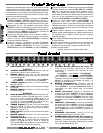
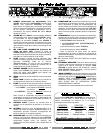
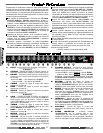
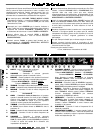
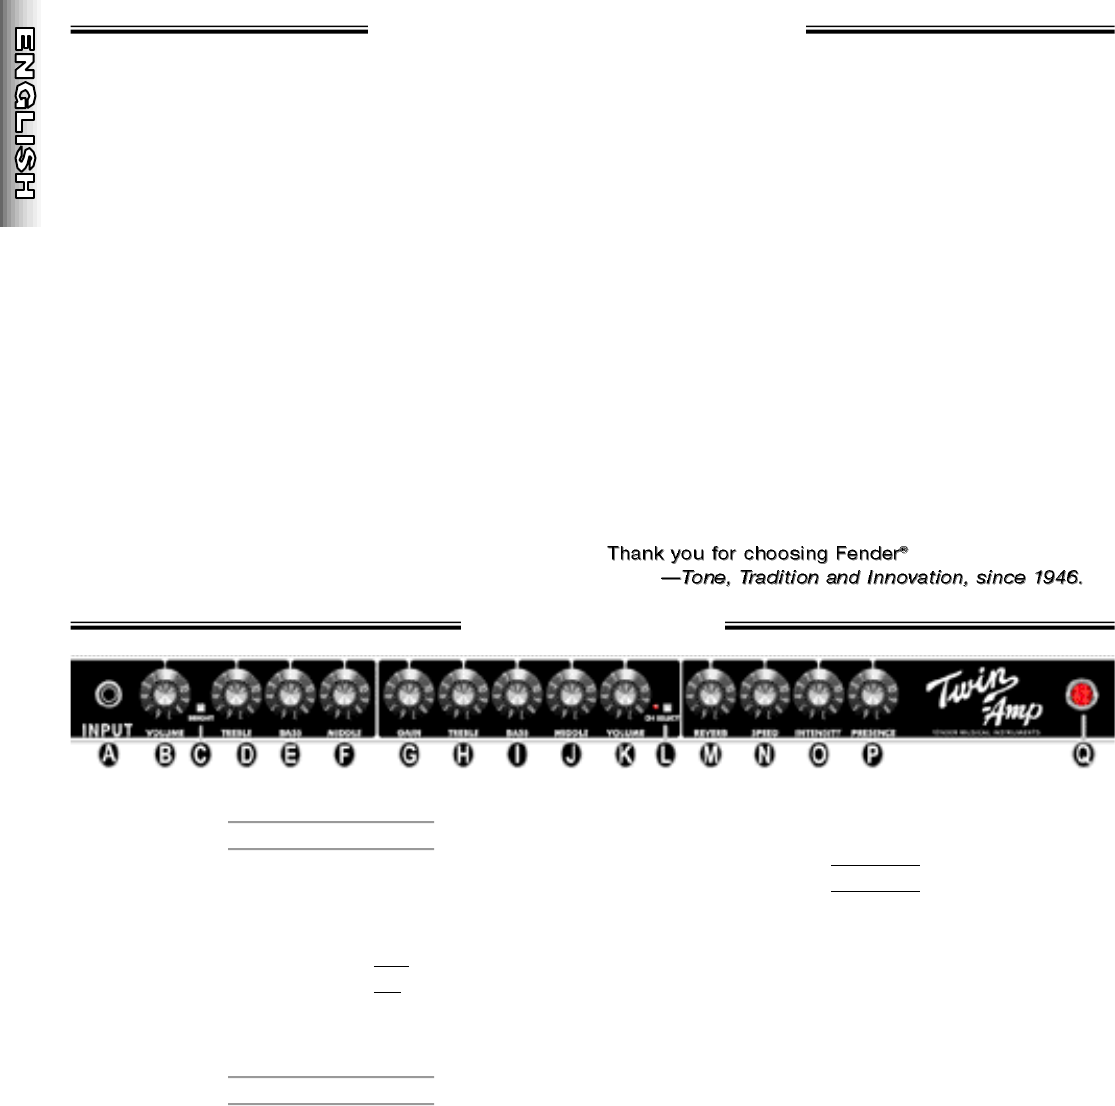
A. INPUT - Input jack connection for your guitar.
1•Channel•1
B. VOLUME - Controls the overall loudness output of the
amp when channel–1 is active.
C. BRIGHT - This two-position button gives channel–1 a
treble boost:
button OUT > for BRIGHT OFF
button IN > for BRIGHT ON
D. T R E B L E - Controls the channel–1 h i g h - f requency level.
E. BASS - Controls the channel–1 low-frequency level.
F. MIDDLE - Controls the channel–1 mid-frequency level.
2•Channel•2
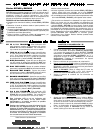
G. GAIN - Controls the pre-amplifier distortion level when
channel–2 is active. Higher GAIN levels produce more
distortion. Use GAIN in conjunction with channel–2
VOLUME (K) to set the overall volume output of the amp.
H. T R E B L E - Controls the channel–2 h i g h - f re q u e n c y
level. TREBLE has less effect as MIDDLE is turned
above “3.”
I. BASS - Controls the channel–2 low-frequency level.
J. MIDDLE - Controls the channel–2 mid-frequency level.
K. VOLUME - Controls the overall loudness output of the
amp when channel–2 is active in conjunction with
GAIN (G). Use this VOLUME control to set the output
level of channel–2 relative to the channel–1 settings.
L. CHANNEL SELECT - This two-position button
selects the active pre-amp channel:
button OUT > for Channel-1 > LED OFF
button IN > for Channel-2 > LED ON
Note: When the Footswitch is plugged in to the
FOOTSWITCH jack, CHANNEL SELECTION is possible
only from the Footswitch.
M. REVERB - Controls the Reverb level of both channels.
Note: Reverb can be toggled ON/OFF from the
Footswitch when it is plugged in.
N. SPEED - Controls Tremolo modulation rate. Note: The
Footswitch must be plugged in (with TREMOLO toggled
ON) to enable the Tremolo effect. Turn up INTENSITY to
make SPEED settings more audible.
O. INTENSITY - Controls the Tremolo sweep depth.
Note: The Footswitch must be plugged in (with
TREMOLO toggled ON) to enable the Tremolo effect.
Tremolo is less intense in the 1/4 power mode.
P. PRESENCE - Controls the ultra-high frequency level of
both channel–1 and channel–2.
Q. POWER INDICATOR - Illuminates when the POWER
is switched ON and the Pro-Tube amp is receiving
power. Note: Unscrew the red jeweled cover to access
the bulb for replacement. Use bulb type T47.
Congratulations! Your Fender
®
Pro-Tube Series amplifier
delivers world-class tone and professional quality
construction for many years of enjoyable service. Read
through this manual to take advantage of the features built
into your Twin-Amp:
◊
◊ Two pre-amp channels: •Independent V O L U M E,
TREBLE, MIDDLE, a n d B A S S f o r each channel,
•Channel 1 BRIGHT switch for crisp tone emphasis,
•Channel 2 GAIN control for warm Pro-Tube distortion.
◊
◊ Tools for tone: •Sweet sounding Fender spring REVERB,
•Ultra-high frequency definition from the P R E S E N C E
control, •TREMOLO volume modulation with SPEED and
INTENSITY controls.
◊
◊ Effects loop options: •Engage/bypass external effects
devices with the L O O P button, •Normalize (or set
alternate) engage/bypass volume levels using the SEND
and RETURN controls.
◊
◊ Remote functions of the Four–button F o o t s w i t c h :
•CHANNEL select, •EFFECTS LOOP bypass/ engage,
•REVERB on/off, •TREMOLO on/off.
◊
◊ Expansion Options: •Output to a second Pro-Tube amp
using the PRE-AMP OUT and POWER-AMP IN jacks, and
c o n t rol both amps as one, •Output to sound
re i n f o rcement equipment, •Plug two 8 ohm speaker
cabinets into each of your Pro-Tube amp(s) at the MAIN
SPEAKER and EXTERNAL SPEAKER jacks.
◊
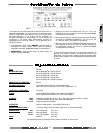
◊ Selectable output levels: •FULL POWER supplies 100
watts of output, •1/4 OUTPUT POWER supplies 25 watts
of output for smaller venues, •1/4 OUTPUT POWER
allows the drive tone created by high GAIN/ VOLUME
settings to be generated at lower volume levels.
◊
◊ Quality built: •The chassis is constructed from the finest,
most roadworthy components, •Cabinets are made from
s t u rdy 3/4 inch birch/maple plywood, •C o v e red in
genuine Tolex
®
for long lasting good looks.
◊
◊ Extras: •Tilt-back legs provide an alternate listening
angle, •Removable casters—ON for easy transportation
and OFF for secure cabinet placement.
◊
◊ This manual includes procedures for testing, balancing
and replacing the amplifier tubes at the core of your
Pro–Tube sound.
F
F
r
r
o
o
n
n
t
t
P
P
a
a
n
n
e
e
l
l
F
F
e
e
n
n
d
d
e
e
r
r
®
T
T
w
w
i
i
n
n
-
-
A
A
m
m
p
p


