


CONTROLS & CONNECTIONS
10
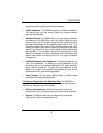
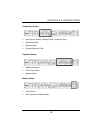
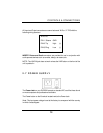
XLR connector wiring for Phantom Power
Pin 1= GND Pin 2= +48V Pin3= +48V
PAD: Engaging the Pad switch provides -20dB of attenuation with the push of a
button. This is a very useful feature for rapidly reducing the level coming into the
EUREKA and thus preventing the input signal from over-driving (distorting) the
input. This may occur due to high output level from a microphone or other
device. Padding the input serves to provide increased “headroom” for the
operator while lessening the likelihood of input signal overload.
80Hz: The 80Hz button is a low-end roll-off filter. When pushed in, the 80Hz
button causes all frequencies below 80Hz to be attenuated (dropped) by 12dB.
This filter can be handy in live and studio applications. For example, the 80Hz
filter can help to reduce the “boominess” or “muddiness” of a vocal and improve
the overall clarity.
Ø (Phase Reverse): Reverses the polarity of the signal. Use the phase reverse
when recording with more than one open microphone to combat phase
cancellation between microphones.
INSTRUMENT: ¼” TS connector. When an instrument is plugged into the
instrument input, the microphone preamplifier is bypassed and the Eureka
becomes an active instrument preamplifier.
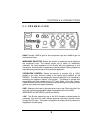
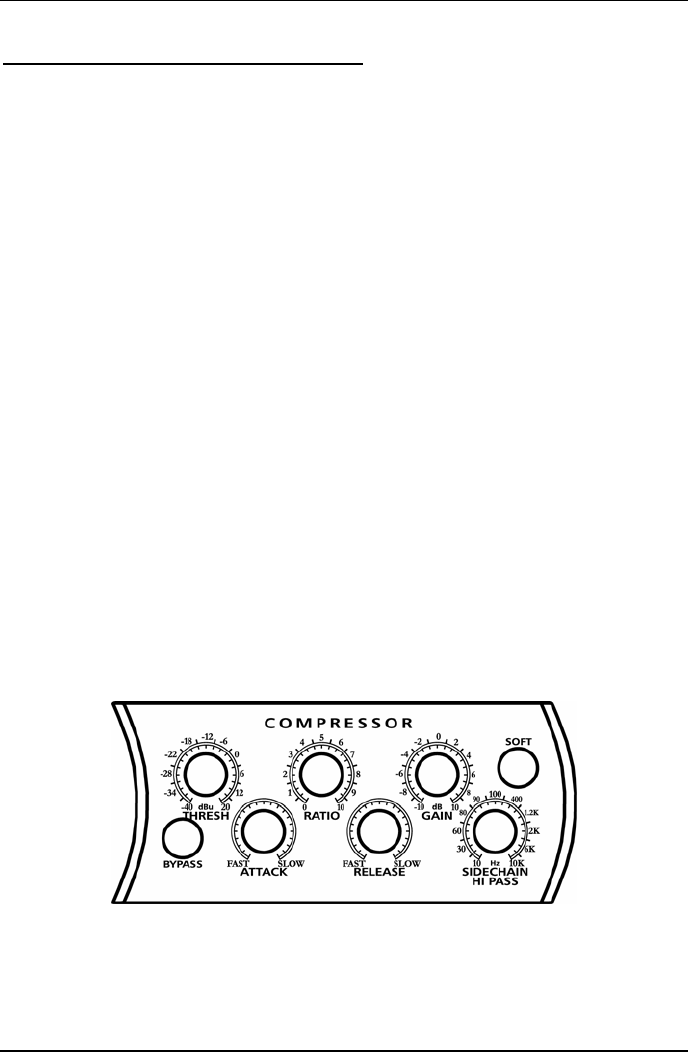
2.3 COMPRESSOR
THRESHOLD: Sets the level at which compression begins. When the signal
is above the Threshold setting, it becomes ‘eligible’ for compression.