


Before operation
Dynaudio SUB 250 5
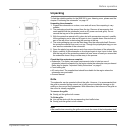
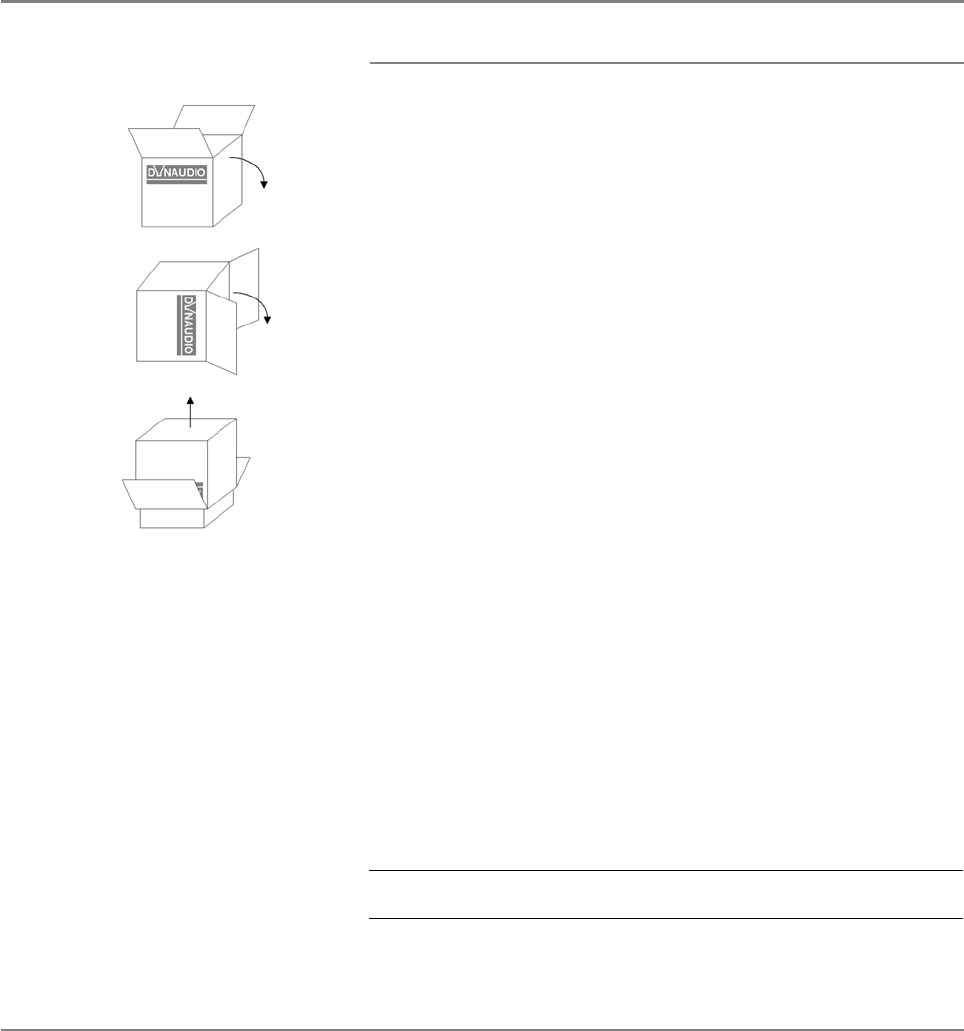
Unpacking
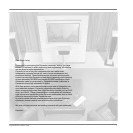
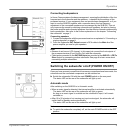
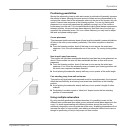
To find the suitable position for the SUB 250 in your listening room, please read the
chapter “Positioning the subwoofer” on page 12.
Unpacking the subwoofer
1. Unpack the subwoofer on a clean, even and soft area; floor carpeting is very
suitable.
2. The packaging should be opened from the top. Remove all accessories that
come packed with the subwoofer (such as AC power cord and grille). Do not
remove the top part of the protective material.
3. With the protective material still in place but with accessories removed, carefully
tilt the packaging on its side and tilt again to turn it upside-down. Ensure that no
part of the top-cover is obstructing the opening at the top.
4. The outer packaging can now be lifted away from the subwoofer itself. Remove
the protective material that now is on top. Through the polyethylene bag you can
now see the underside of the subwoofer.
5. Open the plastic bag and remove such from around the base of the subwoofer.
6. Again, carefully tilt the subwoofer on its side and again to turn it onto its feet. Note
that the top part of the protective material will now come off easily so ensure that
the subwoofer doesn’t drop or slide away in the process.
Check that the contents are complete:
• Subwoofer: The factory-set power requirements (refer to label on rear of
subwoofer) should correspond for the region where the subwoofer was purchased.
Refer also to chapter “Important Safety Instructions” on page 2.
• Front baffle grille.
• AC mains lead. The supplied lead should be suitable for the region where the
subwoofer was purchased.
• Owners Manual.
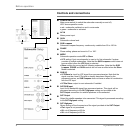
Grille
The subwoofer can be operated without the grille. However, it is recommended that
the grille is mounted during normal use to help prevent accidental damage or dirt
settling on the cone of the loudspeaker. With subwoofers, the influence of the grille on
the sound is virtually negligible.
To remove the grille:
X Gently pull the grille at all corners.
To fit the grille:
X Line up the studs with the corresponding front baffle holes.
X Gently push the grille in at all corners.
Note:
• Be careful when mounting the grille not to touch the cone of the loudspeaker itself.
1
2
3