


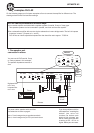
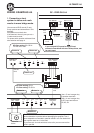
Low level input
Use a pair of shielded stereo audio cables with RCA
type jack. Most trunk-mount amplifiers need a 20
feet RCA cable ( appr 5 – 6 meters). Most under the
seat installations require 12 feet ( 2 – 3 meters) RCA
cables. Avoid placing the RCA cable close to spea-
ker cables, power cables and remote control cable.
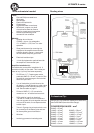
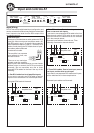
DLS A2 and A3 uses a single
pair of RCA inputs while three
and four channels amplifiers
like A4 & A5 uses dual pairs
of RCA inputs
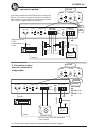
A7 is a multi channel
amplifier with three separate
inputs. On next page you can
see how to connect the RCA inputs of A7.
Use high quality interconnects like the DLS SL5 PRO
or SL5 Ultimate that has an effective shielding.
When you run the signal cables remember to keep
them well spaced from the wiring loom and the power
feed to the amplifier to avoid picking up interference.
Lay the power cables and signal cables separated
on each side of the car. Any extra cable must be
laid in zig-zag style and definitely not coiled.
Input Wiring
Inputs are low level from the RCA output of the head
unit.
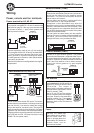
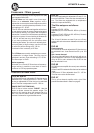
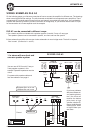
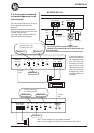
Input Level control
The input level control, 7V – 0,2 V, matches the
output of your head unit to the input of the amplifier.
After installation is complete, make sure the input
of the amplifier is turned down all the way ( counter-
clockwise at 7V ). Play a tape or CD, make sure all
bass or treble settings or equalizer are flat, and turn
the volume of the radio up until you just start to
hear distortion. Turn the volume control down just
a bit. On the amplifier increase the input level control
( clockwise or to the right ) until you just start to
hear distortion, then back the level control just a
bit. Now your radio and amplifier levels are matched.
On three/ four channel amplifiers like the A4, A5 or
A7 it´s necessary to adjust the levels indiviually to
achieve a good sound balance between the diffe-
rent speakers, different speakers have different
sensitivity. When using two of the channels for
subwoofer operation, start the level adjustment on
these channels. After having adjusted the bass level
for good performance, adjust the level to the front
system for a good sound balance.
7V 0,5V
LEVEL
ULTIMATE A-series
Input and controls
The amplifiers have an internal high current
protection circuit shutting down the amplifier if the
current draw is too high. It is indicated with a LED
marked ”PROTECT”. The protection circuits will
reset by turning the head unit off and on again.
The amplifiers also have a thermal protection that
turns off the amplifier if getting to hot. It will resume
operation after cooling down. If necessary install
an external cooling fan.
There are one or two fuses on the front. Disconnect
the main fuse before replacing any of these. Always
replace with the same type and value.
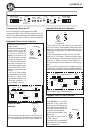
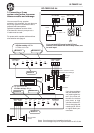
The phase control on can be set
continuously from 0 - 180
degrees. This is very useful when
you want to adjust the bass sound
for best front stage image. Start
at 0 and turn the control slowly
clockwise until you experience
that the bass sound is coming
from the front. If you dont get the
result you want, also try to phase
reverse the subwoofer
connections and make a new
adjustment. On A5 you find this
control on the amplifiers left side.
Phase control on A5, A6 and A7
PHASE
0
180
DEGREE
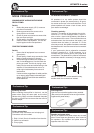
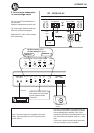
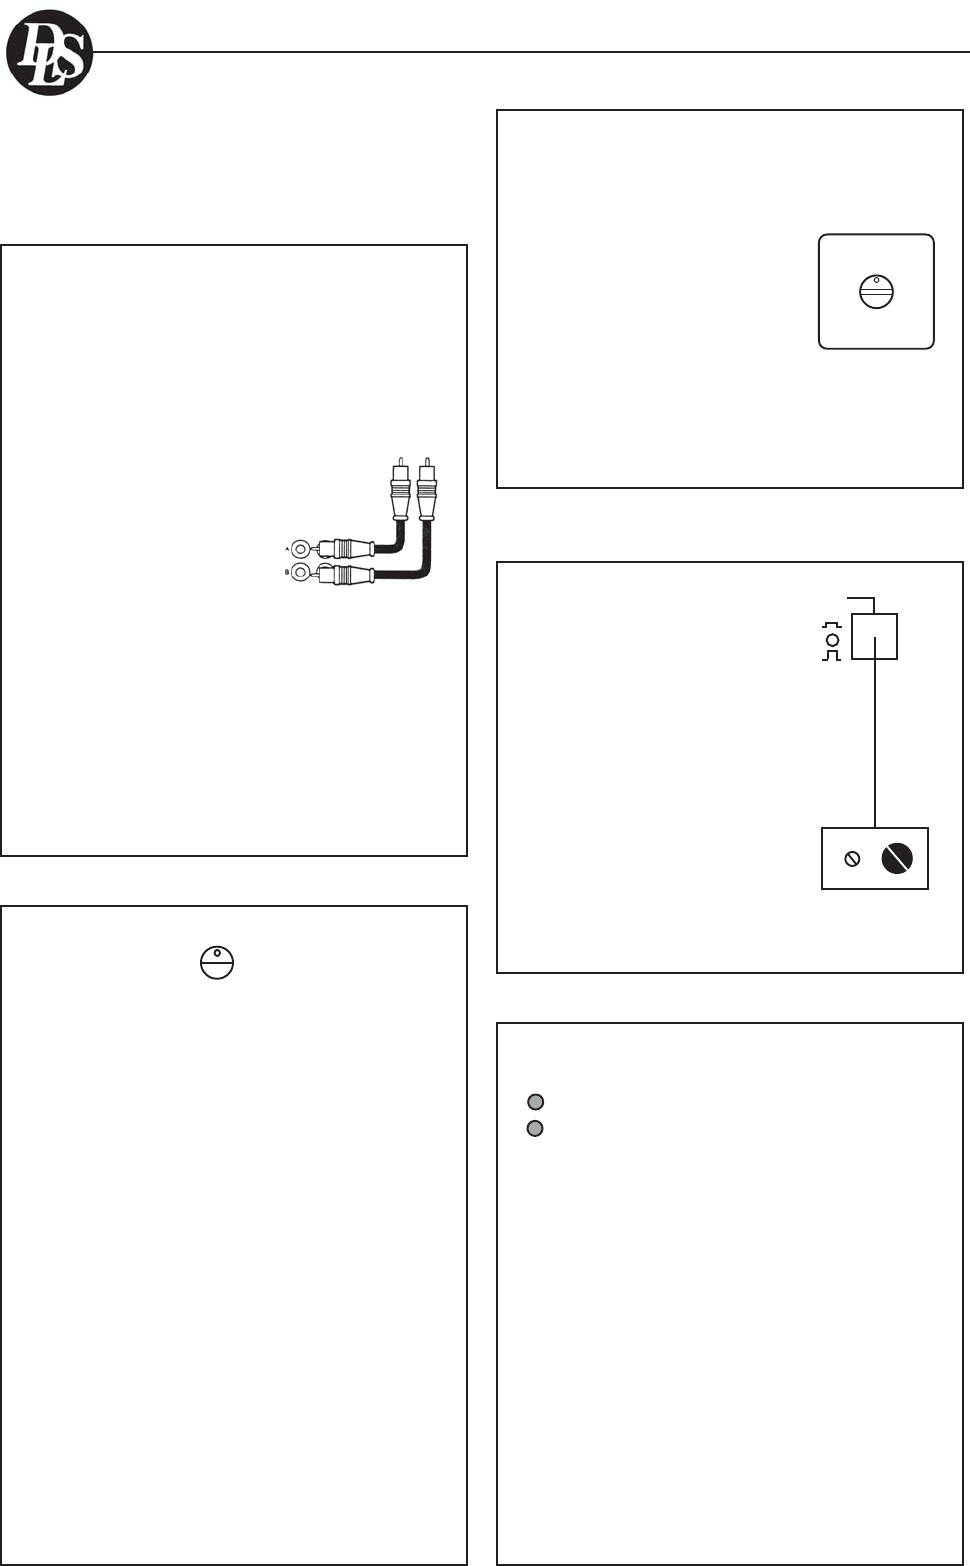
A remote level and phase
shift control is included with
A5, A6 and A7 amplifiers.
You can adjust the bass
level and phase from the
front seat of your vehicle.
Connect it to the socket
marked Remote Bass Level.
When using a remote level
control you must activate it
by pushing the switch bes-
ides the socket, to IN-posi-
tion.
Remote bass level and phase shift
control on A5, A6 and A7
Remote Bass Level &
phase shift control
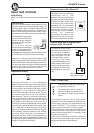
Power
(Blue)
Protect
(Red)
Power / Protect light
The power light (blue) is turned on when
the amplifier is turned on.
The protect light ( red ) is turned on
when the amplifier shuts down from
overheating, or a short circuit (speaker
failure)
Remote Bass
Level
OUT
IN
Phase
Level
5