15
ENGLISH
FRANCAIS
DEUTSCH
NEDERLANDS
ESPANOLITALINO PORTUGUES
SVENSKA
DANSK
DANSK
SVENSKAPORTUGUES ITALINOESPANOL NEDERLANDSDEUTSCH
FRANCAIS
ENGLISH
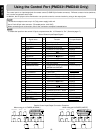
Command Cord
Mode 2036-10
Preset 2041-12
END monitor 2043-10
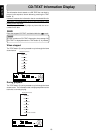
CD-TEXT 2088
0 2000
1 2001
2 2002
3 2003
4 2004
5 2005
6 2006
7 2007
8 2008
9 2009
CD Sync start 1856
CD Sync stop 1857
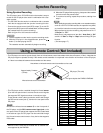
- This CD player can be controlled through its infrared sensor
@9 on the front panel when it receives remote control signals
that supports RC5 signals as shown in the table at right.
These remote control codes can also be used if sent through
the RC5 remote control jack b found on the rear panel of the
CD player.
Tip:
Because the infrared remote sensor @9 on the front panel of
the CD player and the RC5 remote control input jack on the
rear panel of the CD player both support the RC5 codes listed
in the table at right, this CD player can be controlled through
the infrared remote control sensor of any device that supports
RC5 codes.
* Remote control codes that are marked with an asterisk are
not supported by the PMD330.
Synchro Recording
Using a Remote Control (Not Included)
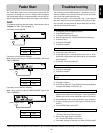
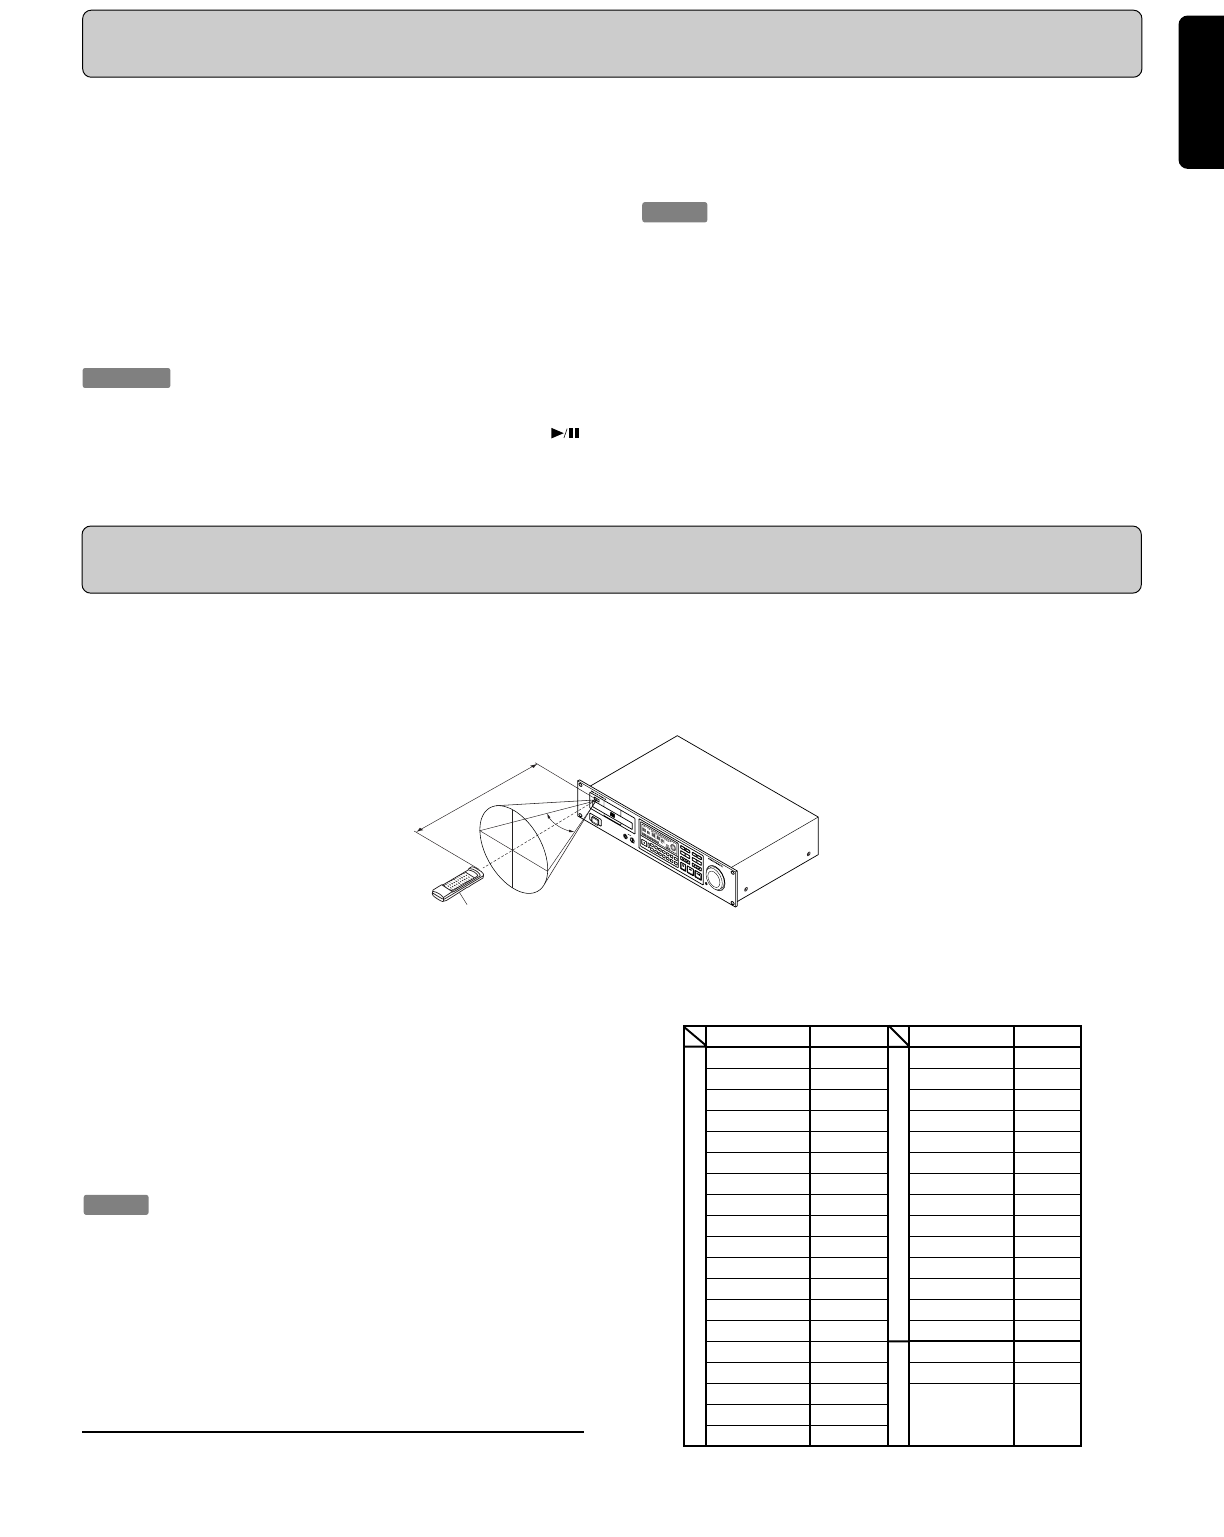
The figure depicts the PMD331/PMD340.
Infrared remote control transmitter
Approximately 5 meters
(15 feet)
Using Synchro Recording
This CD player has a CD SYNC function that makes it easy to
record for this CD player to be used in combination with a cas-
sette recorder.
- The CD SYNC function works in combination with a cassette
deck that is equipped with the synchro recording function.
- Connect the remote control jack (RC5) output b on this CD
player to the (RC5) input on the cassette deck, and then prepare
the cassette deck for synchro recording.
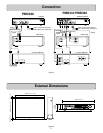
Refer to figure 2 for the connection method.
Procedure
1. Put the cassette recorder into the synchro recording mode.
2. With the CD player in the stopped state, press the
button !7 to start playing the CD.
The cassette recorder automatically begins recording.
- This CD player can receive signals directly from an infrared remote control transmitter within about 5 meters (15 feet.) Note that the
CD player might not operate correctly if the remote control transmitter is not pointed in the direction of the sensor on the CD player,
or if there is an obstacle between the transmitter and the sensor.
Area where an infrared remote control transmitter can be used
CD player (This unit)
60°
3. When the CD player finishes playing, it stops and the cassette
recorder enters the paused state.
4. To continue recording, repeat this procedure, starting from
step 2.
Tips:
- When performing synchro recording with a non-cassette recorder,
such as a CD-R or CD-RW recorder, the operation may differ,
so check the instruction manual provided with your recorder.
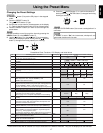
- When performing synchro recording, set preset menu No.17
“CD sync” to “On”.
- Make sure to set preset menu item No.1 “Auto Cue” to “Off”
and No.13 ”Start” to “Play” or “Stop” before utilizing CD Sync
function.
( See also page 17.)
Command Cord
Play 2053
Pause 2048
Cue 2059-10
Stop 2054
FF 2052
FR(REW) 2050
Index + 2034
Index - 2035
Next 2032
Previous 2033
Pitch + 2038
Pitch - 2039
Pitch Bend + 2038-10*
Pitch Bend - 2039-10*
A - B 2059
Program 2041
Pitch On/Off 2037
Open/Close 2045
Time 2011
INPUT
INPUTOUTPUT
I
R
C
D
P
L
A
Y
E
R
L
E
V
E
L
H
E
A
D
P
H
O
N
E
A
-
B
P
I
T
C
H
M
O
D
E
--
C
L
E
A
R
E
N
T
E
R
C
O
N
T
R
A
S
T
P
I
T
C
H
/
S
E
A
R
C
H
O
N
/O
F
F
I
N
D
E
X
P
I
T
C
H
B
E
N
D
E
N
D
2
1
6
T
I
M
E
T
E
X
T
3
4
7
8
9
5
0
P
R
O
G
P
R
E
S
E
T
P
O
W
E
R
M
A
X
M
I
N
++
--
++


