15
ENGLISH
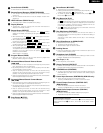
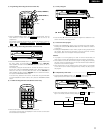
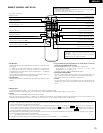
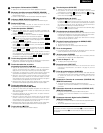
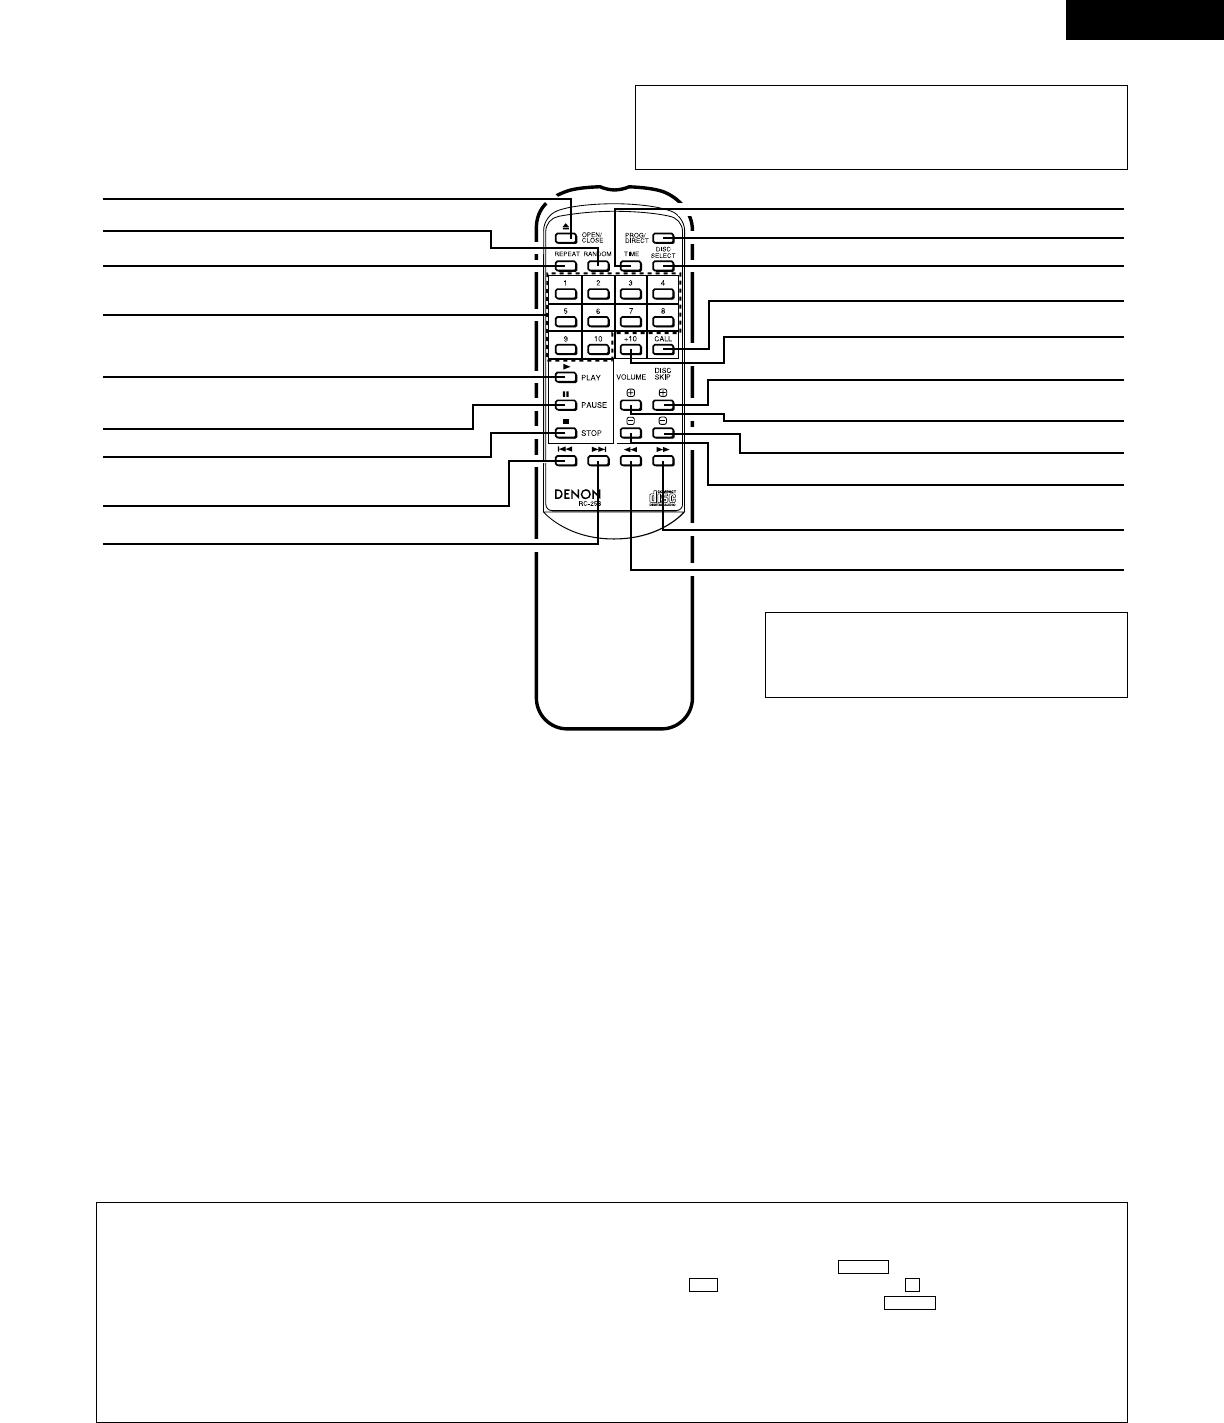
REMOTE CONTROL UNIT RC-258
Setting to the Program Mode
• For program search, press the PROG/DIRECT button then the track number
buttons (1 through 10 and +10).
• The remote control unit is normally set to the direct mode.
Drawer Open / Close Button
(
5 OPEN / CLOSE)
Random Button (RANDOM)
Repeat Button (REPEAT)
Track Number Button (1 ~ 10)
Play Button (1 PLAY)
Pause Button (3 PAUSE)
Stop Button (
2 STOP)
Automatic Search Forward Button (
8)
Automatic Search Reverse Button (
9)
Time Button (TIME)
Program/Direct Button (PROG/DIRECT)
Disc Select Button (DISC SELECT)
Call Button (CALL)
+10 Button (+10)
Disc Skip + Button (DISC SKIP +)
Disc Skip – Button (DISC SKIP –)
Volume + buttons (VOLUME +)
Volume – buttons (VOLUME –)
Manual Search Forward Button (
7)
Manual Search Reverse Button (
6)
Use this to adjust the output level output of the
VARIABLE.
The volume increases when the (+) button is pressed,
decreases when the (–) button is pressed.
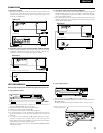
• Disc Selection
Use the DISC SELECT and number buttons to select the number of the disc
to be played.
“–” appears on the disc number section of the display for 2 seconds when
the DISC SELECT button is pressed. Press the number button
corresponding to the number of the disc to be played while “–” is displayed
to select the disc number.
Track numbers are selected if the number buttons are pressed while “–” is
not displayed on the disc number section of the display.
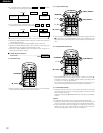
• Direct Selection
Normally, direct search is possible simply by pressing the desired number
buttons.
• Program Selection (During playback, the track which is currently
playing is programmed as the 1st track.)
Press the PROG/DIRECT button, then press the number buttons.
For example, to program tracks number 3, 11, and 5, press
PROG/DIRECT
/ 3 / +10 and 1 / 5.
To cancel the program, press the PROG/DIRECT button.
• Inputting the Track Numbers
For track numbers below 10, simply press the corresponding button. For
track numbers of 11 and greater, press the +10 then the number buttons.
For example, for track number 22 press +10 twice then 2.
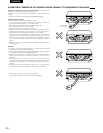
• Volume
The volume control on the unit will operate when the volume buttons are
pressed. The volume can be checked by looking at the position of the
control.
• Skipping Discs
The Disc Skip button (DISC SKIP +, –) will not function in the random and program modes.
During disc sequential random playback, when the Disc Skip + button is pressed, the following disc is played in random order.
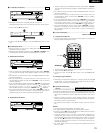
• Volume
The output level of the VARIABLE output terminal can be changed.
When the volume button is pressed, “–” appears in the TIME M (minutes) section of the display window and the level appears in the S (seconds) section. The
volume can be changed between a maximum of “00” and a minimum of “–12” in 12 steps, by approximately 1.5 dB per step.
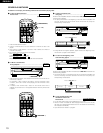
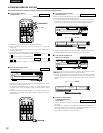
• The Time indicator indicates the amount of elapsed time for the track currently being played, the amount of time remaining for the current track and the
amount of time remaining for all tracks yet to be played.
Normally, the amount of elapsed time for the current track is displayed. Pressing this button once causes the indicator to light up, displaying the
amount of time remaining for the current track. Pressing the button once more turns the indicator off and causes the indicator to light up, displaying
the number and the time remaining for all tracks yet to be played on the disc. Pressing the button once again turns the indicator off and causes the
indicator to display the elapsed time for the current track.
• During playback, the total remaining time is the remaining time for the disc. For programmed playback, the remaining time for the program is only displayed
when the programmed tracks are all on the same disc.
“– – – –” is displayed when tracks on more than one disc are programmed.
• In the case that the total playing time of programmed tracks becomes more than 99:59, “– –: – –” is displayed.
REMAIN
–DISC
REMAIN


