


www.dell.com | support.dell.com
20 Using Your Projector
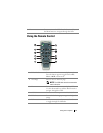
SEMI-AUTO KEYSTONE—
Press the
button on the control panel or the Menu button
on the remote control to activate the Semi-Auto Keystone correction for image
distortion.
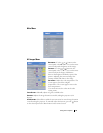
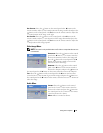
ASPECT RATIO—Select an aspect ratio to adjust how the image appears.
• 1:1 — The input source displays without scaling.
Use 1:1 aspect ratio if you are using one of the following:
– VGA cable and the computer has a resolution less than XGA (1024 x 768)
– Component cable (576p/480i/480p)
–S-Video cable
– Composite cable
• 16:9 — The input source scales to fit the width of the screen.
• 4:3 — The input source scales to fit the screen.
Use 16:9 or 4:3 if you are using one of the following:
– Computer resolution greater than XGA
– Component cable (1080i or 720p)
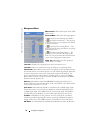
VIDEO MODE—Select a mode to optimize the display image based on how the
projector is being used: Movie, PC, sRGB (provides more accurate color
representation), and User (set your preferred settings). If you adjust the settings
for White Intensity or Degamma, the projector automatically switches to User.
W
HITE INTENSITY—Select 0 to maximize the color reproduction and 10 to maximize
the brightness.
D
EGAMMA—Adjust between 1 and 6 to change the color performance of the display.
The default setting is 0.
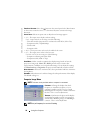
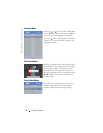
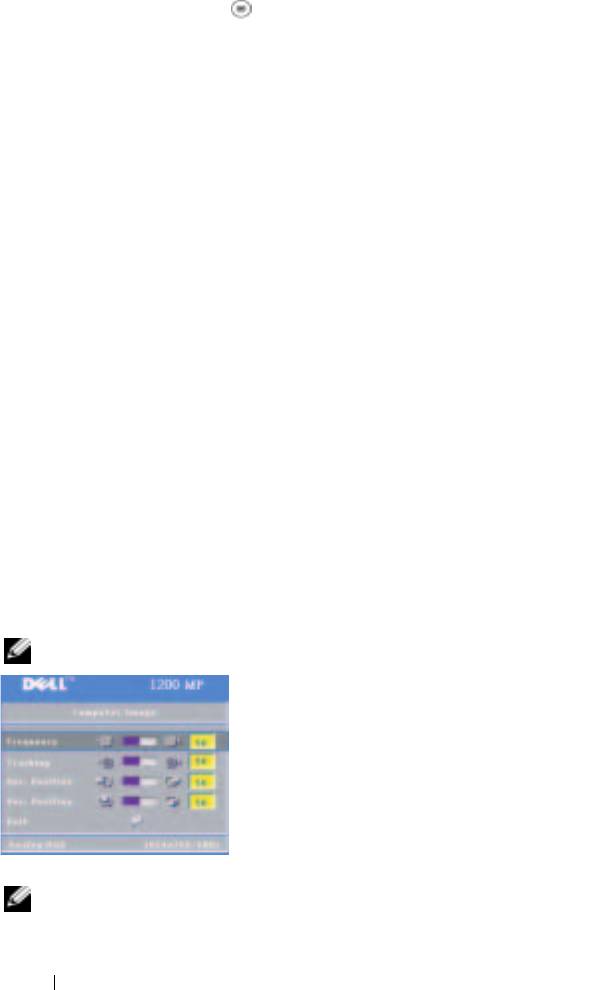
Computer Image Menu
NOTE: This menu is only available when a computer is connected.
F
REQUENCY—Change the display data clock
frequency to match the frequency of your
computer graphics card. If you see a vertical
flickering bar, use Frequency control to minimize
the bars. This is a coarse adjustment.
T
RACKING—Synchronize the phase of the display
signal with the graphics card. If you experience
an unstable or flickering image, use Tracking to
correct it. This is a fine adjustment.
NOTE: Adjust Frequency first and then Tracking.