


6. Once you have cut the hole, fish your previously positioned wiring out
of the hole and connect your speaker. See the next section for detailed
hookup instructions. Make certain that you connect the wire from the
red terminal (+) of your SubAmp 600 to the red terminal (+) on your
speaker and the wire from the black terminal (-) of your SubAmp 600
to the black terminal (-) on your speaker. Be sure to maintain channel
consistency (use either channel one or channel two).
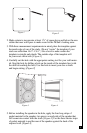
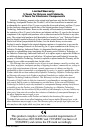
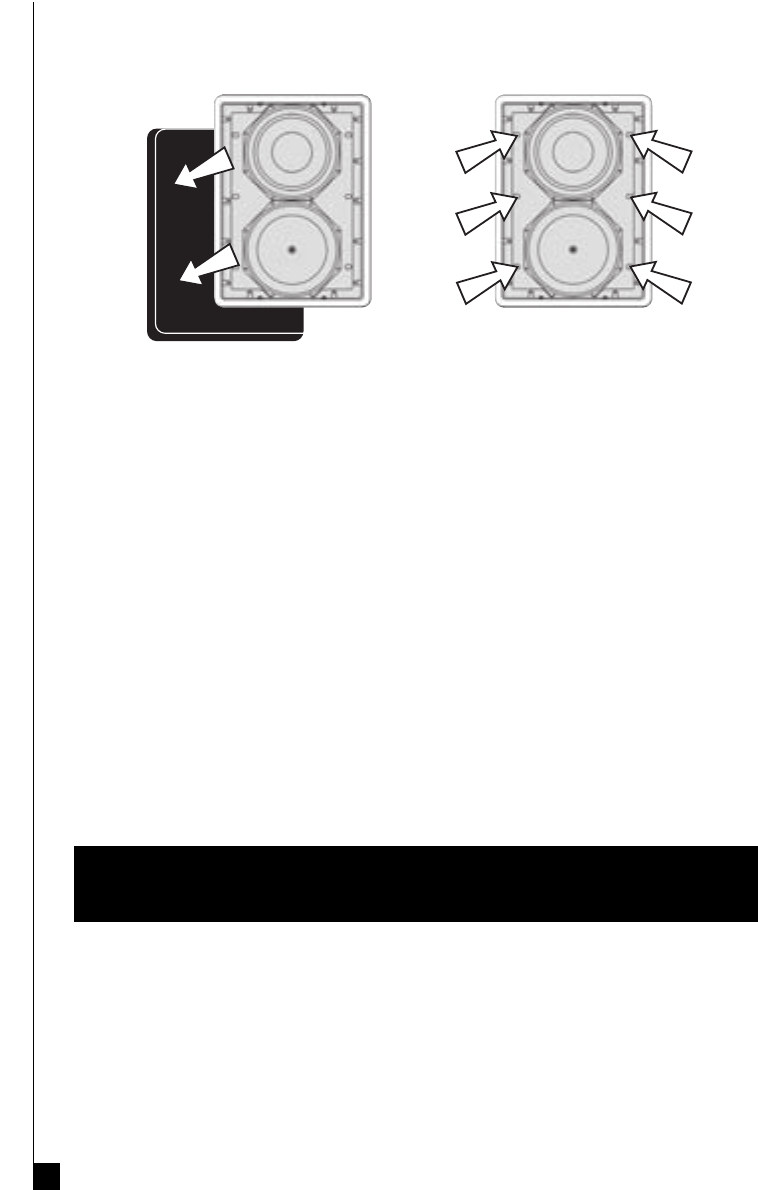
7. Place the subwoofer carefully into the hole [Figure 5]. Secure the sub
enclosure using the 6 screws provided. These screws go into the holes
in the front of the enclosure and angle back into the studs (or
, if the space
between your studs was wider than 14
1
/2"–15
1
/2", into the shims). [Figure
6] Tighten all the screws on one side before installing and tightening the
screws on the other side.
8. Secure the locking arms at the top and bottom of the plastic frame
by turning the screws clockwise, taking care not to over tighten.
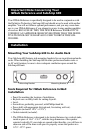
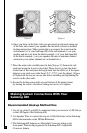
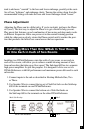
Making System Connections With Your
SubAmp 600
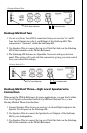
Recommended Hookup Method One
1. Use a Low (Line) Level RCA connection from your receiver’s LFE Out in
to the LFE Input of the SubAmp 600.
2. Use Speaker Wire to connect the top set of Sub Out Jacks on the SubAmp
600 to the terminals on the IWSub Reference.
3. The SubAmp 600 features an Adjustable Crossover setting on its
front panel. This hookup bypasses the SubAmp 600’s Adjustable
Crossover feature.
Figure 6
Figure 5
6