


11 4
Getting Started
Unpacking
1 Remove packing materials from unit.
NOTE: Save all packing materials.
2 Remove plastic bag covering radio.
3 Remove plastic safety cover from A/C plug.
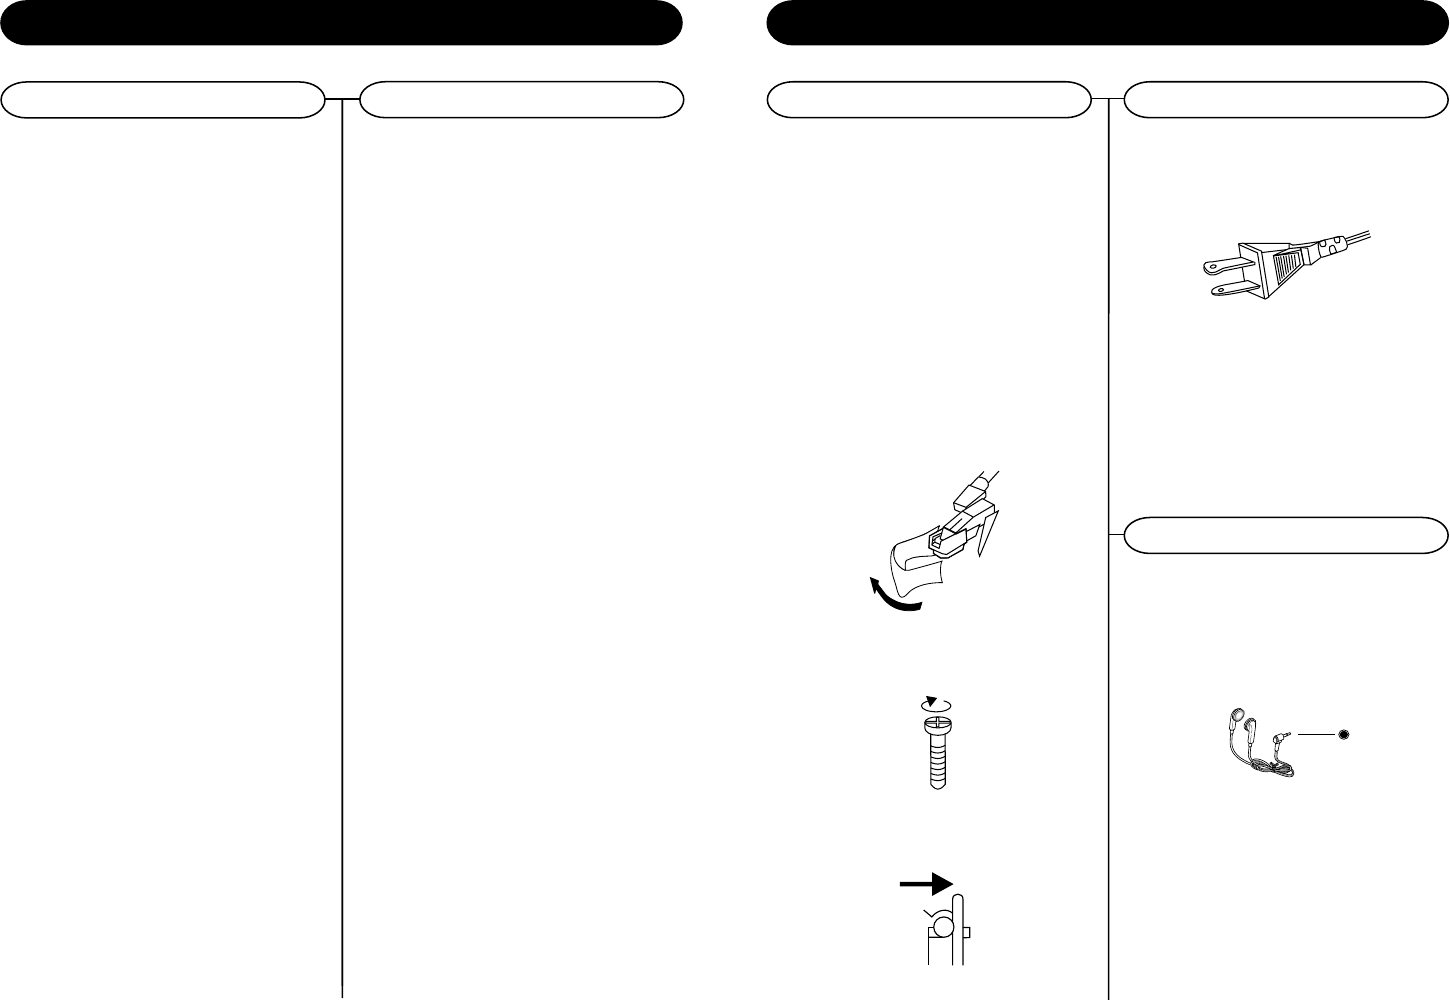
4 Remove tie from A/C cord and untie antenna
wire on back of radio.
5 Open lid and remove styrofoam shipping
material from turntable.
6 Remove black tie-wrap from under the tone
arm.
7 Remove tape and white protective needle cover
by gently pulling down off the tone arm.
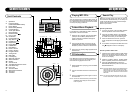
8 Turn the TURNTABLE SUSPENSION SCREW
(28) clockwise until it is all the way down.
Do not force or over tighten it. This allows the
turntable to float on its shock absorbers.
9 Release tone arm hold down clip by gently
pushing to the right. This will unlock tone arm
from its arm rest. Re-lock the hold down clip
when moving the unit to another location.
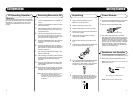
Power Source
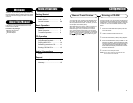
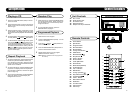
Headphones Jack Operation
1 Connect headphones to the Headphone Jack (13)
2 Adjust volume to the desired listening level.
NOTE: When using headphones, the sound to the unit
speakers will be cut off.
CD Recording Operation
Preparation
This unit is designed to record CD-R and CD-RW
discs bearing the identification logo Compact Disc
Recordable or CD-Rewritable. If CDs do not
conform to this standard, they may not record
properly.
1 Load a compatible blank CD-R or CD-RW into
the unit.
2 Press the FUNCTION button (2/63) to set the
unit to Phono mode.
3 Set the SPEED CONTROL SWITCH (32) to
the correct speed (33 1/3, 45 or 78 rpm) for
the selected record.
4 Use the CUE LEVER (30) to raise the tone
arm off its rest. Move the tone arm over the
record and use the cue lever to lower it to the
point you want the recording to start.
5 Press the CD RECORD button (7/50). Record
will show on the LCD. The CD will begin
recording.
6 Once the first side of the record is finished,
press the STOP(12/48) button. The display will
read CLOSE TK for two seconds and then
change to PHONO.
7 Turn the record over and repeat steps 4-6 to
record the other side.
8 After recording is completed, press the STOP
(12/48) button. The display will read "CLOSE
TK" for two second and then change to
"PHONO".
9 Once you have finished the recording, press
the FINALIZE (5/54) button. The display will
read "Finalize".
10 Once the CD has been finalized, the unit will
return to Phono mode and the display will show
"PHONO". The CD is now ready for use.
NOTE: If the CD is not finalized, it will not play in any
other CD player. Not all CD players are
compatible with CD-R and CD-RWs. Check
the owners manual for other CD players for
compatibility
.
CD Operation
Recording Records to CD
The sound from all speakers is cut off.
Headphone Jack(13)
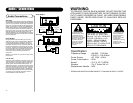
AC
Polarized Plug
1
Unwind the AC POWER CORD (37) at the back
of the unit and connect it to a power outlet.
2 Plug A/C cord into appropriate outlet.
3 This product is equipped with a polarized
alternating current line plug (a plug having one
blade wider than the other). This plug will fit into
the power outlet only one way. This is a safety
feature, If you are unable to insert the plug fully
into the outlet, try reversing the plug. If the plug
should still fail to fit, contact you electrician to
replace your obsolete outlet. Do not defeat the
purpose of the polarized plug.
NOTE: Headphones not included with unit.