


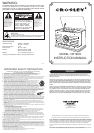
POWER SOURCE
Unwind the AC power cord at the back of the unit and connect it to the power outlet.
RADIO OPERATION
1. Turn the unit on by switching the ON / OFF (6) to ON position.
2. Switch the function knob to TUNER (3).
3. Select the desired sound level by turning the VOLUME CONTROL (6).
4. Select the Waveband by switch the BAND (4) selector.
5. Turn the TUNING (5) to select desired broadcast station.
6. To turn the unit off by switching the ON / OFF (6) to OFF position.
ANTENNA
For FM reception, a wire is provided. Move the wire until the reception is clear. Do not connect
the external Fm antenna to any other antenna.
AUX IN OPERATION
1. Select the function knob (3) to AUX position.
2. Connect the cable of an external unit (CD, Turntable, TV, ect.) To the AUX IN PLUG (20).
CD OPERATION
PLAYBACK
1. Switch the FUNCTION BUTTON (3) to select CD mode.
2. Release the CD player arm (9) and insert the disc with the labelled side facing upward onto
the tray.
3. Place the CD player arm (9) back inplace , the display will show "_ _" for a few seconds,
then the total number of tracks of the disc will be displayed. "00" will be shown when there
is no disc inside the compartment.
4. Press the PLAY/PAUSE BUTTON (16) to start playback and the play mode indicator(15) will
be on.
5. Adjust the VOLUME CONTROL (6) as desired.
6. To stop playback temporarily, press the PLAY/PAUSE BUTTON (16). The play mode indicator
will flash. Press the PLAY/PAUSE BUTTON (16) again to resume playback.
7. To stop playback, press the STOP BUTTON (17) and the paly mode incidator will be off.
FORWARD SKIP AND BACKWARD SKIP
1. Press the FORWARD SKIP (13) or BACKWARD SKIP (14) button to select a desired track.
2. Press the PLAY/PAUSE BUTTON (16) to start playback of the selected track.
SEARCH FORWARD AND BACKWARD DURING PLAYBACK
1. Press the FORWARD SKIP (13) or BACKWARD SKIP (14) and keep it pressed to search
forward or backward for the desired point on the track.
2. Release the button at the desired point, playback will resume automatically.
REPEAT PLAYBACK
1. To select the single track repeat function, choose the track that you want to repeat,
then press "PLAY/PAUSE BUTTON" (16) to play the track. Press the REPEAT BUTTON
(12) once, to activate the single track repeat and the REPEAT INDICATOR (11) will flash.
2. To select the all tracks repeat function, Press the "PLAY/PAUSE BUTTON" to start the track.
Press the REPEAT BUTTON (12) twice, to activate the all tracks repeat function and the
indicator (11) will remain on.
3. To erase the repeat function, press again the REPEAT Button (12)until the indicator (11) is
off or release the CD player arm.
PROGRAMMED PLAYBACK
1. Press the PROGRAMME BUTTON (18). "Pr" will shown on the display and the programme
indicator will flash.
2. Press the FORWARD SKIP (13) or BACKWARD SKIP (14) to make track selection.
3. Press the PROGRAMME BUTTON (18) again to instore the selected track number.
4. Repeat steps 2 and 3 above to program other tracks.
5. Press the PLAY/PAUSE BUTTON (16) to start programmed playback and the programme
indicator will be on.
6. To erase the programmed sequence, press the STOP BUTTON (17) twice or until the indicator
is off.
NOTE: Maximum of 16 tracks can be programmed to play in any order.
TROUBLESHOOTING GUIDE
The unit does not operate
* Is the AC power cord connected to a power outlet and fully inserted ?
* Is the unit turned on ? Rotate the FUNCTION knob from the OFF position to turn on the unit.
No radio
* Is the FUNCTION switch in the correct position ? Turn FUNCTION switch to Radio.
* Adjust the VOLUME knob.
* Rotate the TUNING knob to find a radio station.
POLARIZED ELECTRICAL PLUG INSTRUCTIONS
This product is equipped with a polarized alternating current line plug (a plug having one blade
wider than the other). This plug will fit into the power outlet only one way. This is a safety
feature, If you are unable to insert the plug fully into the outlet, try reversing the plug. If the
plug should still fail to fit, contact you electrician to replace your obsolete outlet. Do not defeat
the purpose of the polarized plug.
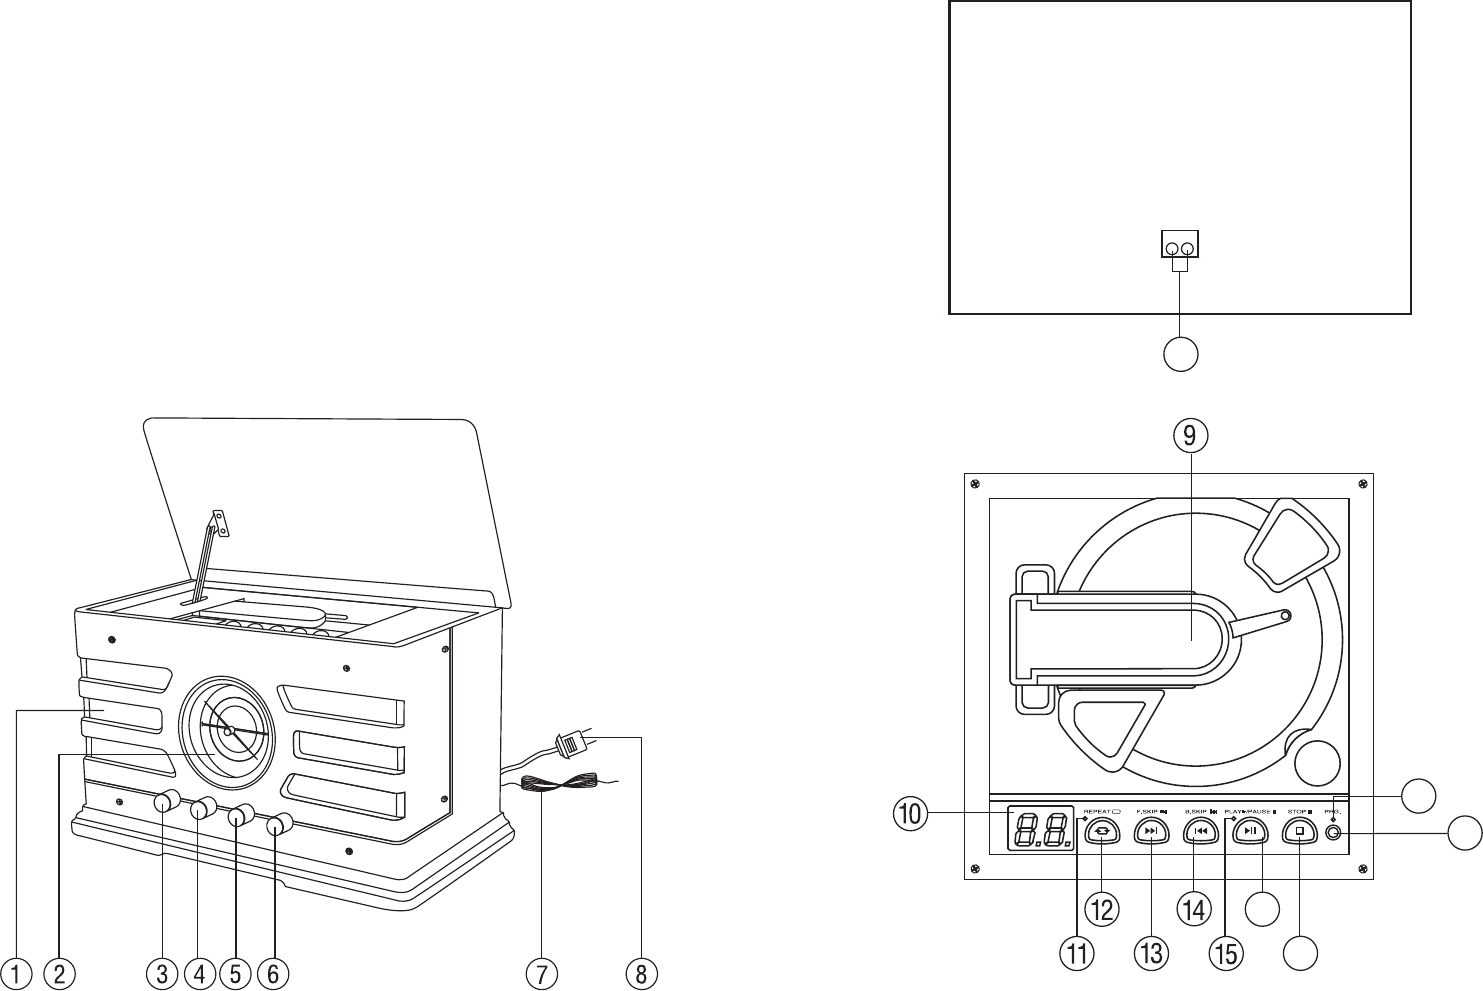
LOCATION OF PARTS
1. Speakers
2. Radio Dial Display
3. Tuner / CD / AUX
4. AM / FM / FM St. Band Switch
5. Tuning
6. On / Off Switch Volume Control
7. Antenna
8. Power Connection Plug
9. CD Player Arm
10. LED display
11. Repeat Indicator
12. Repeat
13. Forward Skip
14. Backward Skip
15. Play/Pause Indicator
16. Play/Pause
17. Stop
18. Programme
19. Programme Indicator
20. AUX IN Jack
AUX INPUTS
R L
16
17
18
Back Fibre Board
20
19