


Unpacking the Unit
Inspect the unit once the packaging has been opened for any damage
occurred during shipping & contact us immediately. Please keep the packing
material for further use.
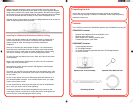
Contents
The CS308 kit contains the CS308-SPK speaker and CS308-MNT mounting kit.
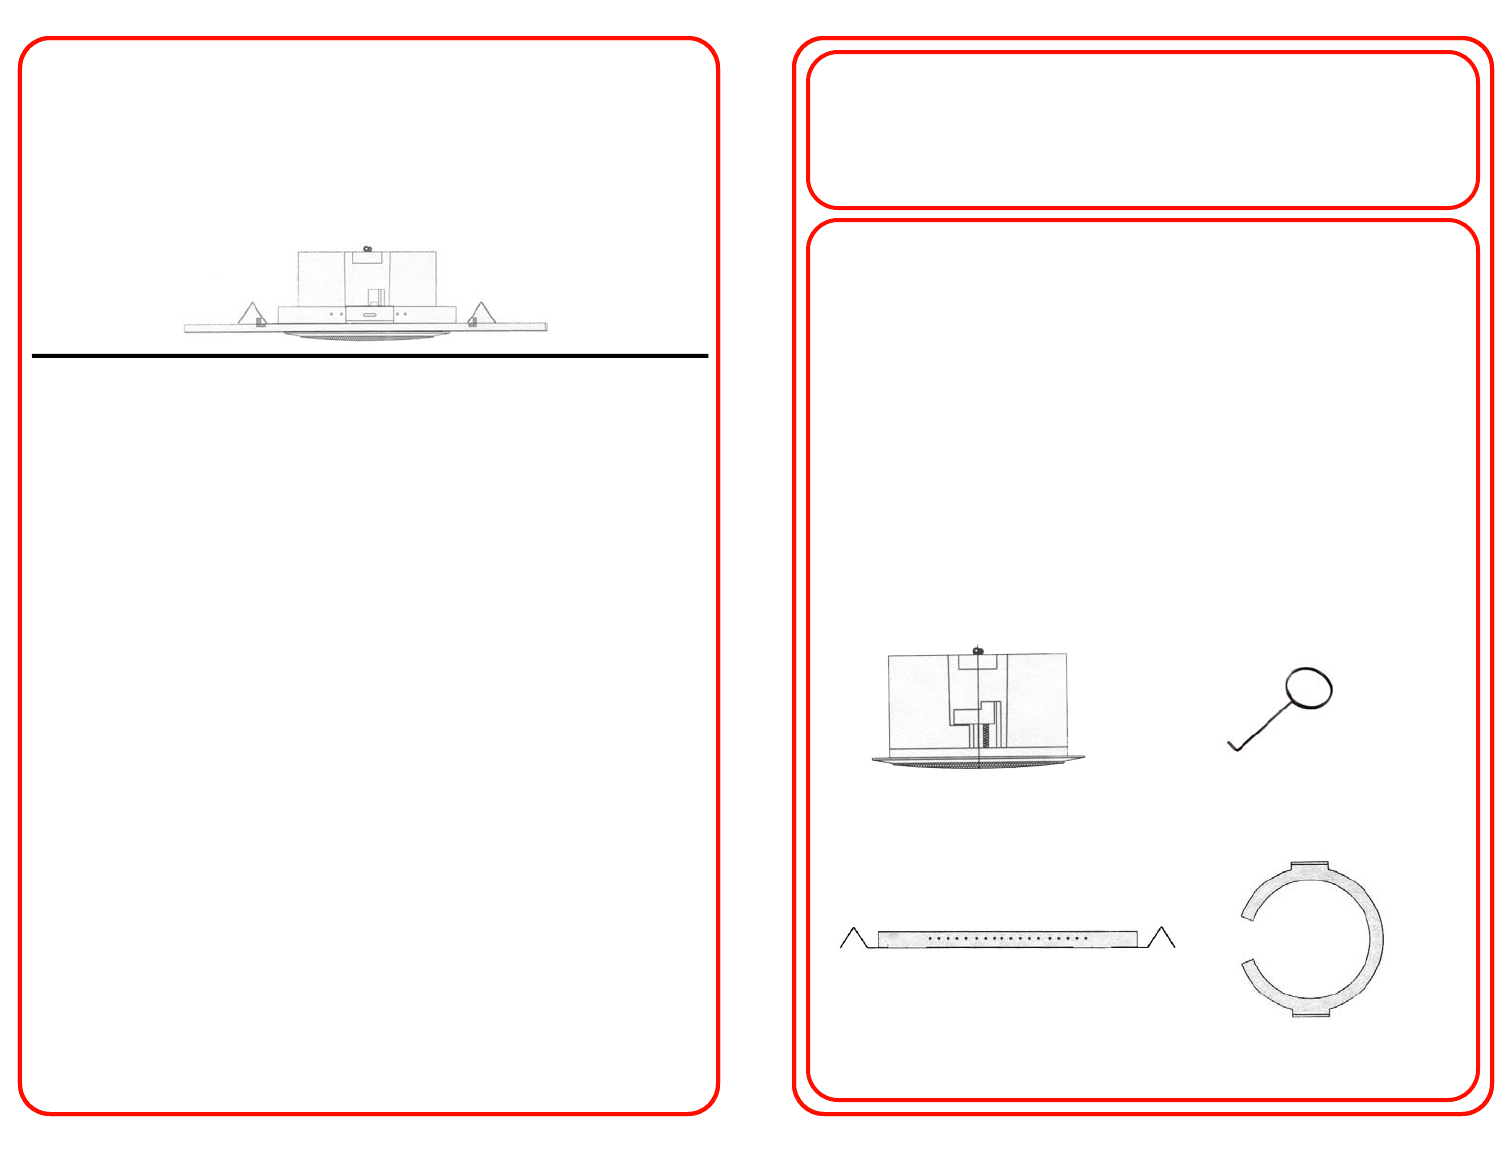
CS308-SPK Contents:
• Speaker with integrated UL Fire-rated back cover
• Speaker grille removal tool
• Black adhesive for attaching speaker grille
• Cardboard template / paint mask
CS308-MNT Contents:
• Circular Speaker Bracket
• (2) Tile Bridge Brackets
• (4) screws for attaching Speaker Bracket to Tile Bridge Brackets
• (4) nuts for screws
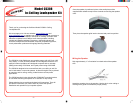
Speaker Grille Removal Tool
Speaker with Cover Assembly
Circular Speaker BracketTile Bridge Bracket
-5- -2-
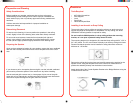
While holding the assembly in place on the back side of the tile, place the
speaker assembly through the hole and attach to the Circular Speaker Bracket
using the four screws on the outer edge of the speaker. Be careful not to tighten
the screws too far to avoid damaging the tile. Do not attempt to bend or reshape
the Circular Speaker Bracket, as doing so may cause the speaker to fall.
Replace the tile, making certain to position the Bridge Brackets ends so that the
frame is supporting them at all four points.
Installing in a Sheetrock (Plasterboard) Wall or Ceiling
Please note that the speaker can be installed in walls or ceilings with a
maximum thickness of 1.25 inches. In buildings with older lathe-and-
plaster ceilings or walls, we strongly recommend professional
installation.
After you've chosen your ideal speaker locations, use a stud finder to
locate the studs in that area of the wall or ceiling. Inspect the selected
area for AC circuitry, water pipes and other infrastructure. When drilling
into walls or ceilings, use caution to avoid damaging these items.
To make sure the area behind your wall is clear, drill a hole in the center
of the template.
Bend a wire coat hanger to 90 degrees, so that the end of it meets the
edge of the circle you’ve drawn.
Insert the wire into the hole and rotate it 360 degrees to make explore
the area for obstructions.
If it’s clear, you can then use a drywall saw to cut the speaker hole. (Hint:
drill a hole along the circumference of the circle to create a starting point
for your saw.)
Do not cut any drywall until you've drilled pilot holes and checked all of
your desired speaker locations. If one location doesn’t work, you might
need to move others as well.
Do not discard the cut away piece of drywall until you’ve completed the
job, in case you need to use some for patching.
Position the speaker into the hole and tighten the four screws on the
outer edge to secure it to the wall or ceiling. Be careful not to tighten the
screws too far to avoid damaging the wall or ceiling.