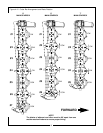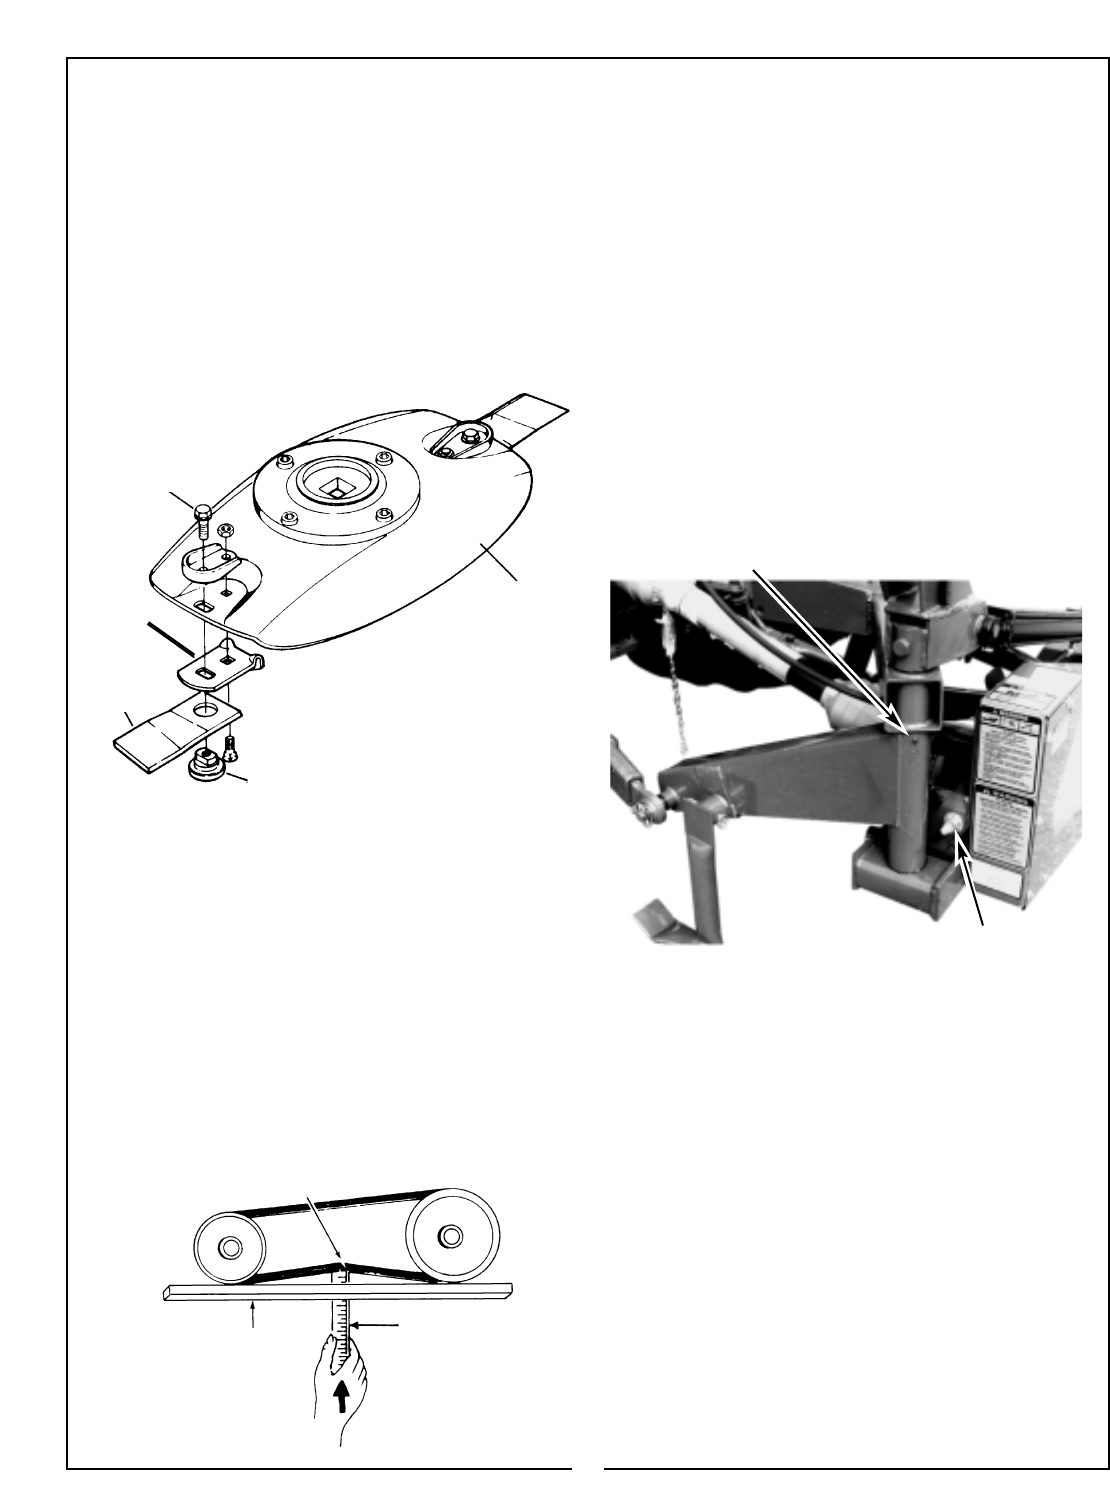
4-3 BLADE REPLACEMENT
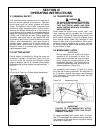
The disc mower blades each have two cutting
edges. When one edge becomes dull or damaged,
remove the bolt and turn the blade over, Nuts can be
re-used if not damaged. If both cutting edges of the
blade have been used, the blades must be replaced.
Always replace both blades on a spindle to retain
balance. When replacing blades, the attaching
bolt and nut should also be replaced. Use only
genuine Bush Hog replacement parts. (Figure 4-2)
4-4 BELT ADJUSTMENT
Belt tension should be checked after first 2 hours of
operation and thereafter every 40 hours to get maxi-
mum life from drive belts and best performance from
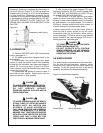
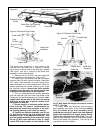
mower. To check adjustment, push upward through
hole in bottom of belt shield with 10 lbs. of force. Belt
should deflect approximately 1/2 inch (Figure 4-3).
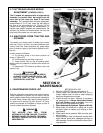
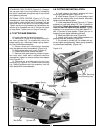
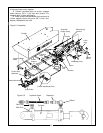
To increase tension, loosen jackshaft assembly pivot
bolt, (Figure 4-8), loosen jam nut, and turn adjusting
nut (Figure 4-4) clockwise. Tighten pivot bolt and
jam nut.
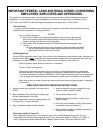
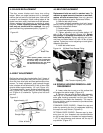
Figure 4-2
Blade Bolt
Blade Disc
Blade
Stop
Blade
Nut
When replacing blades, insure that
shoulder of blade nut is seated into
the blade stop and blade disc.
Torque blade bolt to 50 ft. lbs. Strike
nut with hammer and retorque.
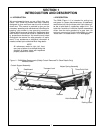
Figure 4-3
Approximately 1/2”
Straight Edge
Ruler
10 lbs. of force
4-5 BELT REPLACEMENT
Replacement belts are sold in matched sets. To
maintain an equal amount of tension on each belt,
replace all belts at same time. Use only genuine
Bush Hog replacement parts. Replace as follows:
A. Remove belt shield cover.
B. Loosen jackshaft assembly pivot bolt, loosen
jamnut, and turn adjusting nut (Figure 4-4) counter-
clockwise to relieve belt tension.
C. Remove belts.
D. Install new matched set of belts.
E. Tighten adjusting nut until belts deflect 1/2”
with 10 lbs. of force applied (Figure 4-3). Rotate
belt pulleys 6 complete revolutions to seat the
belts into the pulleys. Tighten adjusting nut a sec-
ond time until belts deflect 1/2” with 10 lbs. of force
applied. Tighten jam nut on adjusting nut and tighten
assembly pivot bolt.
F. Install belt shield cover.
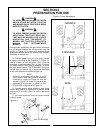
Figure 4-4 (8) Mast Pivot Grease Fitting
Belt Tension Adjusting Nut
4-6 SPINDLE HOUSING REMOVAL AND
REASSEMBLY
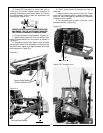
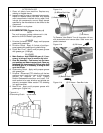
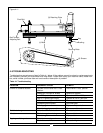
A. Lower cutter bar to rest on a flat surface that
will support the entire length. (Figure 4-5)
B. Remove the cap and the blade disc assembly
retaining nut on desired blade disc assembly. The
outer gear housing assembly has the crop divider
asembled to the blade disc assembly. The cap for
the crop divider must be removed to provide access
to the retaining nut.
STANDARD CROP DIVIDER - Detach the cap and
cutter by removing the four (4) capscrews attaching
the cap to the crop divider. (Figure 4-6)
OPTIONAL CROP DIVIDER - Remove cap by loos-
ening jam nut, turn threaded rod counterclockwise
so cap moves down on threaded rod approximately
1-1/2” tilt cap sideways and remove out the top of
crop divider. (Figure 4-7)
14


