Behringer BXL3000 Stereo Equalizer User Manual


7
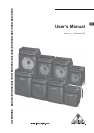
ULTRABASS BXL450A/BXL900A/BXL1800A/BXL3000A
4. WIRING EXAMPLES
3.2.2 The Shape function
       

















3.2.3 The Ultrabass function
(not available on BXL450 and BXL450A)

















3.2.4 The compressor
(only BXL1800/BXL3000 and BXL1800A/BXL3000A)









s  
s  

s 








+ The compressor works independently of the built-
in protective limiter, which is always active on all
BXL models and protects the power stage from
overloading and distortion.
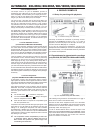
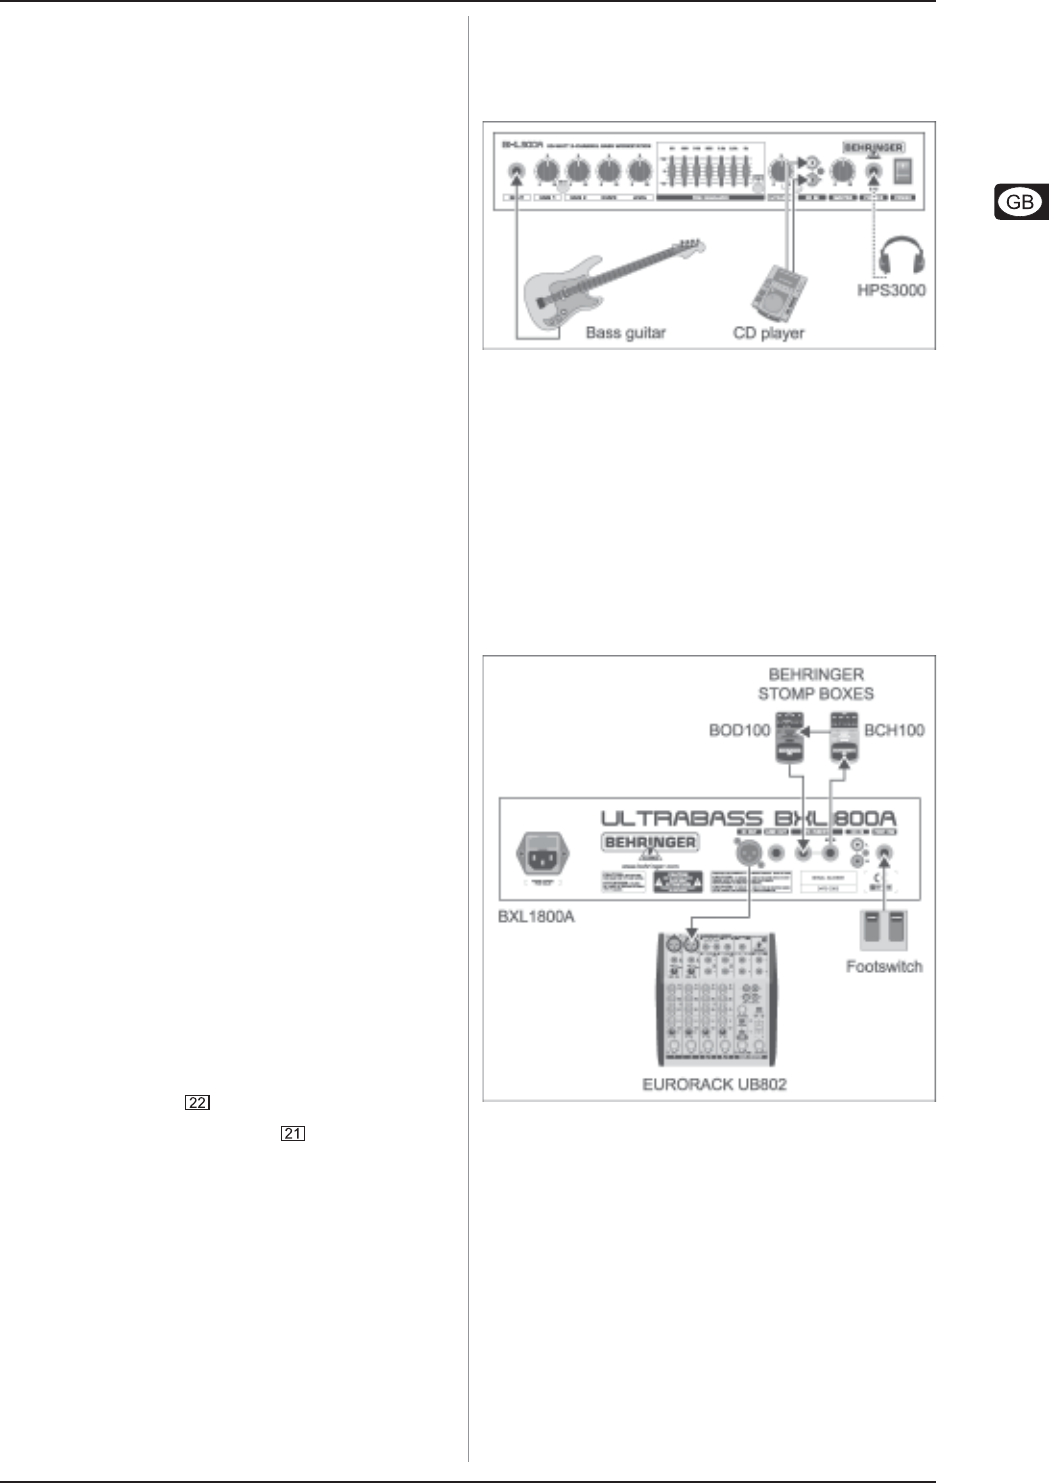
4. WIRING EXAMPLES
4.1 Setup for practicing with playbacks
Fig. 4.1: Standard setup (here: BXL900A)








4.2 Expanded setup for gigs and studio recordings
(only BXL1800, BXL3000, BXL1800A and BXL3000A)
Fig. 4.2: Expanded setup (here: BXL1800A)










