


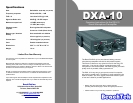
Rear Panel Controls and Connections
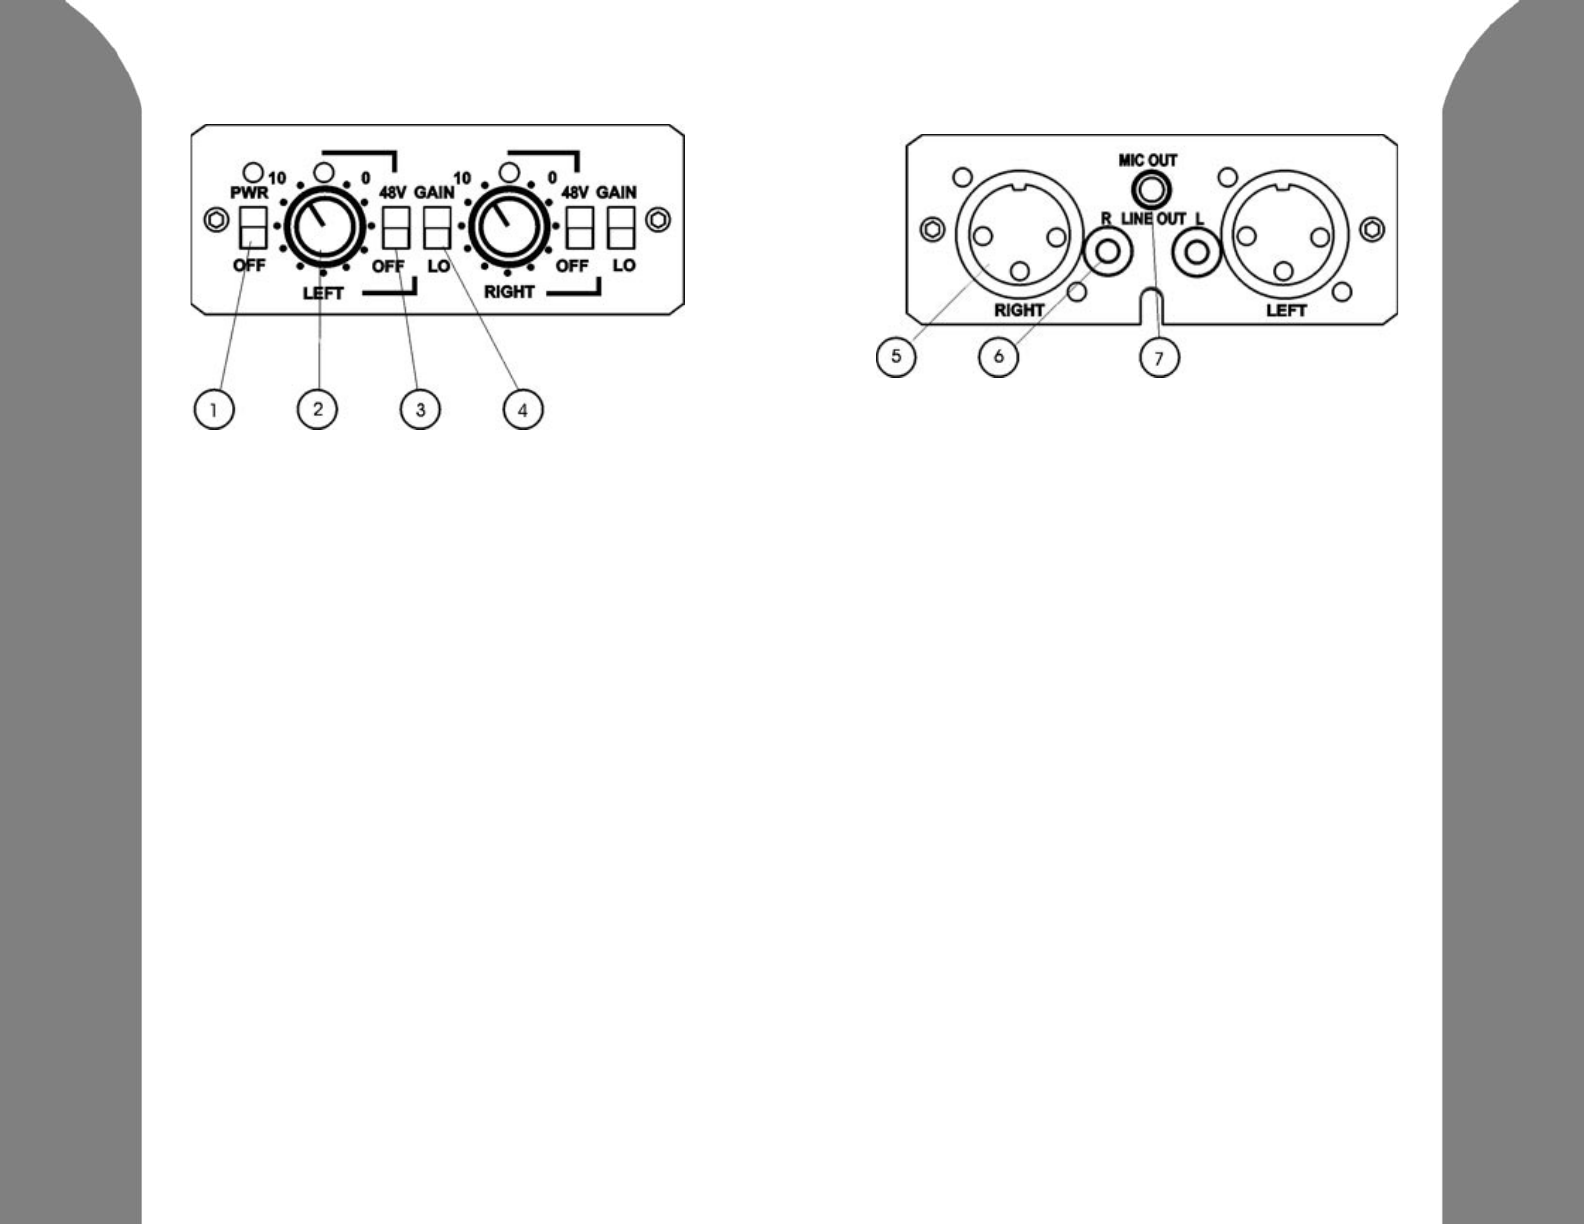
5. Balanced and Unbalanced Input Connections
The XLR inputs of the DXA-10 can accept balanced or unbalanced
connections. To convert the input to unbalanced, simply ground
pin 1 to pin 3.
6. LINE OUT
You can connect the RCA outputs to any recording device that has
a line level input. To use as a front end for the Sony FX1, use an
RCA to stereo mini-plug cable and connect to the MIC/LINE jack on
the camera. Set the camera to LINE in mode.
7. MIC OUT
You can also connect to the stereo MIC input on many recording
devices using a cable with stereo mini-plugs on both ends.
©2006 BeachTek Inc.
Front Panel Controls and Indicators
1. Power
Install a fresh 9 volt battery in the adapter. Turn on the PWR switch
to activate the unit. The LED above the switch should light to indicate
good battery power. Turn off power when not in use to conserve
battery power
2. Trim Controls
Each channel has an attenuator to adjust the output signal level.
Use these controls to adjust for the desired recording level.
3. Phantom Power
If you are using a condenser microphone that requires phantom
power to operate, turn on the switch labeled “48V” for the channel
that it is connected to. The corresponding LED should turn on as
a reminder that phantom power is present. Dynamic microphones,
wireless receivers and connections to mixing boards should not have
phantom power activated so be sure that the switch is OFF when
using these devices.
4. Gain Control
Each channel of the DXA-10 has a gain switch to provide the
optimum amount of amplification for your particular microphone.
Normally the gain switch should be set to “LO” for condenser type
microphones. For dynamic type microphones, leave the switch in the
up position for full gain