


4
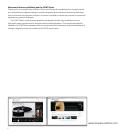
4. Installing CCM7 Series Speakers
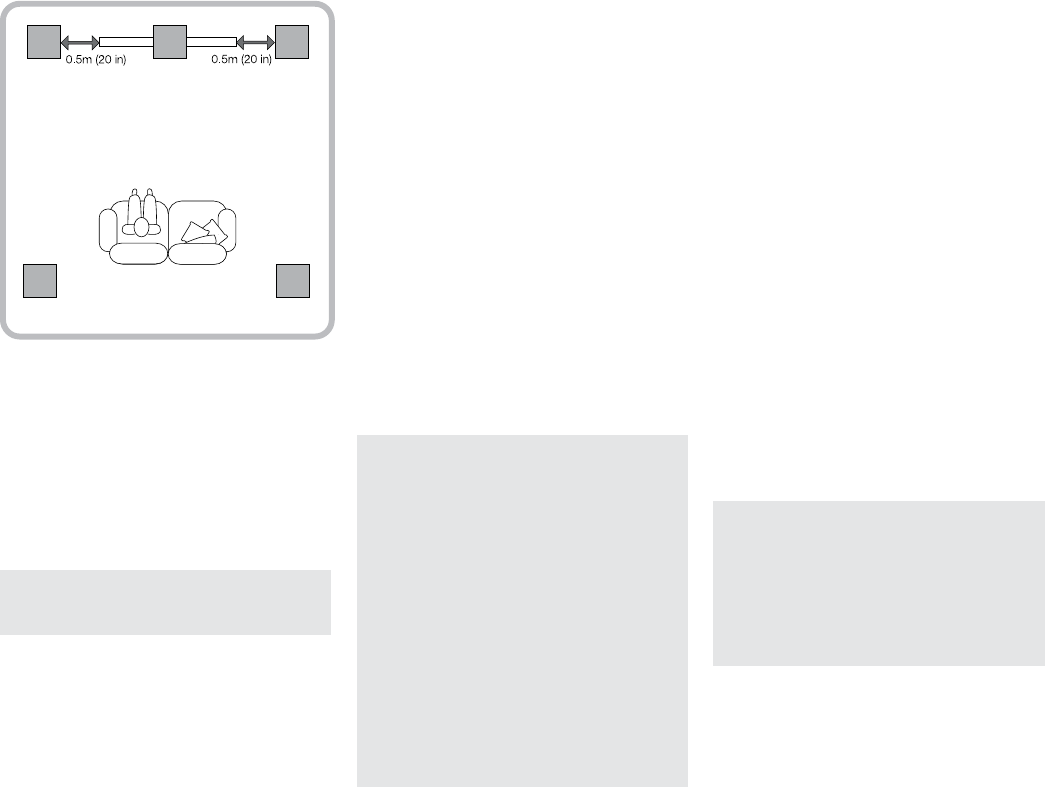
Multi-channel Audio Applications
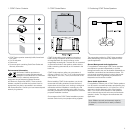
For applications where multiple CCM7 Series speakers
are to be used for multi-channel audio visual systems,
the centre speaker should be on the centre line of the
screen and the front speakers each laterally within
approximately 0.5m (20 in) of the sides of the screen.
Surround channel CCM7 Series speakers should be
located just behind and either side of the listening
position. Try to avoid corner locations for any of the
speakers and to ensure that acoustic environment
around each front and surround speaker is similar. The
diagram above illustrates this application.
Note: Different acoustic environments might be,
for example, a bare wall and a heavily curtained
window.
In all cases CCM7 Series speakers should be oriented
so that their tweeters face generally towards the
listening area. Speaker orientation is dened by the
installed orientation of the back box. See Section 4.
Note: CCM7 Series speaker dispersion can be
adjusted to accommodate use in centre or left,
right and surround channel roles. The dispersion
is adjusted via a switch on the cross-over. See
Paragraph 4.7 for more information.
Note: The nature of the installation of ceiling
speakers means that it is sometimes impractical to
locate them in the acoustically ideal positions. In
these cases they should be located as close as is
practical to the ideal positions. Your local Bowers
and Wilkins retailer will be able to offer advice if
required.
Note: CCM7 Series drive units create stray
magnetic fields. We recommend that magnetically
sensitive items such as CRT screens and magnetic
cards for example, are kept at least 0.5m (20 in)
from the speaker. LCD, OLED and plasma screens
are not affected by magnetic fields.
To install a CCM7 Series speaker proceed as
described in the following paragraphs:
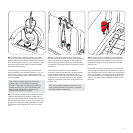
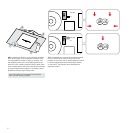
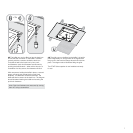
4.1 Using the supplied cut-out template, mark a cut
line on the existing ceiling. Check the cut line denes
the correct 332mm x 332mm dimensions. Cut along
the line with an appropriate tool to create a square
aperture in the ceiling.
Note: Ensure that there is enough free space
internally adjacent to the aperture for the back box
clamps to rotate fully. 20mm (0.79 in) free space is
required.
Note: To reduce the possibility of the ceiling buzzing
or rattling, adhesive mastic can be applied between
the studs and sheetrock in the vicinity of the
speaker aperture.