


128-7220
5 of 32
NOTE: The XM® signal can be received and
processed virtually anywhere as long as there
are no obvious satellite signal obstructions
such as nearby buildings, high terrain,
parking garages or tunnels.
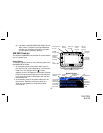
The XR9 is typically installed in an
accessible location of the vehicle (dash area),
consistent with line-of-sight operation of the
remote control, and/or within easy reach of the
driver. For home use, situate the XR9
close to your stereo receiving equipment.
Enjoying Your XM®
XR9
You can begin to enjoy XM® Satellite Radio as soon as
the XR9 and Kit installation are complete:
1.Set up your Audiovox XR9 using the installation
instructions included in your Home Kit, Vehicle
Kit or Boom Box Kit, or with the help of a profes-
sional installer.
NOTE: Refer to Antenna Aiming (page 18) during
the installation procedure.
2. When power is available to the unit, press the Power
(
) button to turn on the XR9.
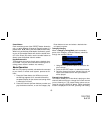
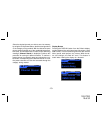
3. The XM logo (
) appears on the display
followed alternately by the XM preview channel. If
this is the first time using the XR9, the screen will
alternately display the Preview channel screen and
a number of messages, including: “Activate Your
XM 1-800-XM RADIO”. If not, go to channel 1 using
the CH Up/Down buttons.
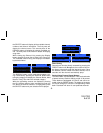
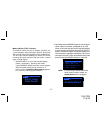
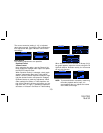
4.To obtain the XM identification (ID) number, tune to
channel 0 or press the MENU button. The Main Menu
page appears with the Radio ID option highlighted.
Press the SELECT button and the 8-digit XM ID
number will appear. Write the number here for
future reference.
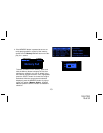
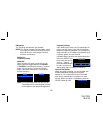
5. Activate your XM® radio service ---- it’s easy. You
have one of two choices to activate your service:
(a) Visit the website at XMRadio.com and click on
the “Activate Radio” section. You will then need
to follow some simple directions and provide XM
withsome basic information in order to activate
your service.
-5-