128-6880
9 of 20
-9-
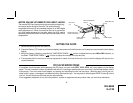
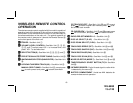
NOTES ON USE OF REMOTE RCA INPUT JACKS:
The remote RCA input jacks provide the user option of applying
an external audio source to the radio.The audio jacks are
compatible with most CD and cassette players, or an MP3 digital
audio playback unit. When the external source is connected,
only that media is played by the radio when the AUX input is
selected by the MODE button; no other input sources (radio or CD)
are operative.
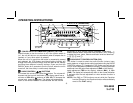
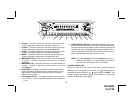
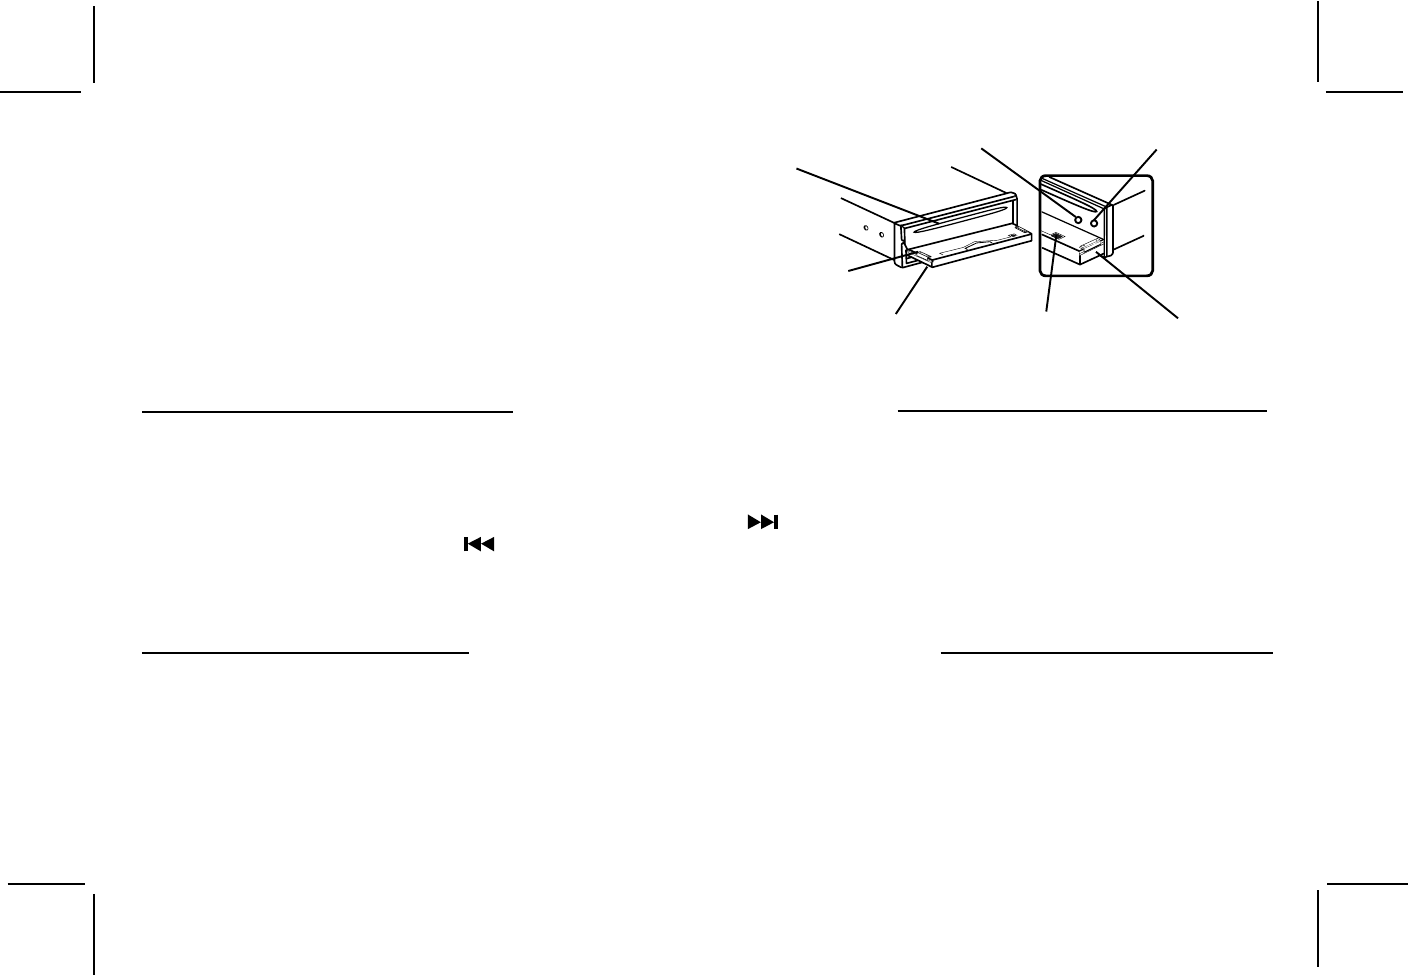
CD EJECT
BUTTON (27)
FRONT PANEL
MOUNTING PLATE
GUIDE (2 PLACES)
PANEL MOUNT-
ING PLATE
RESET BUTTON
(32)
THEFT DETERRENT
LED (31)
DISC SLOT
(19)
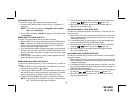
1. Switch the vehicle ignition and radio “on”.
2. Press the Display (T/F) button to call the time display; then press and hold the button until a beep tone occurs and the time display
flashes.
3. While the display is flashing, press the Up TUNE/SEEK/TRACK ( ) button to adjust the hours and AM or PM indication, or
the Down TUNE/SEEK/TRACK ( ) button to adjust the minutes to the correct time.
4. Five seconds after the last hour or minute adjustment is made, the time will be set in the unit and the display will return to the
normal indication.
SETTING THE CLOCK
CD PLAYER ERROR CODES
If a problem should develop while operating the CD player, an error code (ER-1, ER-2, ER-3, etc.) may appear on the display
panel. This can indicate a number of problems with the unit, including a mechanical error or an error in the microprocessor control
of the player. If an error code should appear, try ejecting and reloading the disc into the player. While the disc is out of the unit,
make sure it is clean, undamaged, and loaded correctly (label surface up). You may also try activating the RESET button dn on the
unit, but this will also erase the time and pre-set memories.
If the suggested measures do not solve the problem, contact an approved warranty station near you for further assistance.


