


© 2007 • All rights reserved. 9
Storm Series Ceiling Speakers
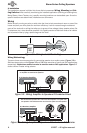
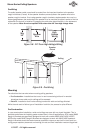
4. Once it has been determined that the cavity is free from obstructions, position the cutout
template and use a pencil to lightly trace the perimeter of the template.
5. Cut the opening using a keyhole saw, drywall router, or razor knife.
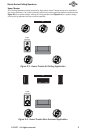
Mounting Speakers in Ceiling (Pre-Construction or Retro-Fit)
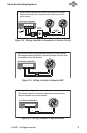
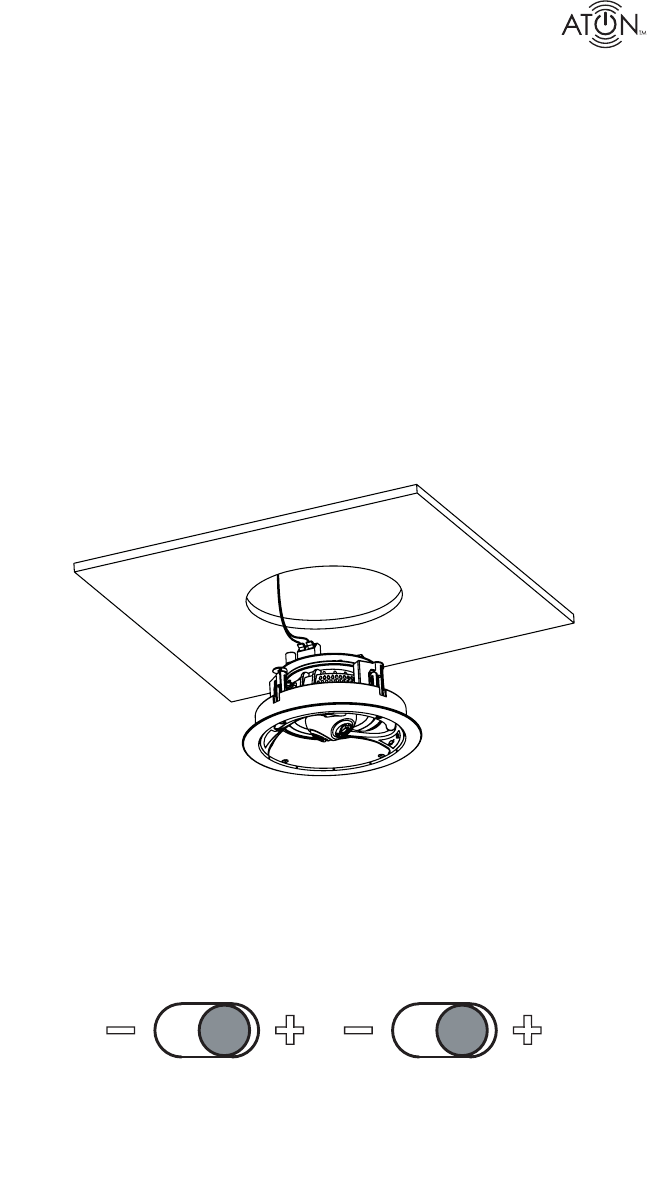
1. Remove speaker grille and place speaker face down.
2. Locate the speaker wire and pull through the ceiling opening.
3. Connect the speaker wire. BE SURE TO OBSERVE CORRECT POLARITY!
4. Insert the speaker into the opening in the ceiling (or Rough-in Bracket opening) and care-
fully tighten each of the four clamping screws, alternating diagonally between each screw
position to ensure proper fi t.
5. Aim the pivoting tweeter at the listening area.
7. Set the Treble (A62C/A62ST/A63/A82C) and Bass (A63C) switches if
applicable. See Setting Switches for details.
8. Replace the speaker grille.
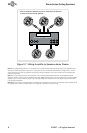
Figure 3.12 -Mounting Speakers In Ceiling
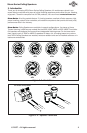
Setting Switches
Once the speakers are wired, mounted, and positioned correctly, use the Bass and Treble
switches (if applicable) to fi ne-tune the speakers based on local environmental variables such
as hardwood fl oors, thick draperies, etc. Select the “+” position to increase Bass/Treble re-
sponse or select the “-” position if no increase or decrease is desired.
BASS
BASS
TREBLE
TREBLE
Figure 3.12 -Mounting Speakers In Ceiling