


For full warranty information, refer to the AMX Instruction Manual(s) associated with your Product(s).
3/08
©2008 AMX. All rights reserved. AMX and the AMX logo are registered trademarks of AMX.
AMX reserves the right to alter specifications without notice at any time.
3000 RESEARCH DRIVE, RICHARDSON, TX 75082 • 800.222.0193 • fax 469.624.7153 • technical support 800.932.6993 • www.amx.com
93-1103-21 REV: A
Connecting Zone Outputs (Speakers)
Speaker Connectors
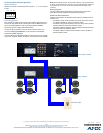
Speaker connections use standard speaker outputs (L+, L-, R-, R+) as shown
in FIG. 2.
Connecting Speakers
Each speaker has a Red (positive) terminal and a Black (negative) terminal.
Connect the appropriate wire from the keypad to Red and Black terminals on
the Left and Right speakers, as with any standard speaker installation.
Connecting To a Tango Audio Controller
Connect the Tango Amplifier to the Tango Audio Controller via the 4-pin
connector labelled “From Controller” on the rear panel of the Amplifier.
Connecting SWT Keypads
Connect SWT Keypads (DAS-MET-6SRC or K-Series) to the Tango Amplifier
via the SWT connector labelled “To Keypad” on the rear panel of the Amplifier.
Note: When stripping cable for use with SWT connector, only strip away about
¼” (6mm) of the insulation from each wire. The complete assembly should not
have more than 1/32” (1mm) of bare wire exposed from the bottom of the
connector.
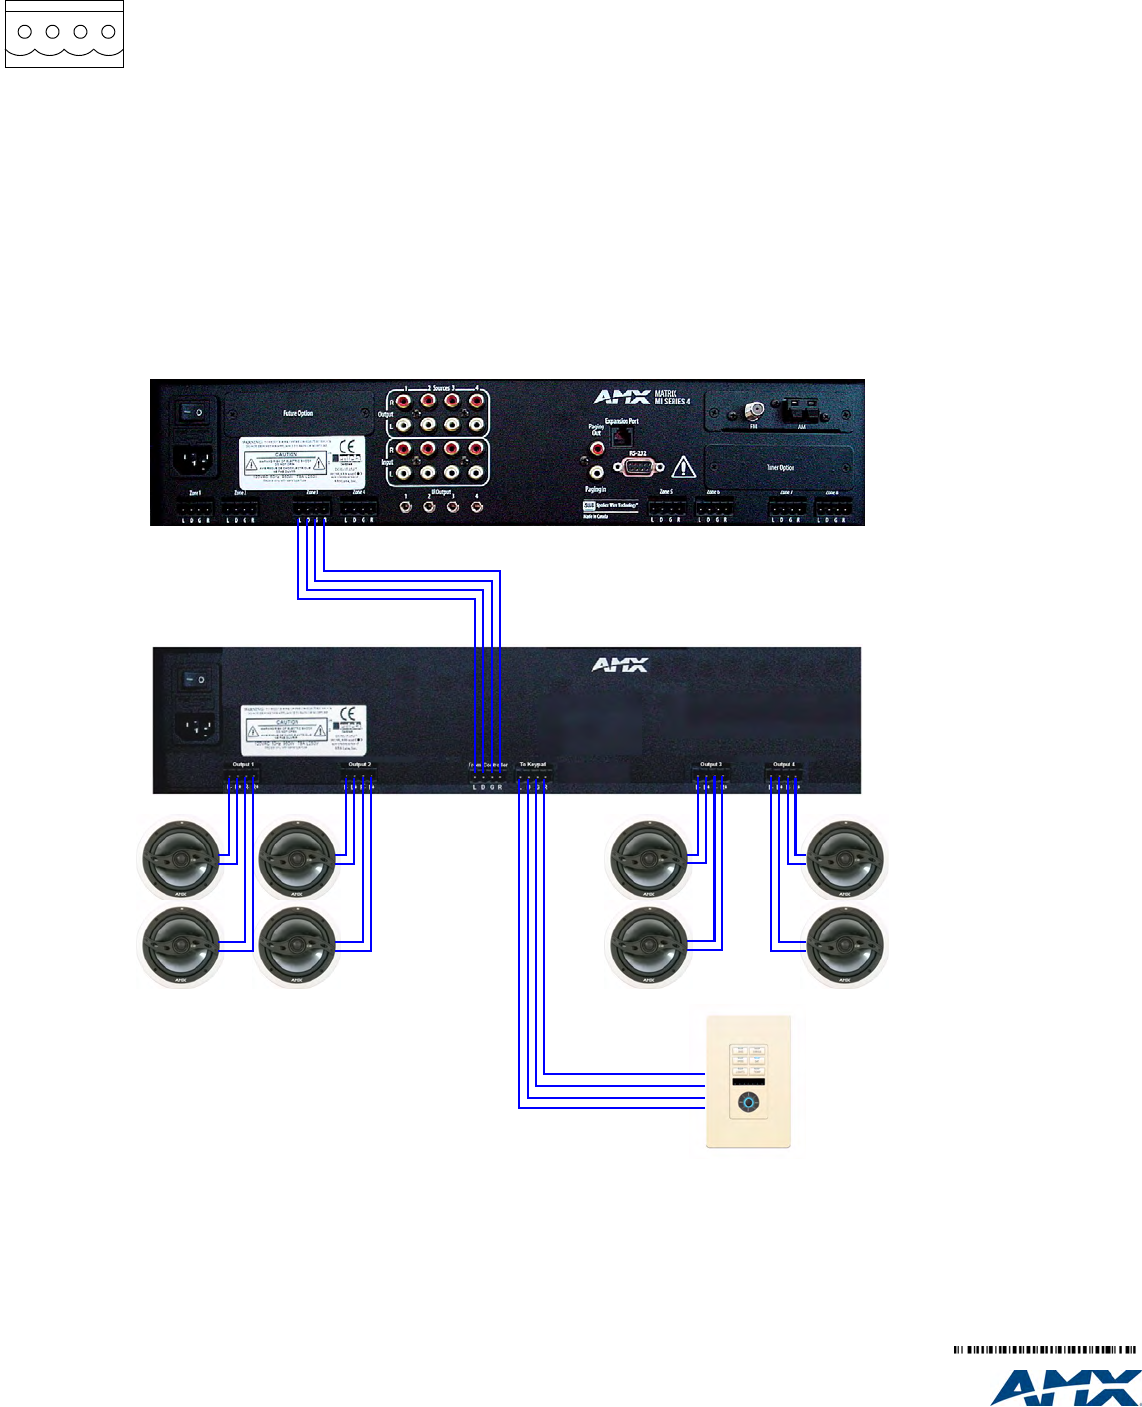
Wiring Diagram
The wiring diagram below illustrates the connections from a Tango Audio
Controller, and to SWT Speakers and Metreau (SWT) Keypad.
Additional Documentation
Additional documentation for Distributed Audio products is available online at
www.amx.com:
• For details on Tango Audio Controllers, refer to the Tango Audio Control-
lers Operation/Reference Guide and Installation Guide.
• For details on Tango Zone Expanders, refer to the Tango Zone Expanders
Operation/Reference Guide and Installation Guides.
• For details on Metreau Keypads, refer to the Metreau Keypads Operation/
Reference Guide and Installation Guides.
• For details on MIO R-4 AUDIO remote controllers, refer to the MIO R-1
AUDIO Installation Guide.
FIG. 2 Speaker connectors
L+ L- R- R+
Tango Audio Controller
Tango Amplifier
DAS-MET-6SRC