©American Audio® - www.americanaudio.us - Q-2411 PRO Instruction Manual Page 8
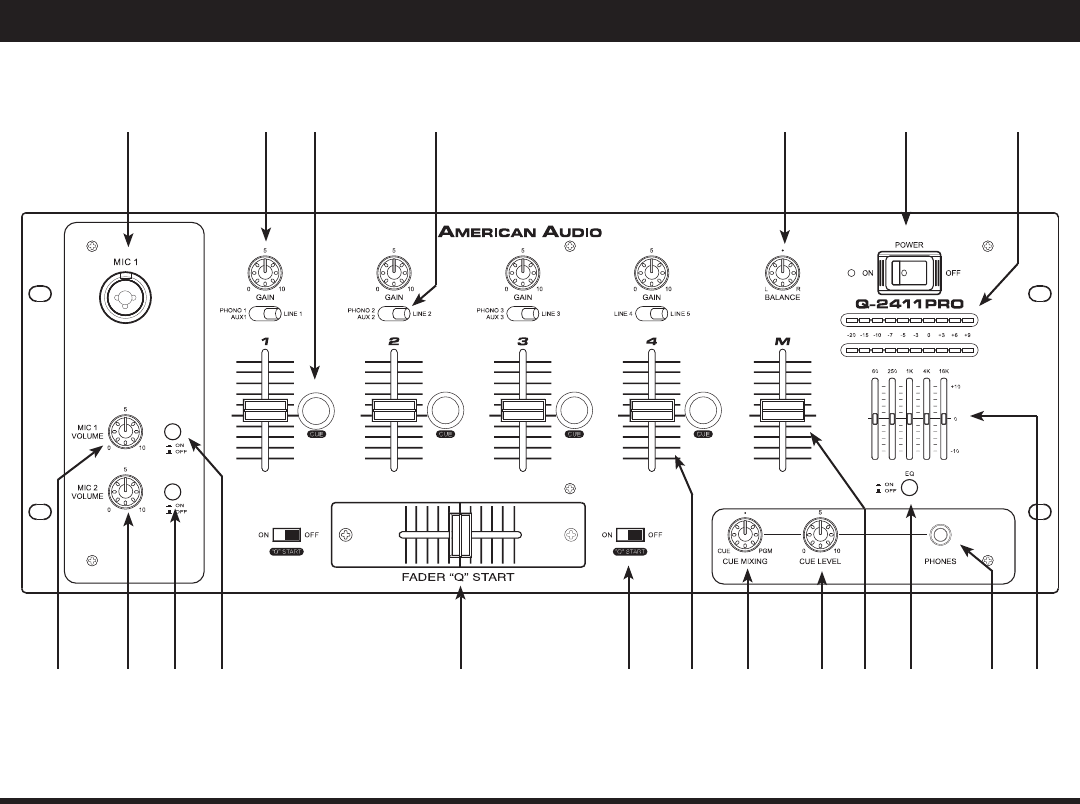
1. MICROPHONE 1 - This combo jack will accept a standard 1/4 plug or XLR 3-pin balanced male
plug. The volume output level for this microphone will be controlled by its own respective CHANNEL
KNOB (20). Note: We recommend that you use a 500-600ohm microphone for the best sound
quality.
2. CHANNEL GAIN CONTROL - This adjustment is used to adjust the audio source signal input gain
for a channel. Never use the gain control to adjust a channels output volume. Setting the gain level
properly will ensure a clean output signal. An improper gain level adjustment will send a distorted
signal throughout the entire audio line which may damage speakers and amplifiers. To properly set a
channels gain level control:
1. Be sure the MASTER VOLUME CONTROL (
11) is set to level 8.
2. Set the CHANNEL FADER (
14) to level 8.
3. Begin playback on an audio source connected to the channel you are adjusting.
4. Use the Gain Control to adjust an average output volume of +4 dB
.
5. Repeat this step for all channels
3. CUE BUTTON - These buttons are used to activate a channels “CUE” mode. A red LED on the Cue
button will glow when a channels cue mode is activated. The Cue function sends a channels incoming
signal to the headphones. The cue level is adjusted by the CUE LEVEL KNOB (12). Be sure the CUE
MIXING KNOB (13) is set to the “CUE” position to hear a selected channel source.
4. SOURCE SELECTOR SWITCH - These switches are used to select the input source assigned to
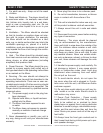
Q-2411 PRO FRONT PANEL - CONTROLS AND FUNCTIONS
1
181920 17 16 15 14 13 12 11 10 8
765432
9


