42-EN
* Only when TW Setup is set to USER’S (refer to “Setting the Response
Slope for the High Range Speaker (TW Setup)” on page 37).
Notes
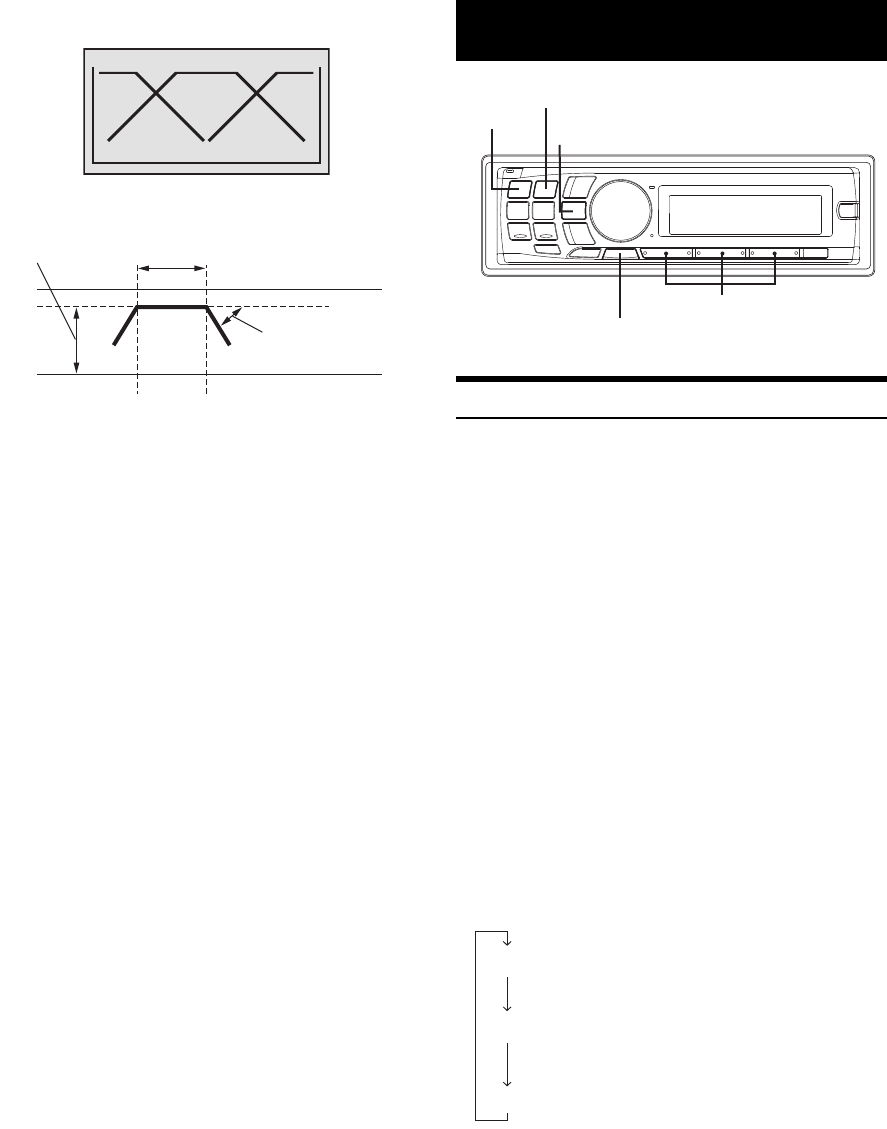
• HPF (high pass filter): Cuts the lower frequencies and allows the higher
frequencies to pass.
• LPF (low pass filter): Cuts the higher frequencies and allows the lower
frequencies to pass.
• Slope: The level change (in dB) for a frequency change of one octave.
• The higher the slope value, the steeper the slope becomes.
• Adjust the slope to FLAT to bypass the HP or LP filters.
• Do not use a tweeter without the HPF on or set to a low frequency, as it
may cause damage to the speaker due to the low frequency content.
• You cannot adjust the crossover frequency higher than the HPF or lower
than the LPF.
• Adjustment should be made according to the recommended crossover
frequency of the connected speakers. Determine the recommended
crossover frequency of the speakers. Adjusting to a frequency range
outside that recommended may cause damage to the speakers.
For the recommended crossover frequencies of Alpine speakers, refer to
the respective Owner’s Manual.
We are not responsible for damage or malfunction of speakers caused by
using the crossover outside the recommended value.
Controlling CD Changer (optional)
An optional 6-disc or 12-disc CD Changer may be connected to this unit
if it is Ai-NET compatible. With a CD Changer connected to the
Ai-NET input of this unit, the CD Changer will be controllable from this
unit.
Using the KCA-400C (Multi-Changer Switching device) or the
KCA-410C (Versatile Link Terminal) multiple changers can be
controlled by this unit.
Refer to “Multi-Changer Selection (optional)” on page 43 for selecting
the CD Changers.
Notes
• The controls on this unit for CD Changer operation are operative only
when a CD Changer is connected.
• The DVD changer (optional) is controllable from this unit as well as the
CD changer.
• Depending on the connected DVD Changer, some functions may not be
available.
1
Press SOURCE to activate the CHANGER mode.
The display shows the disc number and track number.
Notes
• The source indicator varies depending on the connected source.
•Press BAND to switch the Disc mode in the Changer mode.
2
Press FUNC. to activate Disc Select mode.
* When a 12-disc CD changer is connected.
3
Press the disc select buttons (1 through 6) corresponding
to one of the discs loaded in the CD Changer.
The selected disc number appears in the display and CD/MP3
playback starts.
Low range
Mid range High range
(Dierent from actual display)
Level adjusting
(0 to −12 dB)
Output frequency range
Slope FLAT
Slope adjusting
20 Hz
(Dierent from actual display)
HPF cut-o
frequency
LPF cut-o
frequency
Changer (optional)
BAND
SOURCE/
FUNC.
Select buttons
(1 through 6)
: Disc No.1~6
: Disc No.7~12
Disc Select Mode
Disc Select Mode
*
RPT/M.I.X. Mode


