


E-32
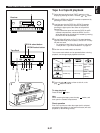
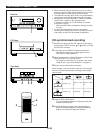
Recording CD on both sides of a
tape automatically
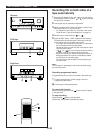
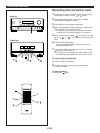
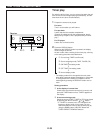
1 Select the CD player so that “CD” appears on the display
by pressing the INPUT selector or button, and load
the disc to be recorded.
2 Load a tape into the cassette compartment.
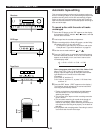
3 When recording with the Dolby NR system, set the Dolby
NR switch to B or C; if not, set it to OFF.
* For selection of the Dolby B or C position, refer to the
“Dolby B and C Type Noise Reduction” on page 29.
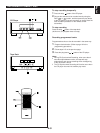
4 Set the reverse mode switch to or .
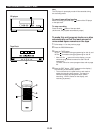
5 Press the EDIT button. (“EDIT” appears on the display.)
CD playback and recording starts. Recording is carried
out on side A and B of the tape continuously.
* If the tape has not rewound to the end, it is rewound to
the end rapidly before recording starts.
Recording starts from the first part of the tape on which
recording can be done.
* “A ” (or “ B”) on the display shows the side of
the tape on which recording is being carried out.
* When the recording on side A finishes while a track is
being played back, the sound is automatically faded
out, and then the recording stops.
The recording on side B starts from the beginning of
the same track.
Note
The CD player’s repeat play mode will be canceled during
this recording mode.
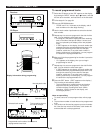
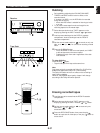
Recording programmed tracks
Programmed tracks can also be recorded in the same way.
11 Program desired tracks. (Refer to page 19 for the
programming procedure.)
22 Follow steps 2–5 described above.
To cancel this function
Before recording, press the stop button of the CD player
or the tape deck.
To stop recording
Press the stop button of the tape deck.
(At this time, CD playback automatically stops.)
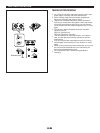
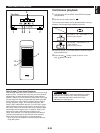
RECORDING A COMPACT DISC
-
+
12345
12345
678
67890
ABCDE
TIME
PROG
TAPE EDIT
+
I0
STOP
PLAY/PAUSE
RANDOM
REPEAT
CD
TUNER
TAPE
PRESET
DOWN UP
PLAY STOP
REC/PAUSE
SLEEPPOWER
DISPLAY
VOLUME
DECK
PHONO/AUX
TUNER DIRECT
A/B
A/B/C/D/E
PLAY
EFFECT LEVEL DSP MODE
SP/PHONES
-
+
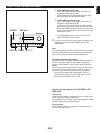
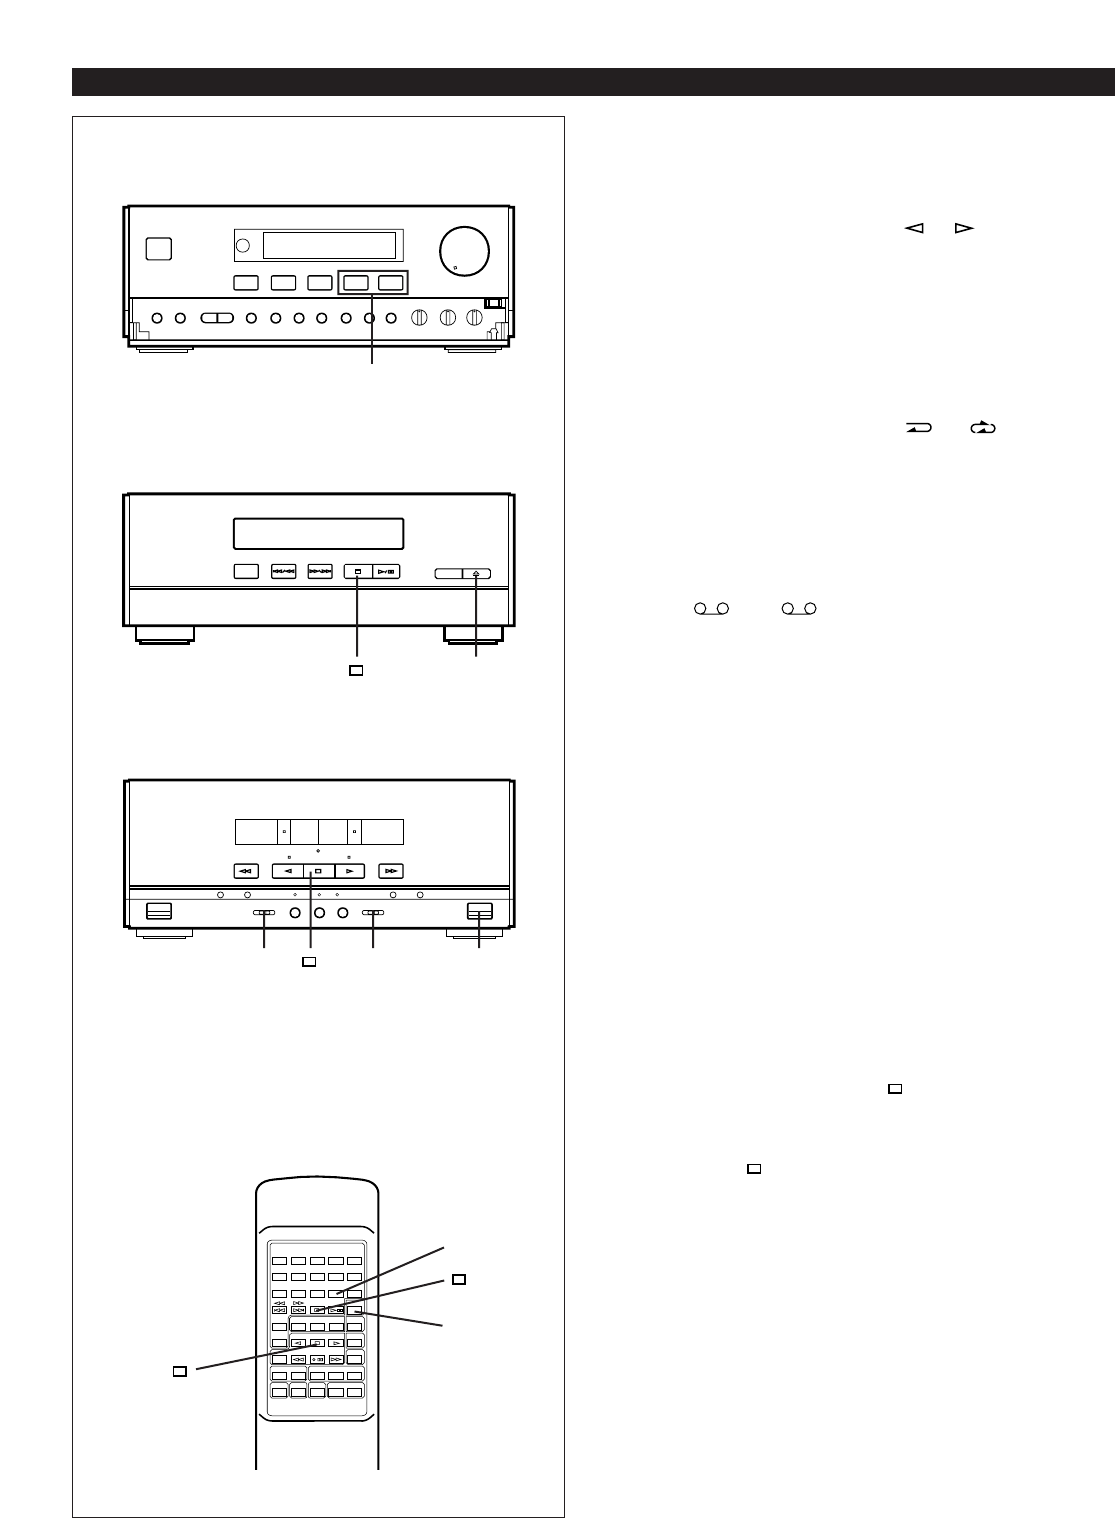
Receiver
CD Player
Tape Deck
1
1
5
1
4 3 2