


VR6 - VR8 In-Ceiling Speaker
VISTA ACOUSTICS VR6-VR8 OWNER’S MANUAL
INSTALL
ATION INSTRUCTIONS:
INSTALLATION INSTRUCTIONS:INSTALL
Tools Needed:
Pencil
Keyhole or Drywall saw
Phillips screwdriver
Small level
Fish tape or a coat hanger
Wire strippers
Gloves
Safety goggles
Drill
1” Flat bit (if driving through studs ½” or ½” bit for test hole)
1: Decide where you want to place your speakers. The speakers should be
separated approximately 6 to 10 feet apart. If possible, the left and right speakers
should be located the same distance from the listening position. If needed, the
pivoting tweeter on the VR6 and VR8 can be directed towards the listener for im-
proved sound quality.
2: Make sure the place you choose for your in-ceiling speakers is between the
ceiling joists (preferably centered). Tap the ceiling for a hollow sound or use a stud
fi nder to locate the studs.
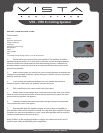
3: Trace around the cardboard template for your speaker placement
as
shown in Figure A
. Make sure the speakers are even and level.
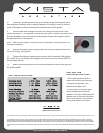
4: Drill a small hole in the center outline you just traced.
5: Bend a piece of coat hanger wire. Insert the wire into the hole, then slowly
rotate to check for any obstructions. If there are any obstructions, patch the hole
and relocate the speaker. See fi gure B.
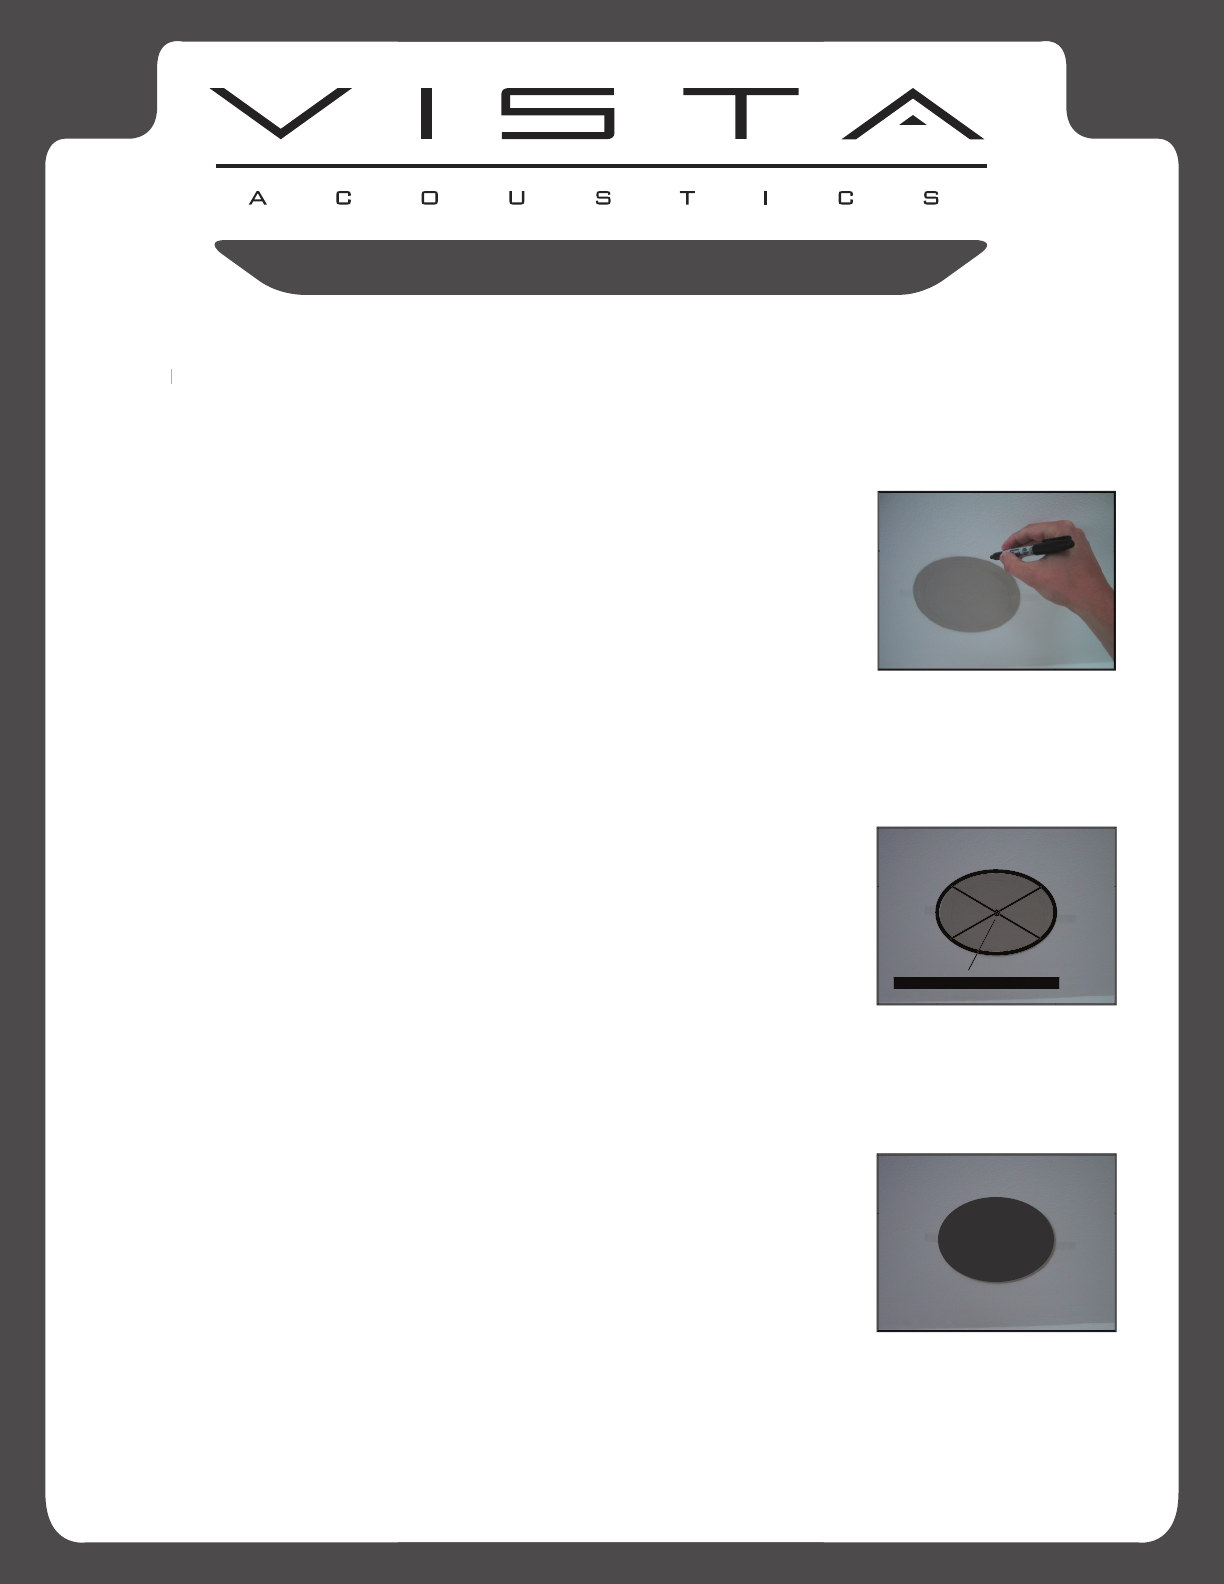
6: Carefully cut away the outline you traced using a keyhole or drywall saw.
Then remove the cutout.
See fi gure C.
7: Run the cable from the speaker outputs of your receiver or amplifi er to
your speakers. Allow a few extra feet of cable. You may also splice together lengths
of cable if you have a long distance to cover. Leave enough cable slack to strip the
conductors and work on the connections.
Note: If cable is to be run through walls or ceilings, the cable must be UL and CL
rated for your safety and building code compliance.
Figure A: Mark cutout area
Figure B:
Check for clearan
ces
Figure C:
Cut speaker hole
Drill Hole, Insert Coat Hanger