WARNING
To reduce the risk of re or electric shock, do not
expose this apparatus to rain or moisture.
To avoid electrical shock, do not open the cabinet. Refer
servicing to qualied personnel only.
To reduce the risk of re, do not cover the ventilation of
the apparatus with newspapers, tablecloths, curtains, etc.
And do not place lighted candles on the apparatus.
To reduce the risk of re or electric shock, do not place
objects lled with liquids, such as vases, on the apparatus.
Connect the apparatus to an easily accessible AC outlet.
Should you notice an abnormality in the apparatus,
disconnect the main plug from the AC outlet
immediately.
Do not install the appliance in a conned space, such as a
bookcase or built-in cabinet.
Do not expose the battery to excessive heat such as direct
sunlight, re or the like.
Excessive sound pressure from earphones and
headphones can cause hearing loss.
3-277-987-12(1)
CD Radio
Cassette-Corder
Operating Instructions
GB
CFD-RS60CP
© 2007 Sony Corporation Printed in China
Disposal of Old Electrical & Electronic
Equipment (Applicable in the European
Union and other European countries
with separate collection systems)
This symbol on the product or on its packaging indicates
that this product shall not be treated as household waste.
Instead it shall be handed over to the applicable
collection point for the recycling of electrical and
electronic equipment. By ensuring this product is
disposed of correctly, you will help prevent potential
negative consequences for the environment and human
health, which could otherwise be caused by
inappropriate waste handling of this product. The
recycling of materials will help to conserve natural
resources. For more detailed information about recycling
of this product, please contact your local Civic Office,
your household waste disposal service or the shop where
you purchased the product.
Applicable accessories: Remote control
Power sources
Specications
CD player section
System
Compact disc digital audio system
Laser diode properties
Emission duration: Continuous
Laser output: Less than 44.6 µW
(is output is the value measured at a distance of
about 200 mm from the objective lens surface on the
optical pick-up block with 7 mm aperture.)
Spindle speed
200 r/min (rpm) to 500 r/min (rpm) (CLV)
Number of channels
2
Frequency response
20 - 20 000 Hz +1/–2 dB
Wow and utter
Below measurable limit
Radio section
Frequency range
120 V model
FM: 87.5 - 108 MHz
AM: 530 - 1 710 kHz
Other models
FM: 87.5 - 108 MHz
AM: 531 - 1 611 kHz (9 kHz step)
530 - 1 610 kHz (10 kHz step)
Antennas
FM: Telescopic antenna
AM: Built-in ferrite bar antenna
Cassette-corder section
Recording system
4-track 2 channel stereo
Fast winding time
Approx. 120 s (sec.) with Sony cassette C-60
Frequency response
TYPE I (normal): 80 - 10 000 Hz
USB section
Supported bit rate
MP3 (MPEG 1 Audio Layer-3):
32 - 320 kbps, VBR
Sampling frequencies
MP3 (MPEG 1 Audio Layer-3):
32/44.1/48 kHz
(USB) port
USB-A (Full Speed)
General
Speaker
Full range: 10 cm dia., 3.2 Ω, cone type (2)
Input
(USB) port: Type A, maximum
current 500 mA
Outputs
Headphones jack (stereo minijack)
For 16 - 68 Ω impedance headphones
Power output
2.3 W + 2.3 W (at 3.2 Ω, 10% harmonic distortion)
Power requirements
For CD radio cassette-corder:
Malaysia, Singapore and ailand models: 230 - 240 V AC, 50 Hz
Mexico model: 120 V AC, 60 Hz
Other models: 230 V AC, 50 Hz
9 V DC, 6 R20 (size D) batteries
For remote control:
3 V DC, 2 R03 (size AAA) batteries
Power consumption
AC 18 W
Battery life
For CD radio cassette-corder:
FM recording
Sony R20P: approx. 13.5 h
Sony alkaline LR20: approx. 20 h
Tape playback
Sony R20P: approx. 7 h
Sony alkaline LR20: approx. 12 h
CD playback
Sony R20P: approx. 2.5 h
Sony alkaline LR20: approx. 7 h
Dimensions
Approx. 420 × 158.5 × 260 mm (w/h/d)
(incl. projecting parts)
Mass
Approx. 3.8 kg (incl. batteries)
Supplied accessories
AC power cord (1)
Remote control (1)
Design and specications are subject to change without notice.
Optional accessories
Sony MDR headphones series
Audio CD
Track number Playing time
MP3 disc
MP3 le number After the le name is displayed, the
playing time will appear
To Press
Pause playback
on the unit (
on the remote)
. To resume play, press it again.
Stop playback
.
Go to the next
track/MP3 le
.
Go back to the
previous track/
MP3 le
.
Select a folder on
an MP3 disc
+ on the unit to go forward and
– to go backward
.
(On the remote, use FOLDER + or
–
.)
Locate a point
while listening to
the sound
(forward) or
(backward)
on the unit while playing and
hold it until you nd the point (On
the remote, use
or
.)
Locate a point
while observing
the display
(forward) or
(backward)
on the unit in pause and hold it
until you nd the point (On the
remote, use
or
.)
Locate a specic
track/MP3 le
directly
the number button
of the track/
MP3 le on the remote.
Remove the CD
PUSH OPEN/CLOSE
.
Tips
Playback starts from the track/MP3 le you last stopped playing
(Resume play). During stop, the track/MP3 le number to be played
is displayed.
To cancel the resume play (to start play from the beginning of the
rst track/MP3 le), press
or open the CD compartment in
stop mode.
To locate a track by number on the remote
(Example)
For track/MP3 le number 1: Press 1
, and then
ENTER
.
For track/MP3 le number 12: Press 1, 2
, and then
ENTER
.
For track/MP3 le number 123: Press 1, 2, 3
, and then
ENTER
.
Note
You cannot locate a specic track/MP3 le if “SHUF” or “PGM” is lit
in the display. Turn o the indication by pressing MODE
.
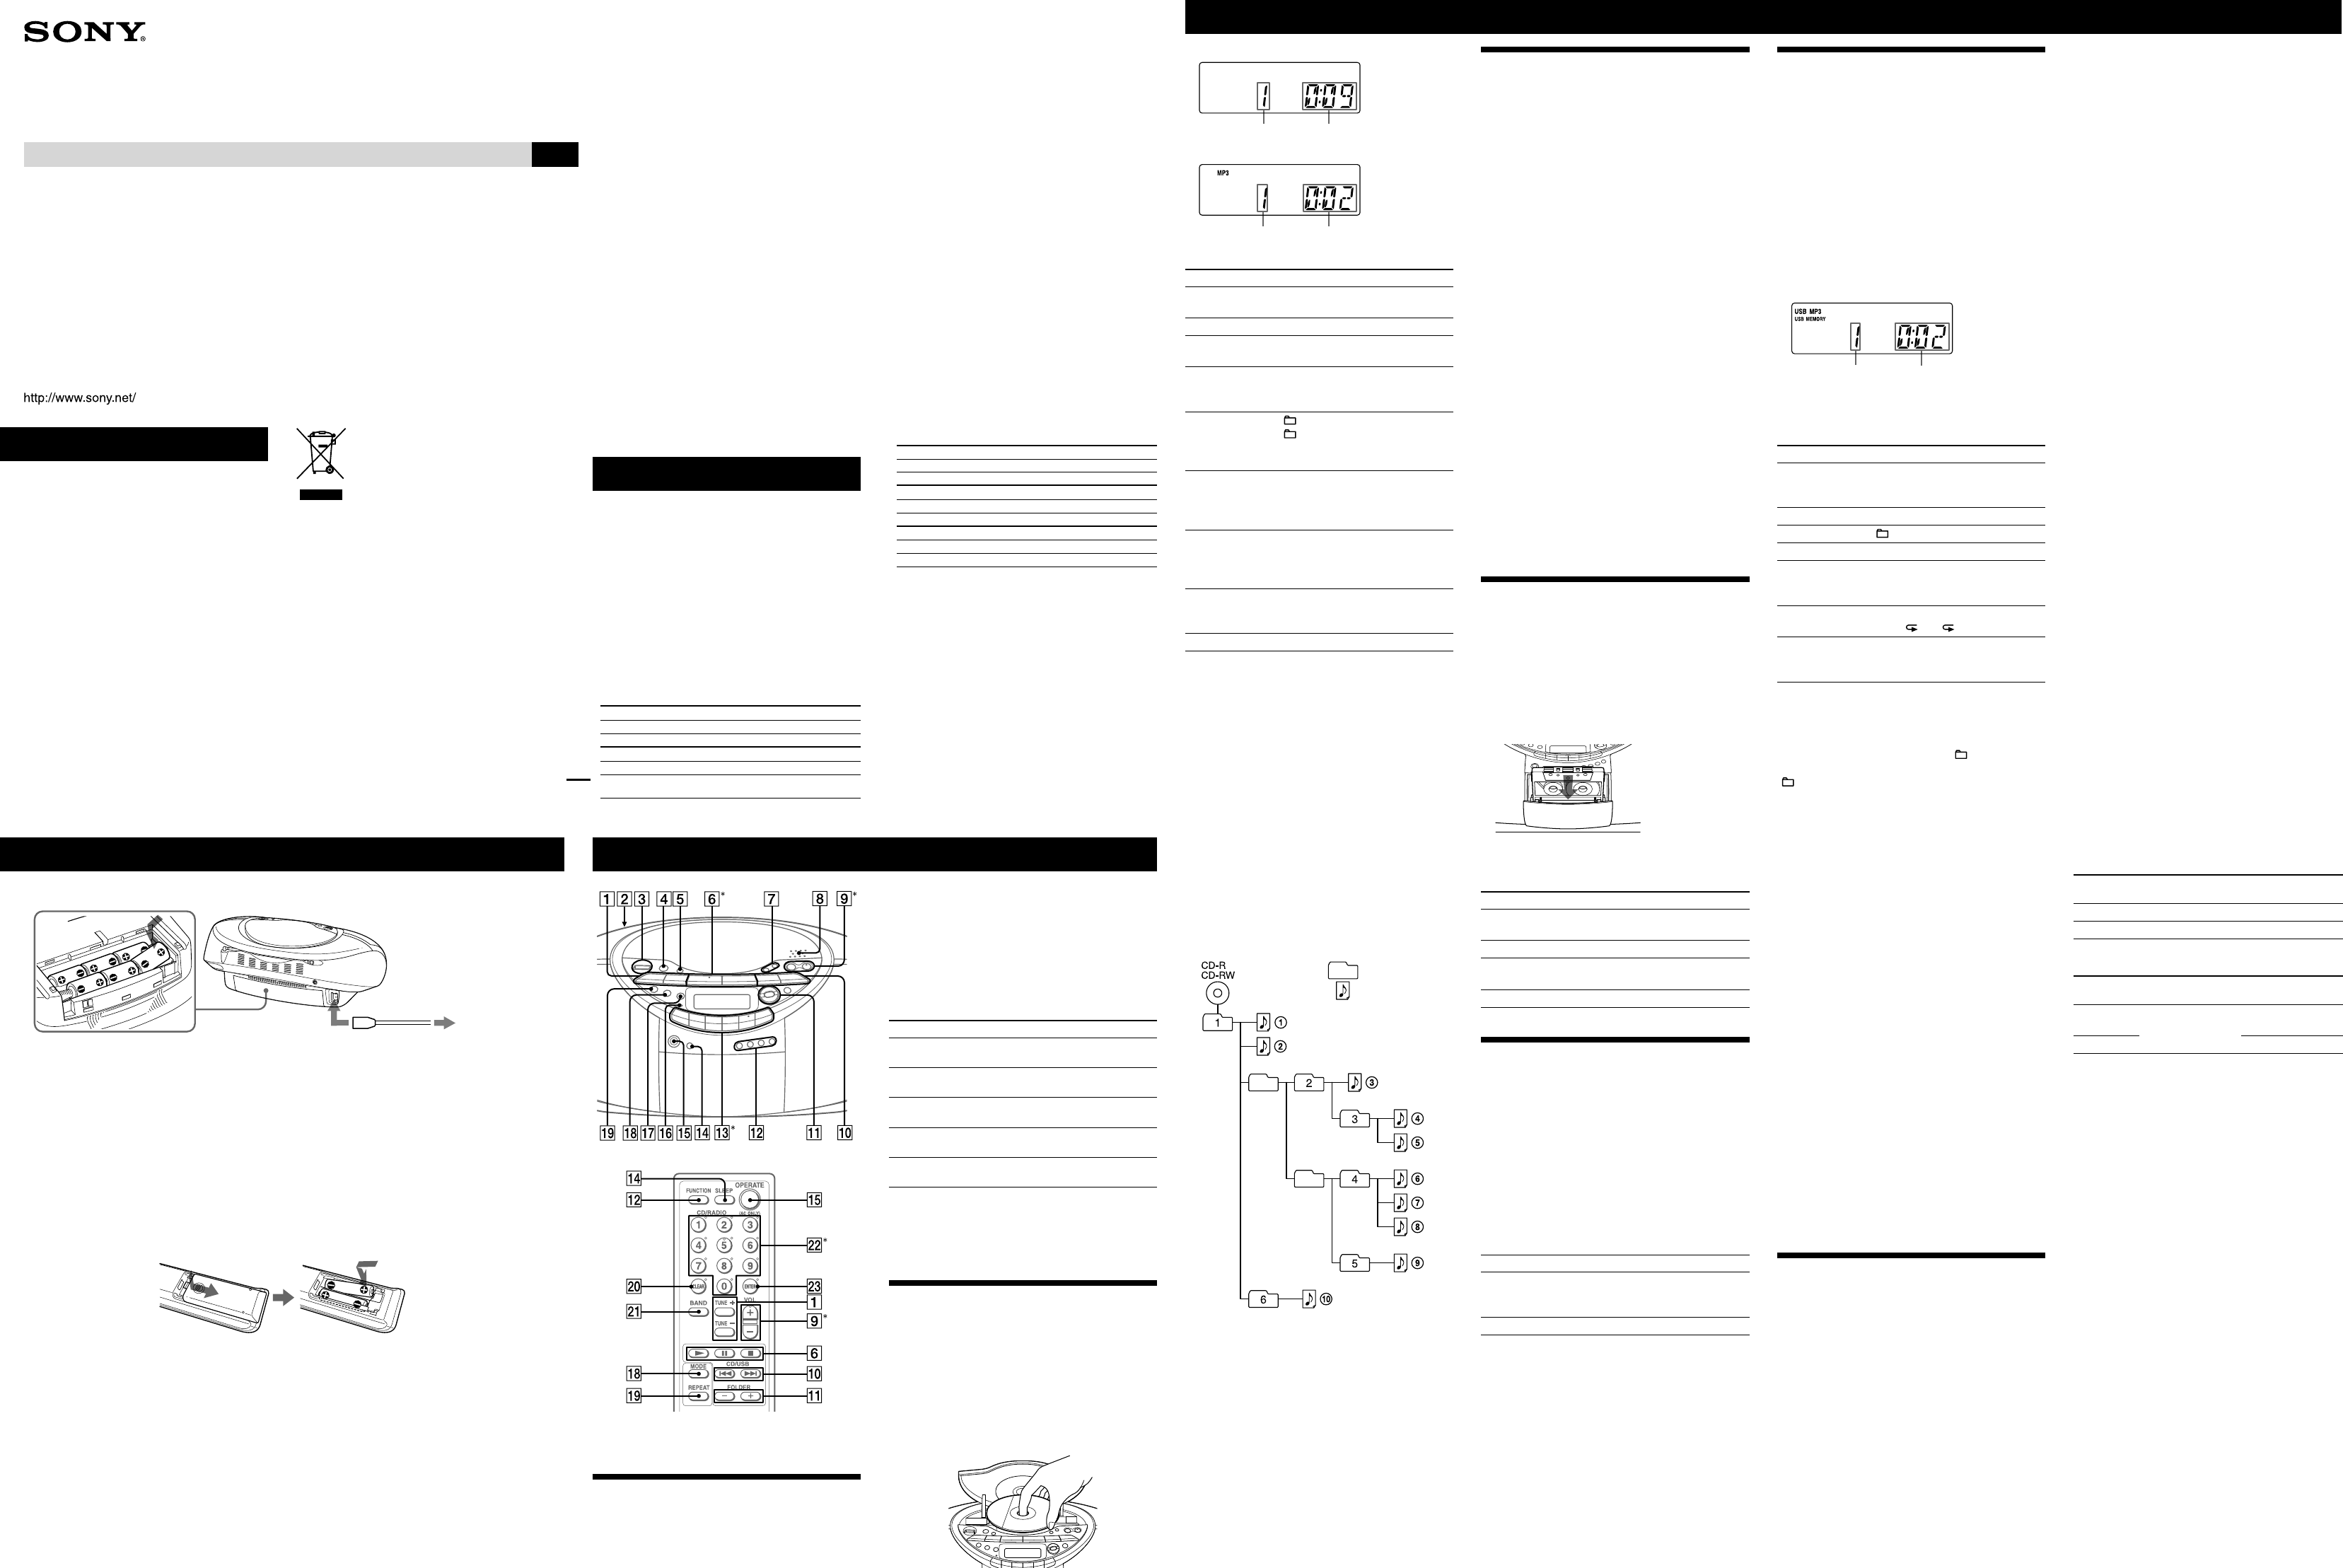
Example of folder structure and playing order
e playing order of the folders and les is as follows:
Folder
MP3 le
Notes on MP3 discs
When the disc is inserted, the unit reads all the les on that disc.
During this time, “READING” is displayed. If there are many folders
or non-MP3 les on the disc, it may take a long time for play to
begin or for the next MP3 le to start play.
Do not save unnecessary folders or les other than MP3 ones in the
disc to be used for MP3 listening.
Locating a specic MP3 le using the number buttons
on the
remote is only available for the MP3 les in the selected folder.
A folder that does not include an MP3 le is skipped.
Maximum number of les: 255
Maximum number of folders: 150
Maximum number of folders and les in total: 300
Maximum directory steps: 8
Folder names and le names can be displayed with up to 32
characters.
e characters A - Z, a - z, 0 - 9, and _ can be displayed on this unit.
Other characters are displayed as “_”.
is unit conforms to Version 1.1 of the ID3 tag format. If the le
has the ID3 tag information, “song title”, “artist name”, and “album
name” can be displayed.
When naming, be sure to add the le extension “mp3” to the le
name.
If you put the extension “mp3” to a le other than an MP3 le, the
unit cannot recognize the le properly and will generate random
noise that could damage your speakers.
e le name does not correspond to the ID3 tag.
Listening to the radio
1 Press RADIO
on the unit (BAND
on the
remote) repeatedly.
Each time you press the button, the indication changes
as follows:
“FM” “AM”.
2 Hold down TUNE + or –
until the frequency digits
begin to change in the display.
e unit automatically scans the radio frequencies and
stops when it nds a clear station.
If you cannot tune in a station, press TUNE + or –
repeatedly to change the frequency step by step.
When an FM stereo broadcast is received, “ST”
appears.
Tip
If the FM broadcast is noisy, press MODE
until “Mono” appears in
the display and the radio will play in monaural.
Changing the AM tuning interval
(Except for the 120 V model)
If you need to change the AM tuning interval, do the
following:
1 Press RADIO
on the unit until “AM” is displayed.
2 Press DISP/ENT/MEMORY
on the unit for 2
seconds.
3 Press RADIO
on the unit for 2 seconds.
“9K STEP” or “10K STEP” ashes.
4 Press PRESET + or –
on the unit to select
“9K STEP” for 9 kHz interval or “10K STEP” for 10 kHz
interval.
5 Press DISP/ENT/MEMORY
on the unit.
Aer changing the tuning interval, you need to reset your
preset AM radio stations.
Playing a tape
Use buttons on the unit for the operation.
1 Press TAPE
on the unit.
2 Press
on the unit, and insert the tape into
the tape compartment with the side you want to
play facing you. Use TYPE I (normal) tape only. Close
the compartment.
Make sure there is no slack in the tape to avoid
damaging the tape or the unit.
3 Press
on the unit.
e unit starts playing.
To Press
Pause playback on the unit. To resume play,
press it again.
Stop playback on the unit.
Fast-forward or
rewind
or (fast forward or
rewind) on the unit.
Eject the cassette on the unit.
Recording on a tape
Use buttons on the unit for the operation.
1
Press
on the unit to open the tape
compartment and insert a blank tape with the side
you want to record on facing you. Use TYPE I (normal)
tape only. Close the compartment.
2 Select the program source you want to record.
To record from the CD player, place a CD and press
CD
on the unit.
To record from the radio, tune in the station you want.
3 Press
on the unit to start recording
(
is depressed automatically).
To Press
Pause recording
on the unit.
Press the button again to
resume recording.
Stop recording
on the unit.
Tips
Adjusting the volume or the audio emphasis will not aect the
recording level.
If the AM program makes a whistling sound aer you’ve pressed
in step 3, press MODE
on the unit to select the position of ISS
(Interference Suppress Switch) that most decreases the noise.
For the best results, use the AC power as a power source for
recording.
To erase a recording, proceed as follows:
1 Insert the tape whose recording you want to erase.
2 Press TAPE
on the unit.
3 Press
on the unit.
Listening to music of a USB device
You can listen to music stored on an optional USB device
(digital music player or USB storage media).
Only music les in the MP3 format* can be played on
this unit.
See “Playable/Recordable USB devices” on the back page
for a list of the USB devices that can be connected to this
unit.
* Files with copyright protection (Digital Rights Management) cannot
be played on this unit.
1 Press USB
on the unit.
2 Connect the USB device to the
(USB) port
on
the unit.
“USB MEMORY” appears in the display.
3 Press
.
e unit starts playing.
MP3 le number After the le name is displayed, the
playing time will appear
4 Press VOLUME + or – (or VOL + or – on the remote)
to adjust the volume.
Other operation
To Press
Pause playback
(or
on the unit)
. To
resume play, press the button
again*.
Stop playback
.
Select a folder + or –
.
Select a le
or
.
Find a point in a
le
Hold down
or
during
playback, and release the button at
the desired point.
Select Repeat Play REPEAT
on the unit repeatedly
until “ ” or “ 1” appears.
Remove the USB
device
Hold down
until “NO DEV”
appears, then remove the USB
device.
* When playing a VBR MP3 le, the unit may resume playback from a
dierent point.
To change the play mode
Press MODE
repeatedly while the USB device is not
playing. You can select Normal Play (“ ” for all les in
the folder on the USB device), Shue Play (“SHUF” or
“ SHUF”), or Program Play (“PGM”).
Notes on the USB device
You cannot change the play mode during playback.
Some time may be needed before playback starts when:
– the folder structure is complex.
– the USB device is close to capacity.
When a USB device is connected, the unit reads all the les on the
device. If there are many folders or les on the device, it may take a
long time for the unit to nish reading them.
Do not connect a USB device to the unit through a USB hub.
In the case of some USB devices, when an operation is performed on
the USB device, there may be a delay before it is carried out on this
unit.
is unit may not support all the functions provided on the
connected USB device.
Files recorded by this unit are played back in the order of folder
creation. Files recorded by a device other than this unit (such as
a computer) may not play back in the order in which they were
recorded.
e playback order on this unit may dier from the playback order
on the connected USB device.
Always hold down
and make sure that “NO DEV” appears
before removing the USB device. Removing the USB device while
“NO DEV” is not displayed may corrupt the data on the USB device
or damage the USB device itself.
Do not save non-MP3 les or unnecessary folders to a USB device
that contains MP3 les.
During playback, folders that contain no MP3 les are skipped.
is unit can play only MP3 les that have the “MP3” le extension.
If there are les on the disc that have the “.MP3” le extension, but
are not MP3 les, the unit may produce noise or malfunction.
A maximum of 999 MP3 les and 999 folders can be contained on a
single USB device.
e maximum number of MP3 les and folders may vary, depending
on the le and folder structure.
Compatibility with all MP3 encoding/writing soware, recording
devices, and recording media cannot be guaranteed. If you use
an incompatible USB device, the sound skipping or noise may be
produced, or the device may not play at all.
Recording from a disc to a USB device
By connecting a USB device (digital music player or USB
storage media) to the
(USB) port
on the unit, you
can record music from a disc to the USB device.
is unit supports recording from CD-DA and MP3
discs only. Sound from this unit’s cassette player or radio
cannot be recorded to a USB device.
Audio les are recorded on this unit in the MP3 format.
e approximate recording size is about 1 MB per minute
of recording time from a CD. e le size may be larger
for recordings made from an MP3 disc.
See “Playable/Recordable USB devices” on the back page
for a list of the USB devices that can be connected to this
unit.
Synchro Recording
is function allows you to easily record an entire disc
onto a USB device. See also “Recording a single track or
MP3 le to a USB device during playback” on the back
page.
1 Connect a USB device with recording capability to
the
(USB) port
.
If a USB cable is necessary, use the USB cable supplied
with the device to be connected.
Refer to the operation manual supplied with the USB
device for connection details.
2 to the wall outlet1 to AC IN
Connect the AC power cord
or insert six R20 (size D) batteries (not supplied) into the battery compartment
.
Notes
Replace the batteries when the OPR/BATT
indicator dims or when the unit stops operating.
Replace all the batteries with new ones. Before you replace the batteires, be sure to take out the CD from the unit.
To use the unit on batteries, disconnect the AC power cord from the unit.
When you operate the unit on batteries, you cannot turn on the unit using the remote.
Preparing the remote
Insert two R03 (size AAA) batteries (not supplied).
Replacing batteries
With normal use, the batteries should last for about six months. When the remote no longer operates the unit, replace all
the batteries with new ones.
Basic Operations
2 Press CD
and insert the disc that you want to
record.
3 When the CD player is stopped, press MODE
repeatedly to select the play mode.
e play mode automatically changes to Normal Play
if the unit is in Shue Play, Repeat Play or Program
Play (with no tracks or MP3 les programmed) at the
start of recording.
For details about play modes, see “To change the play
mode” in “Listening to music of a USB device”.
4 Press CD-USB SYNC/REC1
on the unit.
“REC” ashes and the display cycles through
“CD SYNC”, “FREExxxM”* (free space on the USB
device), and “PUSH ENT”.
e USB device changes to recording standby and the
unit to play pause.
* If the amount of free space is in the gigabyte range, “FREExxxG”
will be displayed as the unit.
5 Press DISP/ENT/MEMORY
on the unit (or ENTER
on the remote).
Recording starts. e unit and the USB device
automatically stop when the recording is completed.
To stop recording
Press
.
To remove the USB device
1 Press USB
when the unit is stopped playing.
2 Hold down
on the unit until “NO DEV” appears.
3 Remove the USB device.
To erase MP3 les or folders on a USB device
You can erase MP3 les or folders that are on a USB
device.
1 Connect a USB device with recording capability to
the
(USB) port
.
2 Press USB
on the unit.
3 Press
or
repeatedly to select the MP3
le or folder that you want to erase.
4 Press ERASE
on the unit.
When you erase a track, “TRACK” appears, followed
by “ERASE?”
When you erase a folder, “FOLDER” appears, followed
by “ERASE?”
To cancel the erase operation, press
.
5 Press DISP/ENT/MEMORY
on the unit (or ENTER
on the remote).
e selected MP3 le or folder is erased.
Folder and le generation rules
When a recording operation is rst performed on a USB
device, a “MUSIC” folder is created directly below the
“ROOT”. Folders and les are generated within this
“MUSIC” folder as follows, according to the recording
method.
Synchro Recording
1)
Recording
source
Folder name File name
MP3 Same as the recording source
2)
CD-DA “FLDR001”
3)
“TRACK001”
4)
REC1 recording
5)
Recording
source
Folder name File name
MP3
“REC1”
6)
Same as the recording
source
2)
CD-DA “TRACK001”
4)
1)
In Program Play, the folder name is “FLDRxxx”, and the le name
depends on the recording source (CD-DA disc or MP3 disc).
For details about play modes, see “To change the play mode” in
“Listening to music on a USB device”.
2)
Up to 32 characters of the name are assigned.
3)
Folder names are assigned in sequential order up to a maximum of
999 (including root and MUSIC).
4)
File names are assigned in sequential order.
5)
See “Recording a single track or MP3 le to a USB device during
playback” on the back page.
6)
A new le is recorded to the “REC1” folder each time REC1
recording is performed.
Notes
Do not remove the USB device during recording or erase operations.
Doing so may corrupt the data on the USB device or damage the
USB device itself.
Do not connect a USB device to the unit through a USB hub.
When recording from a CD, the tracks are recorded as MP3 les at
128 kbps. When recording from an MP3 disc, MP3 les are recorded
with the same bit rate as the original MP3 les.
While recording from an MP3 disc, no sound is output and “HI-
SPEED” appears.
CD text information is not included in the MP3 les.
If you cancel a recording before it is completed, an MP3 le is
created with the contents up to the point the recording was stopped.
Recording stops automatically if:
– the USB device runs out of space during recording, or
– the number of MP3 les on the USB device reaches the limit that
the unit can recognize.
A maximum of 999 MP3 les and 999 folders can be contained on a
single USB device (including root and MUSIC).
e maximum number of MP3 les and folders may vary, depending
on the MP3 le and folder structure.
You cannot erase MP3 les and folders in Shue Play or Program
Play.
If a folder to be erased contains non-MP3 format les or sub folders,
these are not erased.
If a folder or le with the same name as the one you are trying to
record already exists on the USB device, a sequential number is
added aer the name for the newly recorded folder or le to avoid
overwriting the existing one.
When recording tracks from an MP3 disc to a USB device, there is
no sound output.
Basic Operations
* VOLUME + (VOL + on the remote)
,
,
and 5
on the remote have a tactile dot.
Before using the unit
About the operating voltage
e unit’s operating voltage is shown on the bottom of
the unit. For changing the AM tuning interval, radio
frequency range, and AC operation, check the operating
voltage of your unit.
To turn on/o the power
Press OPERATE
.
To adjust the volume
Press VOLUME +, – (VOL +, – on the remote)
.
To listen through headphones
Connect the headphones to the (headphones) jack
.
To select the sound characteristic
Press SOUND
on the unit repeatedly to select the
audio emphasis you want.
Choose To get
ROCK
powerful, clean sounds, emphasizing
low and high range audio
POP
light, bright sounds emphasizing high
and middle range audio
JAZZ
percussive sounds, emphasizing bass
audio
VOCAL
the presence of vocals, stressing
middle range audio
OFF
the whole dynamic range for music
such as classical music
To reinforce the bass sound
Press MEGA BASS
on the unit.
“MEGA BASS” appears in the display.
To return to normal sound, press the button again.
Playing a CD/MP3 disc
1 Press CD
on the unit.
(On the remote, press OPERATE
and then press
FUNCTION
repeatedly until “CD” appears in the
display.)
2 Press PUSH OPEN/CLOSE
on the unit, and
place a disc with the label side up on the CD
compartment.
To close the CD compartment, press PUSH OPEN/
CLOSE
on the unit.
3 Press
on the unit (
on the remote)
.
e unit plays all the tracks/MP3 les once.
When you place MP3 discs, “MP3” appears in the
display aer the unit reads the le information.
Notice for customers: the following information is
only applicable to equipment sold in countries
applying EU directives
The manufacturer of this product is Sony Corporation,
1-7-1 Konan, Minato-ku, Tokyo, 108-0075 Japan. The
Authorized Representative for EMC and product safety is
Sony Deutschland GmbH, Hedelfinger Strasse 61, 70327
Stuttgart, Germany. For any service or guarantee matters,
please refer to the addresses given in separate service or
guarantee documents.
Notes on DualDiscs
A DualDisc is a two sided disc product which mates
DVD recorded material on one side with digital
audio material on the other side. However, since the
audio material side does not conform to the Compact
Disc (CD) standard, playback on this product is not
guaranteed.
Music discs encoded with copyright
protection technologies
is product is designed to playback discs that conform
to the Compact Disc (CD) standard. Recently, various
music discs encoded with copyright protection
technologies are marketed by some record companies.
Please be aware that among those discs, there are some
that do not conform to the CD standard and may not be
playable by this product.
MPEG Layer-3 audio coding technology and patents
licensed from Fraunhofer IIS and omson.


