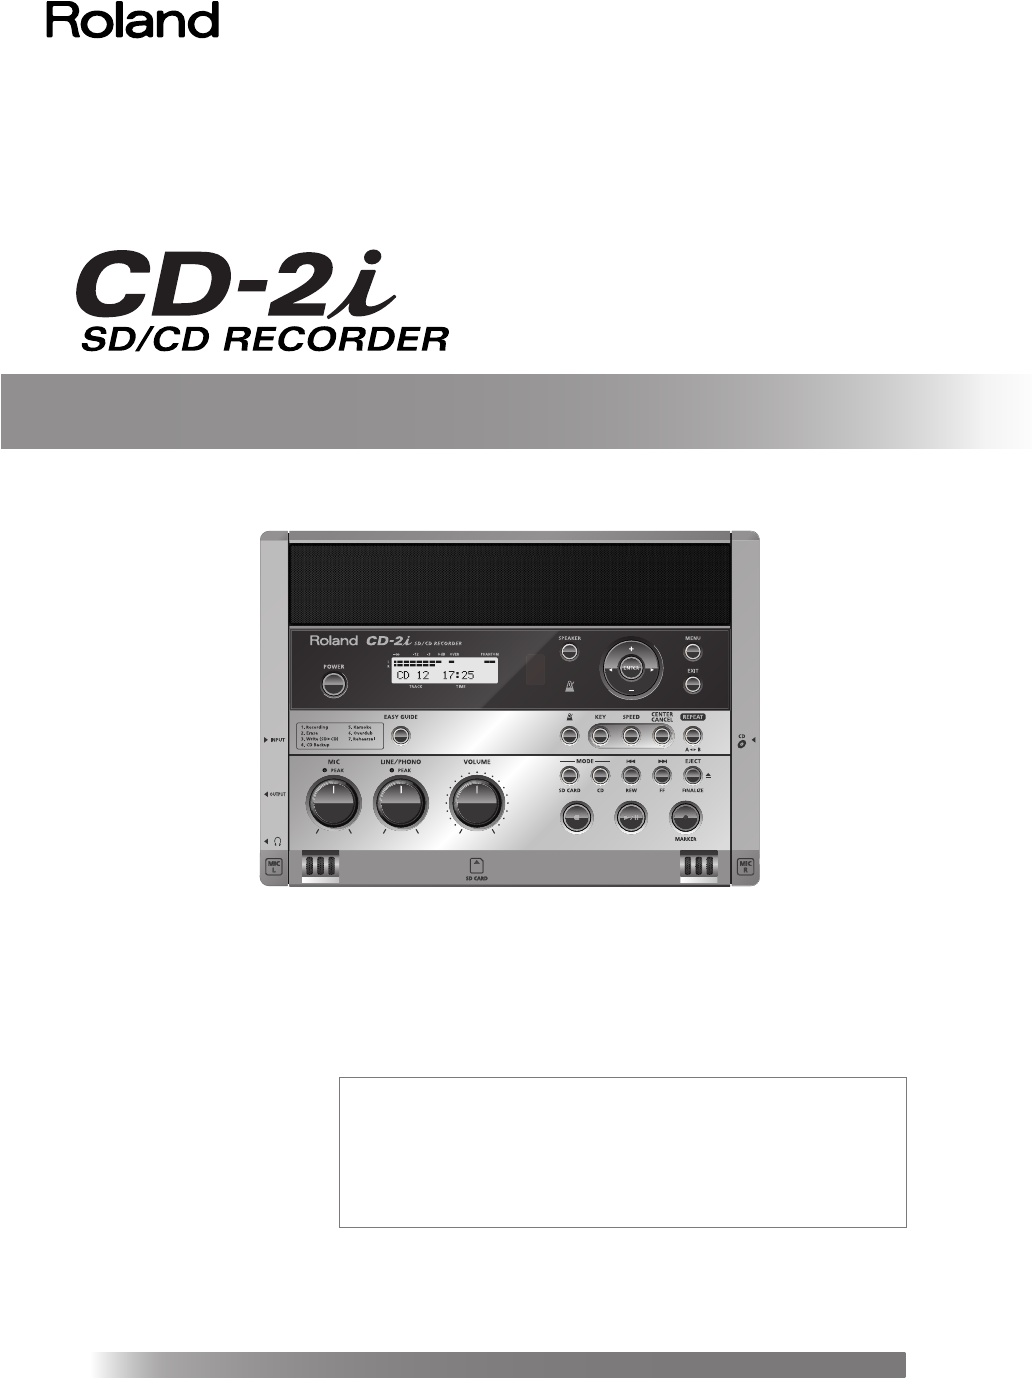
Owner’s Manual
Copyright
● Recording, duplication, distribution, sale, lease, performance, or broadcast of copyrighted material (musical works,
visual works, broadcasts, live performances, etc.) belonging to a third party in part or in whole without the permission
of the copyright owner is forbidden by law.
● This product can be used to record or duplicate audio material without being limited by certain technological copy-
protection measures. This is due to the fact that this product is intended to be used for the purpose of producing
original music, and is therefore designed so that material that does not infringe copyrights belonging to others (for
example, your own original works) can be recorded or duplicated freely.
● Do not use this unit for purposes that could infringe on a copyright held by a third party. We assume no responsibility
whatsoever with regard to any infringements of third-party copyrights arising through your use of this unit.
About the License Agreement
● The CD-2i’s CD-writing functionality, and its backing-up functionality are designed to allow you to reproduce material
to which you have copyright, or material which the copyright owner has granted you permission to copy.
Accordingly, reproduction of Music CD or other copyrighted material without permission of the copyright owner
avoiding technical prohibiting features of second-generation and later copying like SCMS or others constitutes
copyright infringement and may incur penalties even in case such reproduction is for your own personal use and
enjoyment (private use). Consult a copyright specialist or special publications for more detailed information on
obtaining such permission from copyright holders.
*5100013104-02*
Copyright © 2010 ROLAND CORPORATION
All rights reserved. No part of this publication may be reproduced in any form
without the written permission of ROLAND CORPORATION.
Roland is a registered trademark of Roland Corporation in the United States and/or
other
countries.
Before using this unit, carefully read the sections entitled: “USING THE UNIT
SAFELY” and “IMPORTANT NOTES” (Page 8–10; Page 11–12). These sections
provide important information concerning the proper operation of the unit.
Additionally, in order to feel assured that you have gained a good grasp of
every feature provided by your new unit, Owner’s Manual should be read in
its entirety. The manual should be saved and kept on hand as a convenient
reference.
Selecting English, German, French, Italian, Spanish, or Japanese as the operating language.
☞
Page 120
