


Other connections
08
24
En
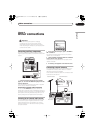
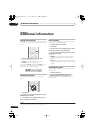
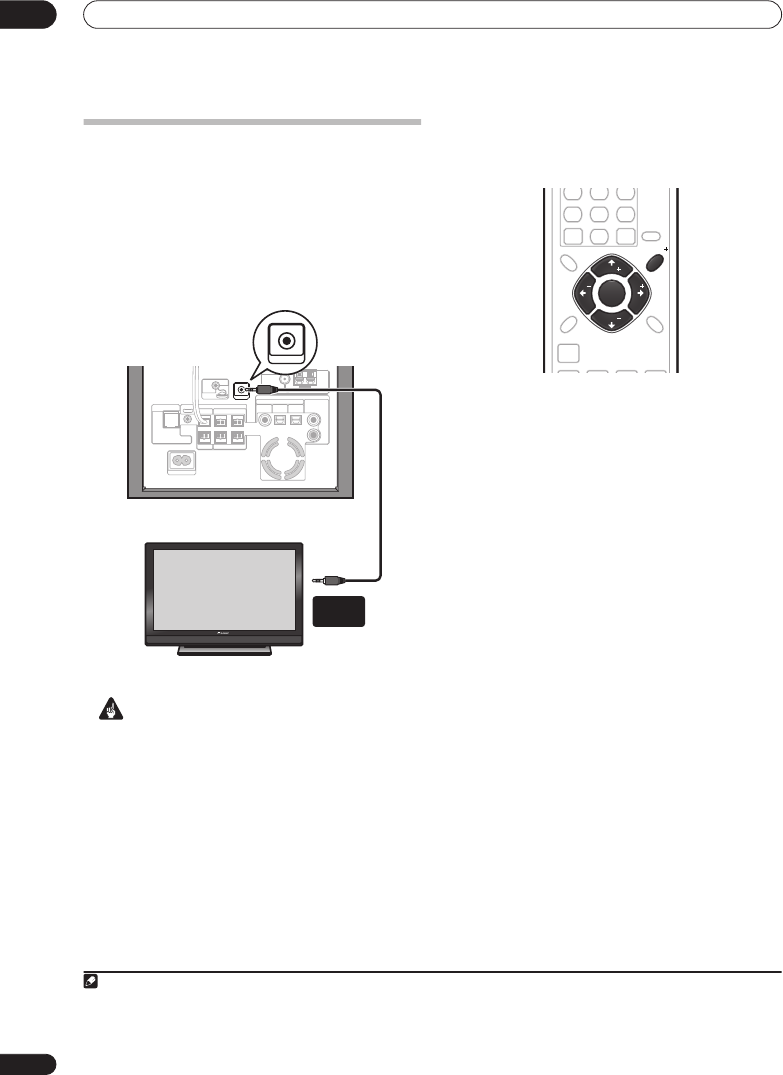
Using this unit with a Pioneer plasma
display
If you have a Pioneer plasma display
1
, you can use an
SR+ cable
2
to connect it to this unit and take advantage
of various convenient features, such as controlling this
unit via the plasma display’s remote sensor, automatic
video input switching of the plasma display, display unit
messages appearing on the plasma display screen, and
automatic volume muting on the plasma display.
Important
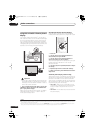
• With an SR+ cable connected, the remote must now
be pointed towards your plasma display rather than
the display unit of the receiver subwoofer in order to
control the receiver subwoofer.
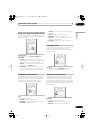
• Use a 3-ringed miniplug SR+ cable to connect the
CONTROL IN jack of this unit to the CONTROL OUT
jack of your plasma display.
3
Before you can use the extra SR+ features, you need to
make a few settings in the unit — see
SR+ Setup for
Pioneer plasma displays
below.
SR+ Setup for Pioneer plasma displays
Make the following settings if you have connected a
Pioneer plasma display to this unit using an SR+ cable.
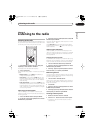
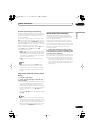
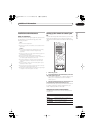
1 Press SR+.
2 Use the
/
(cursor left/right) buttons to
choose SETUP, then press ENTER.
3 Use the
/
(cursor left/right) buttons to
choose the setting you want to adjust.
The current setting is shown for each option as you cycle
through the display. See below for a full list and
description of each.
4 Use the
/
(cursor up/down) buttons to adjust
the setting.
5 Repeat steps 3 and 4 to make other settings.
6 When you’re done, press ENTER to leave the SR+
setup menu.
Automatic plasma display volume muting
When Volume Control is switched on, the volume of the
plasma display is automatically muted when the receiver
subwoofer is switched on, or the receiver subwoofer’s
input function is changed to one that you would want to
hear the sound from the receiver subwoofer rather than
the plasma display (DVD, for example).
•
VOL.C ON
– When this unit is switched on, or the
input function is changed, the volume on the plasma
display is muted so only sound from this unit is
heard.
•
VOL.C OFF
– This unit does not control the volume of
the plasma display
Note
1 This system is compatible with all Pioneer plasma displays from 2003 onward.
2 The 3-ringed SR+ cable from Pioneer is commercially available under the part number ADE7095. Contact the Pioneer Customer Support division for
more information on obtaining an SR+ cable.
3 You won’t be able to use the remote sensor of this unit with the
CONTROL IN
jack of this unit connected to the
CONTROL OUT
jack of your plasma
display. You can use the remote sensor of the plasma display (even in standby) as long as the power isn’t switched off.
SYSTEM CONNECTOR
AC IN
CONTROL IN
CONTROL
USE ONLY WITH DISPLAY UNIT.
SEE INSTRUCTION MANUAL.
OUT
SUBWOOFER
CENTER FRONT
SURROUND
DVD/DVR1
(COAXIAL)
DVD/DVR2
(OPTICAL)
DIGITAL
(OPTICAL)
SPEAKERS
DIGITAL
AUDIO INPUT
ANALOG
AM LOOP ANTENNA
FM UNBAL 75
RL
RL
R
L
MCACC
SETUP MIC
Pioneer plasma display
CONTROL IN
CONTROL
OUT
ST
TUNE
TUNE
ST
ENTER
ENTER
CLEAR
SOUND
SETUP
TEST
TONE
SOUND
RETRIEVER
MCACCADVANCED F.S.SURRSURROUND
SLEEP
SR
ST
TUNE
TUNE
ST
ENTER
SR
HTP-330.book 24 ページ 2007年3月27日 火曜日 午後6時8分