


29
En
Advanced Operation
4 Press the [DELETE] button.
[ DELETE] or [ DELETE] is displayed on the main unit display,
and the selected point information is deleted.
! When a stored loop set as an active loop is deleted, the active loop is
also deleted.
Deleting points in units of discs
1 Load a disc in this unit.
When tracks from a medium other than a disc are loaded, load any track
from the disc.
2 Connect a storage device (SD, USB) to this unit.
The cue or loop in point is displayed on the playing address display with
a mark.
3 Press the [DELETE] button for over 5 second.
[DISC CUE/LOOP DATA-DELETE? PUSH MEMORY] appears on the
main unit display.
4 Press the [MEMORY] button.
All cue and loop points for the disc currently loaded in this unit are
deleted.
! The delete mode is canceled if any button other than [MEMORY] is
pressed.
Deleting all the disc information stored
on a storage device (SD, USB)
Connect the storage device (SD, USB) on which the disc information is
stored to this unit.
1 With no disc loaded on this unit, press the [DELETE]
button for over 5 seconds.
[DISC CUE/LOOP DATA-DELETE ALL? PUSH MEMORY] appears on the
main unit display.
2 Press the [MEMORY] button.
All the disc information stored on the storage device (SD, USB) is
deleted.
! The delete mode is canceled if any button other than [MEMORY] is
pressed.
Setting the cue point for auto
cueing
The cue point to be set as the auto cue can be selected using one of the
methods below.
Setting the cue point by the acoustic pressure level
identified as a silent section (8 levels)
–36 dB, –42 dB, –48 dB, –54 dB, –60 dB, –66 dB, –72 dB and –78 dB
Automatically setting stored cues as cue points
MEMORY: The stored cue point nearest the beginning of the track is set
as the cue point for auto cueing.
! When [MEMORY] is set, [A. CUE] lights in white on the main unit
display.
The setting of the cue point for auto cueing can be changed using one of
the methods below.
Using the [MENU (UTILITY)]button
1 Press the [MENU/UTILITY] button for over 1 second.
The [UTILITY] screen is displayed.
2 Turn the rotary selector then press it.
Select [AUTO CUE LEVEL].
3 Turn the rotary selector then press it.
Select the acoustic pressure level or [MEMORY].
Using the [TIME MODE (AUTO CUE)] button
1 Press the [TIME MODE/AUTO CUE] button for over 5
second.
The currently set value is displayed on the main unit display.
2 Press the [CUE/LOOP CALL c(LOOP 1/2X)] or
[CUE/LOOP CALL d(LOOP 2X)] button.
Select the acoustic pressure level or [MEMORY].
Using the slip mode
When the slip mode is turned on, normal playback with the original
rhythm continues in the background while in the pause (vinyl mode),
scratch play, loop play, hot cue play and reverse play modes. When the
slip mode is canceled, normal playback resumes from the point reached
while the slip mode was turned on.
! When the quantize function is on, there may be a slight delay in
operation of this function in order to synchronize the beat.
(Slip beat loop, slip reverse and slip hot cue only)
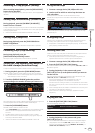
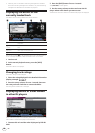
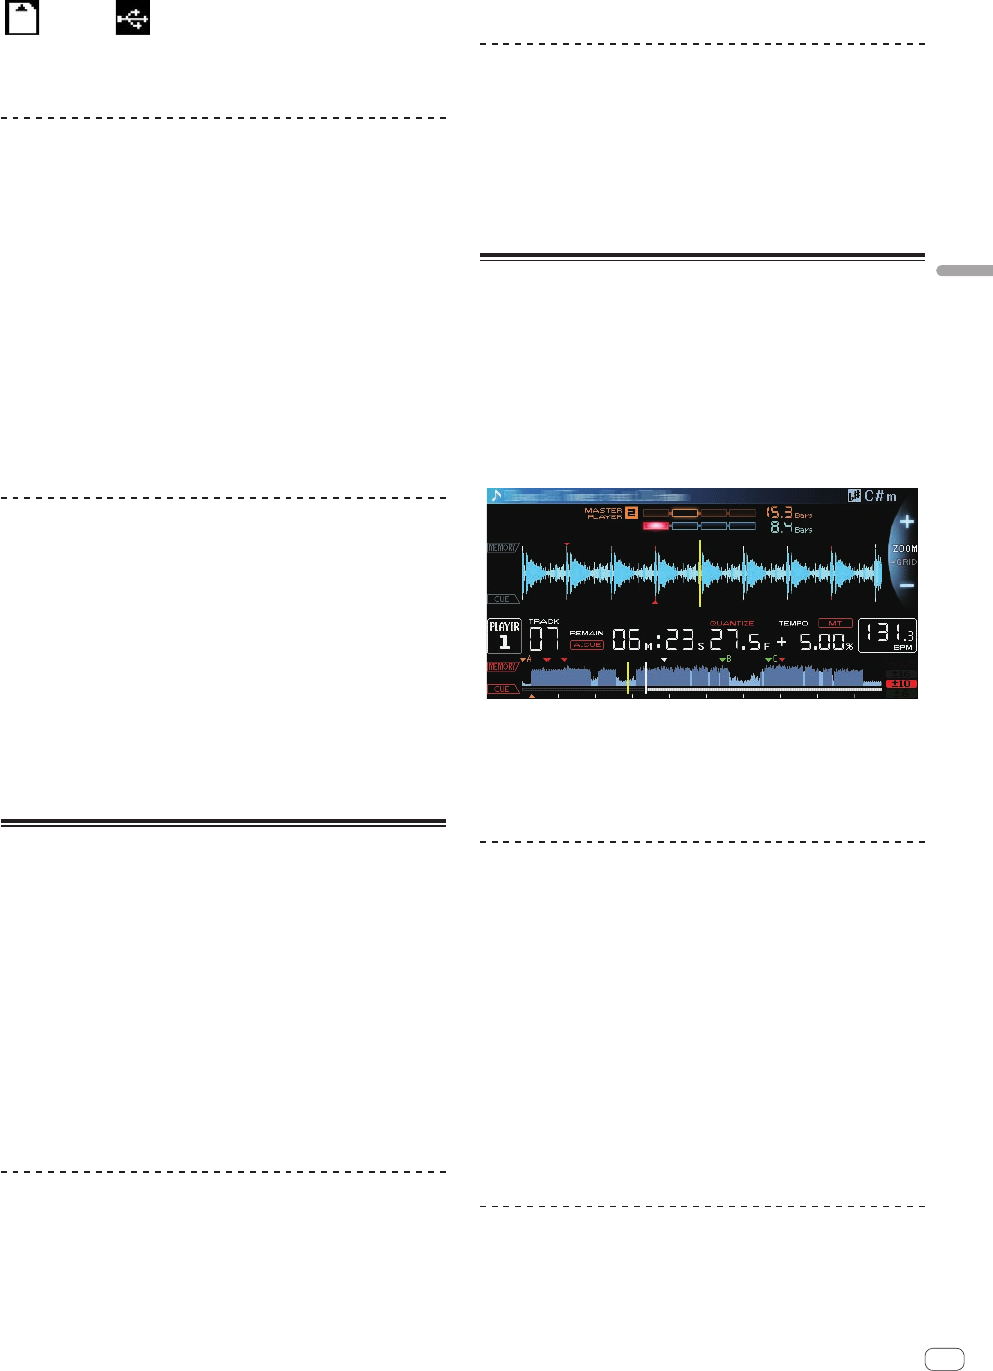
Display of the position playing in the background
! When in the slip mode, the currently playing position is indicated
by a yellow line on the main unit display’s waveform display (overall
waveform or enlarged waveform). The position playing in the back-
ground is indicated by a white line on the main unit display’s wave-
form display (overall waveform).
! It is also displayed on the jog dial’s slip play display.
Slip pausing
1 Press the [JOG MODE] button.
Set the jog mode to VINYL.
2 Press the [SLIP] button.
The mode switches to the slip mode.
3 During playback, press the [PLAY/PAUSE f] button.
Normal playback continues in the background even while in the pause
mode.
The [SLIP] button flashes in beat with the sound playing in the
background.
4 Press the [PLAY/PAUSE f] button to cancel the
pause mode.
Normal playback of the sound that was playing in the background
resumes.
Slip scratching
1 Press the [JOG MODE] button.
Set the jog mode to VINYL.