


Line 6 GearBox 3.1 – Basic Features Guide
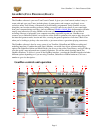
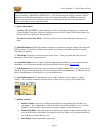
The above screen shows GearBox running with a TonePort device in use. There are some differences
when connected to a GuitarPort or PODxt device - look for the mentions of device-specific controls
and behaviors in the descriptions below. Some of the unique GuitarPort and PODxt controls and
behaviors are also called out in following sections. All descriptions that follow are the same for
Windows® or Mac®, unless otherwise noted.
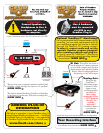
1 - Source Select menu:
TonePort UX1, UX2, KB37 - Here is where you choose which physical input(s) you want to use
for the GearBox Tone path. Note that TonePort devices also offer a Dual-Tone Source option. See
the next Dual-Tone section for more about this.
TonePort DI, GuitarPort, PODxt – No Source Selct is shown since these units offer only one
input.
2 - Show/Hide button: Clicking this button collapses or expands the viewable height of the Amp and
Effects controls. It’s useful to collapse these controls if you want to maximize the size of only the
lower Browser window.
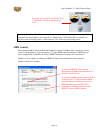
3 - Tone Menu: Click here to choose from all saved Tones – when you create and save your own
masterpiece Tones, they’ll appear here too.
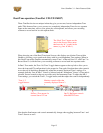
4 - Amp Model menu: Choose from all available Amp Models available for your connected device.
Remember, you can add more models with optional Model Packs from the
Line 6 store!
5 - Cab Model menu: Choose from a huge assortment of speaker cabinets. We’ve pre-chosen cabs to
match up with your selected amp, but you can choose the Cab here independently - a different cab can
make a huge difference on the sound, so try a few different ones!
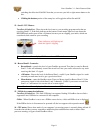
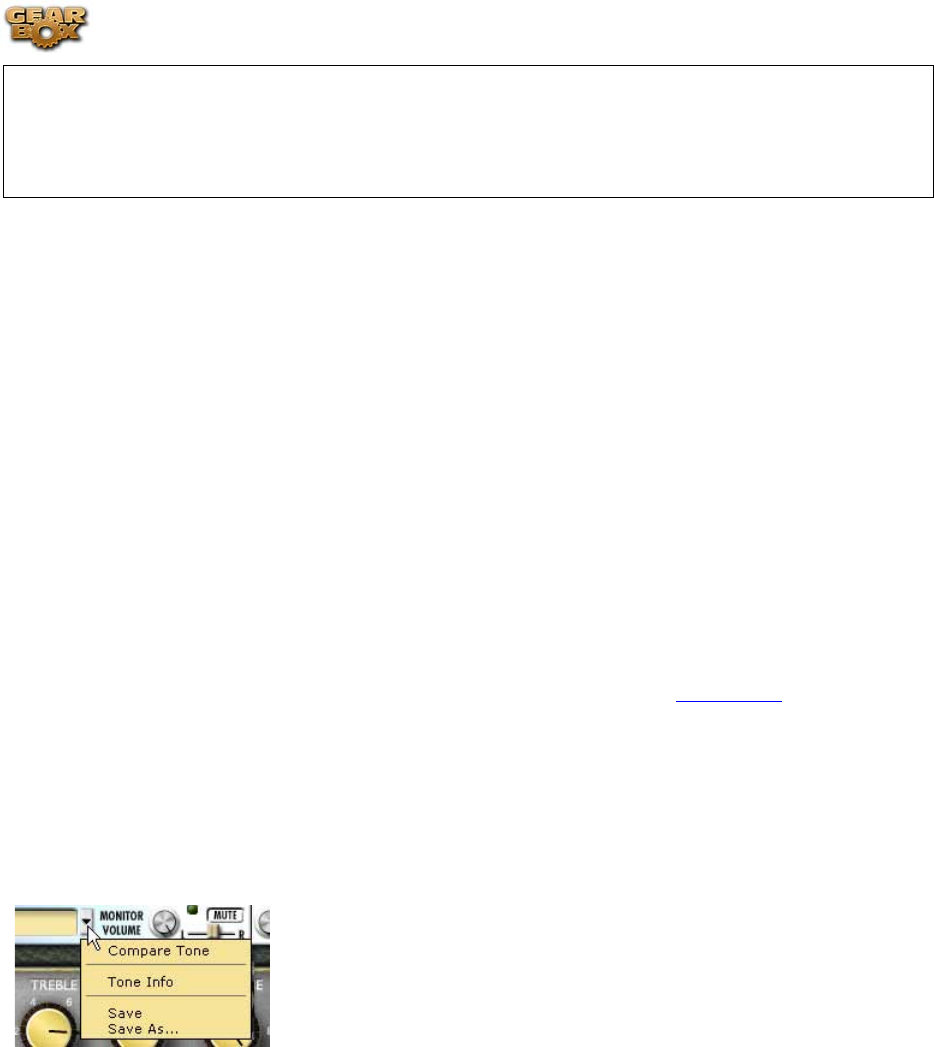
6 - Tone Options menu: Click this button to do an “A/B” Compare of your settings vs. preset
settings, view or edit the Tone Info, Save the Tone, or Save As to do a copy of the current Tone.
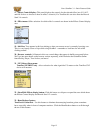
7 - Monitor controls:
• Monitor Volume - the level of whatever input signal you are feeding into GearBox (e.g. -
your guitar) – this is independent of the level routed to your Record Send 1-2 as well as the
“playback” level of audio software that is routing its output to your Line 6 device.
• Monitor/Clip light – will light up green to indicate your signal, and gets yellow and then red
as the level increases. Red means your signal is too hot (in which case you should turn down
your input source and/or Monitor vol.)
• Mute button - Mutes the monitor signal only.
Page 9