


38
7 Attenuating the input signal—INPUT ATT
When the input level of analogue source is too high, the sound
will be distorted. If this happens, you need to attenuate the input
signal level to prevent the sound distortion.
• Once you have made an adjustment, it is memorized for each
source.
•You cannot adjust this item directly from the remote control.
INPUT ATT: ON Select to attenuate the input signal level.
The INPUT ATT indicator lights up on
the display.
INPUT ATT: NORMAL Select to deactivate attenuation.
Initial setting: INPUT ATT: NORMAL
Adjusting the sound parameters for the
Surround/DSP modes
You can adjust the Surround/DSP sound parameters to your
preference.
•For details about the Surround/DSP modes, see pages 46 to 48.
7 Adjusting the effect level for DSP modes
—EFFECT
This setting is available only when one of the DSP modes (except
ALL CH STEREO) is in use. To activate DSP mode, see page 50.
• Once you have made an adjustment, it is memorized for each
DSP mode.
Adjustable range: 1 to 5 (in 1 step intervals)
Initial setting: EFFECT: 3
As the number increases, the effect becomes stronger.
Normally, select “3.”
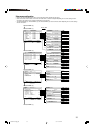
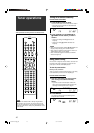
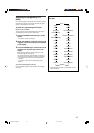
From the remote control:
Press EFFECT repeatedly to select the level you want to
adjust.
7 Adjusting the virtual room size for DSP modes
—ROOM SIZE
This setting is available only when one of the DSP modes (except
ALL CH STEREO) is in use. To activate DSP mode, see page 50.
• If “SURROUND SPK” is set to “NO” (see page 28), this item is
not adjustable.
• Once you have made an adjustment, it is memorized for each
DSP mode.
•You cannot adjust this item directly from the remote control.
Adjustable range: 1 to 5 (in 1 step intervals)
Initial setting: ROOM SIZE: 3
As the number increases, the interval between reflections
increases so that you will feel as if you were in a larger room.
Normally, select “3.”
Adjusting the equalization patterns—
DIGITAL EQ 63Hz/250Hz/1kHz/4kHz/16kHz
You can adjust equalization patterns in five frequency bands
(center frequency: 63 Hz, 250 Hz, 1 kHz, 4 kHz, 16 kHz) for the
front speakers.
• Once you have made an adjustment, it is memorized for each
source.
Adjustable range: –8 (dB) to +8 (dB) (in 2 dB intervals)
Initial setting: 0 (dB) for all bands
• When adjustment is made, the DIGITAL EQ indicator lights up
on the display.
If no adjustment is required, set all the frequency bands to
“0 (dB).”
• The DIGITAL EQ indicator goes off from the display.
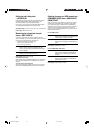
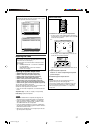
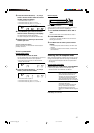
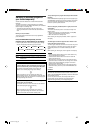
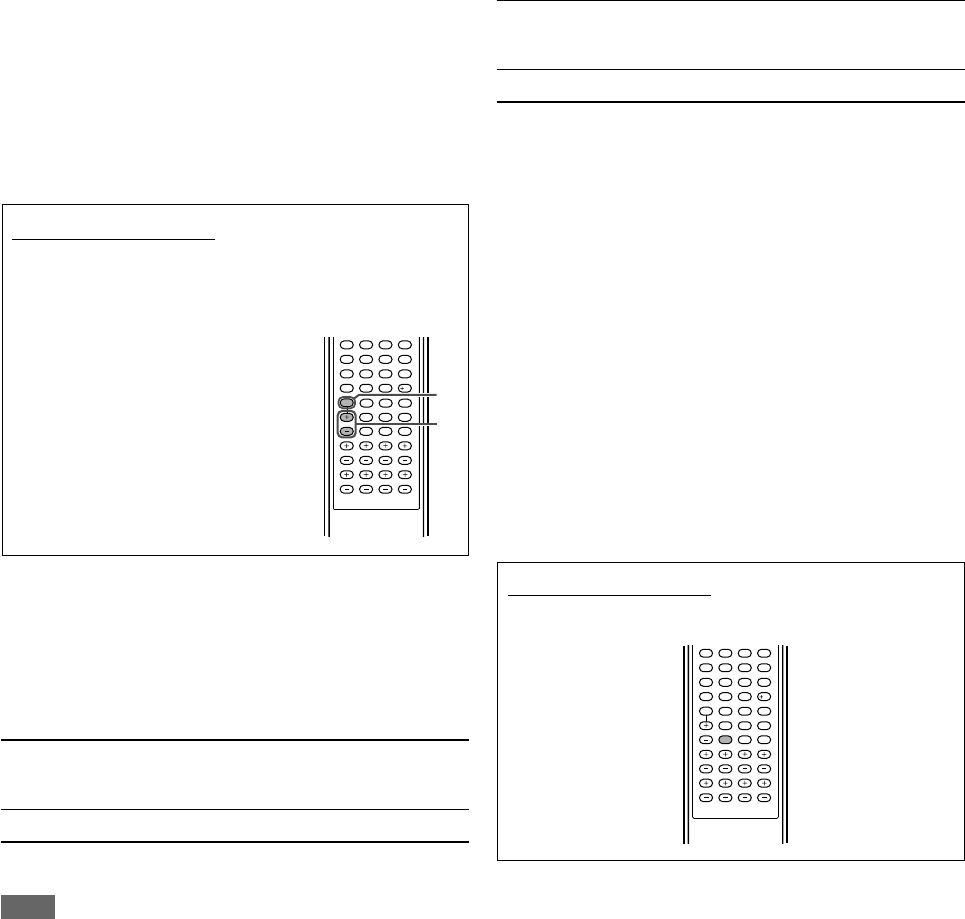
From the remote control:
Before you start, remember...
There is a time limit in doing the following steps. If the setting is
canceled before you finish, start from step
1
again.
1
Press D. EQ FREQ repeatedly to
select the band you want to adjust.
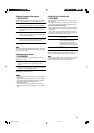
2
Press D. EQ LEVEL + or – to adjust
the equalization pattern of the
selected band.
3
Repeat steps
1
and
2
to adjust
other bands.
Adjusting the bass sounds
7 Reinforcing the bass—BASS BOOST
You can boost the bass level—Bass Boost.
• Once you have made an adjustment, it is memorized for each
source.
•You cannot adjust this item directly from the remote control.
BASS BOOST: ON Select to boost the bass level.
The B.BOOST indicator lights up on the
display.
BASS BOOST: OFF Select to deactivate the Bass Boost.
Initial setting: BASS BOOST: OFF
NOTE
This function affects only the sound coming out through the front
speakers.
123
456
789
10
0
10
2
1
123
456
789
10
0
10
34-39RX-D701S[B]_f.p65 05.11.7, 2:54 PM38