


31
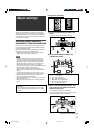
You can enjoy a powerful sound at night using the Midnight mode.
When the Midnight mode is activated, the MIDNIGHT indicator
lights up on the display.
MIDNIGHT: OFF Select when you want to enjoy surround
with its full dynamic range. (No effect
applied.)
MIDNIGHT: 1 Select when you want to reduce the
dynamic range a little.
MIDNIGHT: 2 Select when you want to apply the
compression effect fully (useful at night).
Initial setting: MIDNIGHT: OFF
From the remote control:
Press MIDNIGHT repeatedly to select either one of the
above.
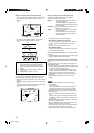
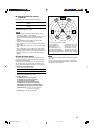
7 Setting the crossover frequency—CROSSOVER
Small speakers cannot reproduce the bass sounds efficiently. If
you use a small speaker in any position, this receiver
automatically reallocates the bass sound elements assigned to
the small speaker to the large speakers.
To use this function properly, set this crossover frequency level
according to the size of the small speaker connected.
• If you have selected “LARGE” for all speakers (see page 28),
this function will not take effect (“CROSS OFF” appears).
CROSSOVER: 80Hz Select when the cone speaker unit built
in the speaker is about 12 cm.
CROSSOVER: 100Hz Select when the cone speaker unit built
in the speaker is about 10 cm.
CROSSOVER: 120Hz Select when the cone speaker unit built
in the speaker is about 8 cm.
Initial setting: CROSSOVER: 100Hz
NOTE
Crossover frequency is not valid for the HEADPHONE and 3D
HEADPHONE modes.
7 Setting the low frequency effect attenuator
—LFE ATT
If the bass sound is distorted while playing back software
encoded with Dolby Digital or DTS, set the LFE level to eliminate
distortion.
• This function takes effect only when the LFE signals come in.
LFE ATT: 0dB Normally select this.
LFE ATT: –10dB Select when the bass sound is distorted.
Initial setting: LFE ATT: 0dB
Using the Midnight mode—MIDNIGHT
Setting the digital input (DIGITAL IN)
terminals—DIGITAL IN 1/2/3
When you use the digital input terminals, register what
components are connected to which terminals—DIGITAL IN 1/2/3
(see page 16) so that the correct source name will appear when
you select the digital source.
Select one of the following components for each terminal:
DVR/DVD For the DVD player (or DVD recorder).
VIDEO For the component connected to the VIDEO IN jacks
on the rear of the receiver.
VCR For the VCR.
TV For the TV.
Initial setting: For “DIGITAL IN 1”: DVR/DVD
For “DIGITAL IN 2”: VIDEO
For “DIGITAL IN 3”: TV
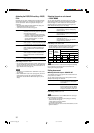
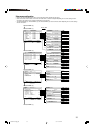
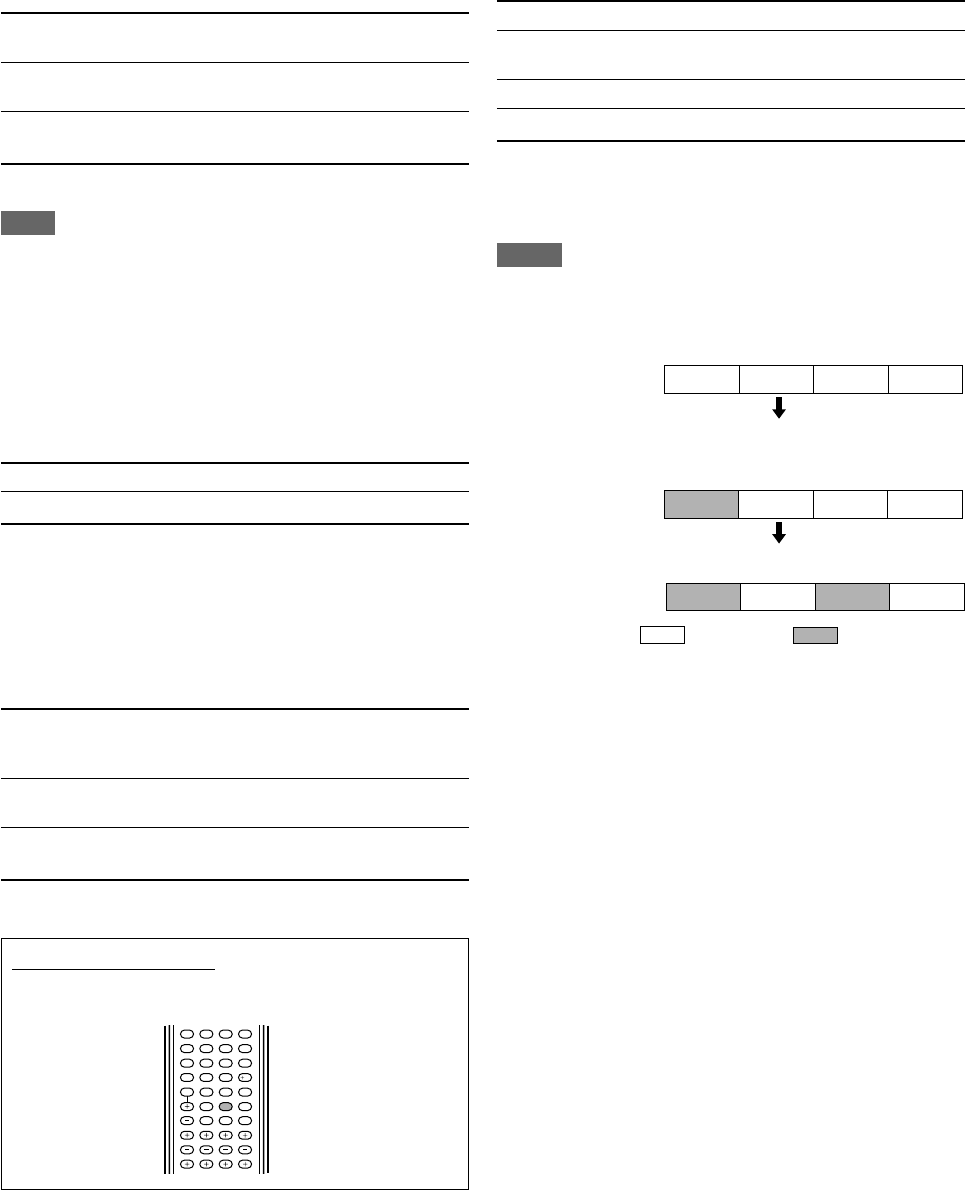
NOTES
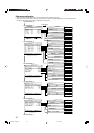
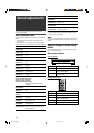
•You cannot assign the same component for different terminals.
The priority order for assignment is as follows:
“DIGITAL IN 1” > “DIGITAL IN 2” > “DIGITAL IN 3.”
Ex.: When “DIGITAL IN 1” is set to “DVR/DVD.”
For “DIGITAL IN 2,” “VIDEO,” “VCR,” and “TV” are
selectable.
• In this case, “VCR” is selected.
For “DIGITAL IN 3,” “VIDEO” and “TV” are selectable.
: Selectable : Not selectable
• Setting “DIGITAL IN 1” affects “DIGITAL IN 2” and “DIGITAL IN
3” settings. When you have changed “DIGITAL IN 1,” confirm the
components assigned to “DIGITAL IN 2” and “DIGITAL IN 3.”
DIGITAL IN 3
DVR/DVD
VIDEO VCR TV
DVR/DVD
DIGITAL IN 1 VIDEO VCR TV
DIGITAL IN 2
DVR/DVD
VIDEO VCR TV
123
456
789
10
0
10
23-33RX-D701S[B]_f.p65 05.11.7, 2:54 PM31