


25
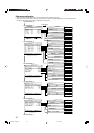
Basic setting items
You can adjust the following items. See pages in parentheses for
details.
•You cannot select the items which is not available with the
current setting. For example, when “S BACK SPK” is set to “S
BACK SPK: NO,” you cannot select the following items:
S BACK OUT, SB SPK DIST., SBL SPK DIST., SBR SPK DIST.
•The name of the item shown below is the on-screen display
indication and the name in parentheses is the display indication.
Items To do
SUBWOOFER* Register your subwoofer. (28)
(SUBWOOFER)
FRONT SPK* Register your front speaker size. (28)
(FRONT SPK)
CENTER SPK* Register your center speaker size. (28)
(CENTER SPK)
SURR SPK* Register your surround speaker size. (28)
(SURROUND SPK)
S BACK SPK*
Register your surround back speaker size.
(28)
(S BACK SPK)
S BACK OUT* Register the number of your surround back
(S BACK OUT) speaker(s). (29)
DISTANCE UNIT* Select the measuring unit for the speaker
(DIST UNIT) distance. (29)
FL SPK DIST.* Register the distance from the left front
(FRONT L DIST) speaker to your listening point. (29)
FR SPK DIST.* Register the distance from the right front
(FRONT R DIST) speaker to your listening point. (29)
C SPK DIST.* Register the distance from the center speaker
(CENTER DIST) to your listening point. (29)
SL SPK DIST.* Register the distance from the left surround
(SURR L DIST) speaker to your listening point. (29)
SR SPK DIST.* Register the distance from the right surround
(SURR R DIST) speaker to your listening point. (29)
SBL SPK DIST.* Register the distance from the left surround
(S BACK L DIST) back speaker to your listening point. (29)
SBR SPK DIST.* Register the distance from the right surround
(S BACK R DIST) back speaker to your listening point. (29)
SB SPK DIST.* Register the distance from the surround back
(S BACK DIST) speaker to your listening point. (29)
EX/ES/PLIIx
Select the EX/ES/PLIIx reproduction mode. (30)
(EX/ES/PLIIx)
DUAL MONO Select the Dual Mono sound channel.
(30)
(DUAL MONO)
SUBWFR OUT
Select sounds emitted from the subwoofer. (30)
(SUBWOOFER OUT)
CROSSOVER
Select the cutoff frequency to the subwoofer. (31)
(CROSSOVER)
LFE ATT Attenuate the bass (LFE) sounds.
(31)
(LFE ATT)
MIDNIGHT Reproduce a powerful sound at night.
(31)
(MIDNIGHT MODE)
DIGITAL IN 1 Select the component connected to the digital
(DIGITAL IN 1) coaxial terminal—1(DVR/DVD).
(31)
DIGITAL IN 2 Select the component connected to the digital
(DIGITAL IN 2) optical terminal—2(VIDEO).
(31)
DIGITAL IN 3 Select the component connected to the digital
(DIGITAL IN 3) optical terminal—3(TV).
(31)
AUDIO DELAY Set the audio delay time to correct
(AUDIO DELAY) synchronization between video and audio
signals. (32)
ONE TOUCH OP
Memorize the volume level for each source.
(ONE TOUCH OP) (32)
HDMI SELECT Select the source for HDMI VIDEO (VCR) IN
(HDMI SELECT) terminal. (32)
Items To do
CMPNT SELECT Select the source for COMPONENT VIDEO
(CMPNT SELECT) (VCR) IN jacks. (32)
VIDEO OUTPUT Select the output video signal according to
(VIDEO OUTPUT) the connection method for a TV. (33)
SUPERIMPOSE Select to superimpose the menus on the
(SUPERIMPOSE) TV screen. (33)
AUTO MODE Select Auto Function mode. (33)
(AUTO MODE)
* If you have used Smart Surround Setup on pages 23 and 24,
these settings are not required.
NOTE
Some items are not available when multi channel PCM (see page
47) signals recorded in DVD-Audio are coming. See page 12 for
details.
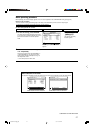
Operation through on-screen display
menus
You can make adjustments to the basic settings easily by using
the on-screen display menus.
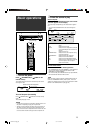
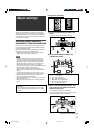
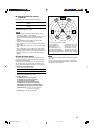
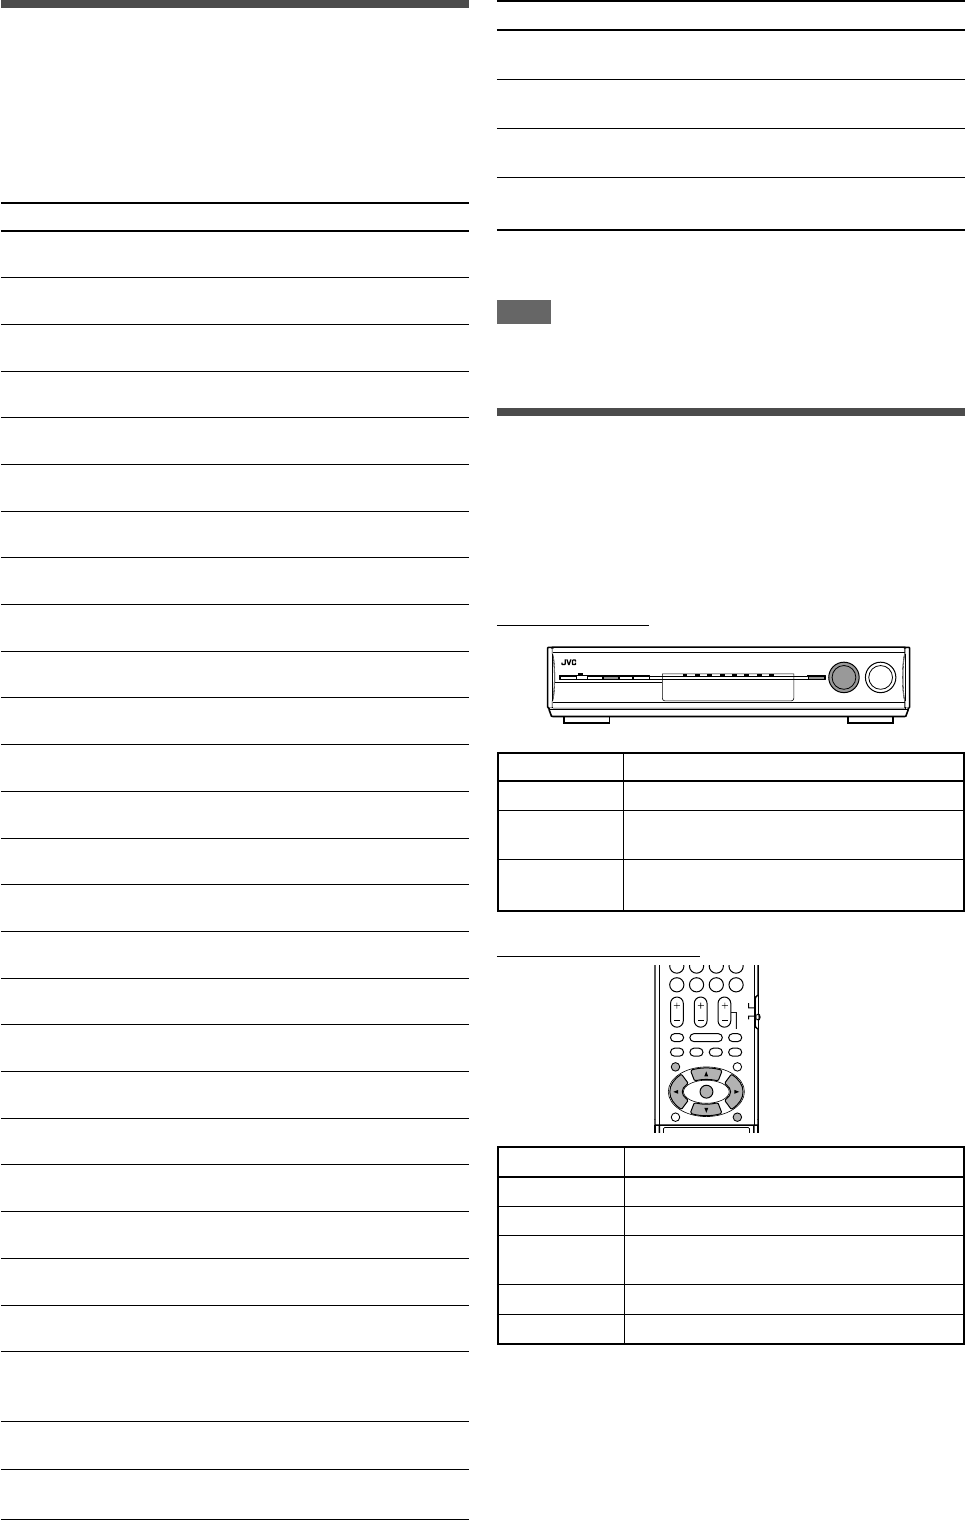
Menu operation buttons
On the front panel:
Button / JOG To do
SETTING button show setting item previously selected.
SET button move to the selected menu or return to the
previous SETTING MENU.
MULTI JOG •select a menu or an item.
• change a setting.
From the remote control:
Button To do
SETTING button show setting item previously selected.
5 / ∞ buttons select a menu or an item.
SET button move to the selected menu or return to the
previous SETTING MENU.
EXIT button exit from the SETTING MENU.
2 / 3 buttons change a setting.
CONTINUED ON THE NEXT PAGE
23-33RX-D701S[B]_f.p65 05.11.7, 2:54 PM25