


➔➔
➔➔➔
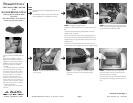
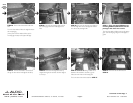
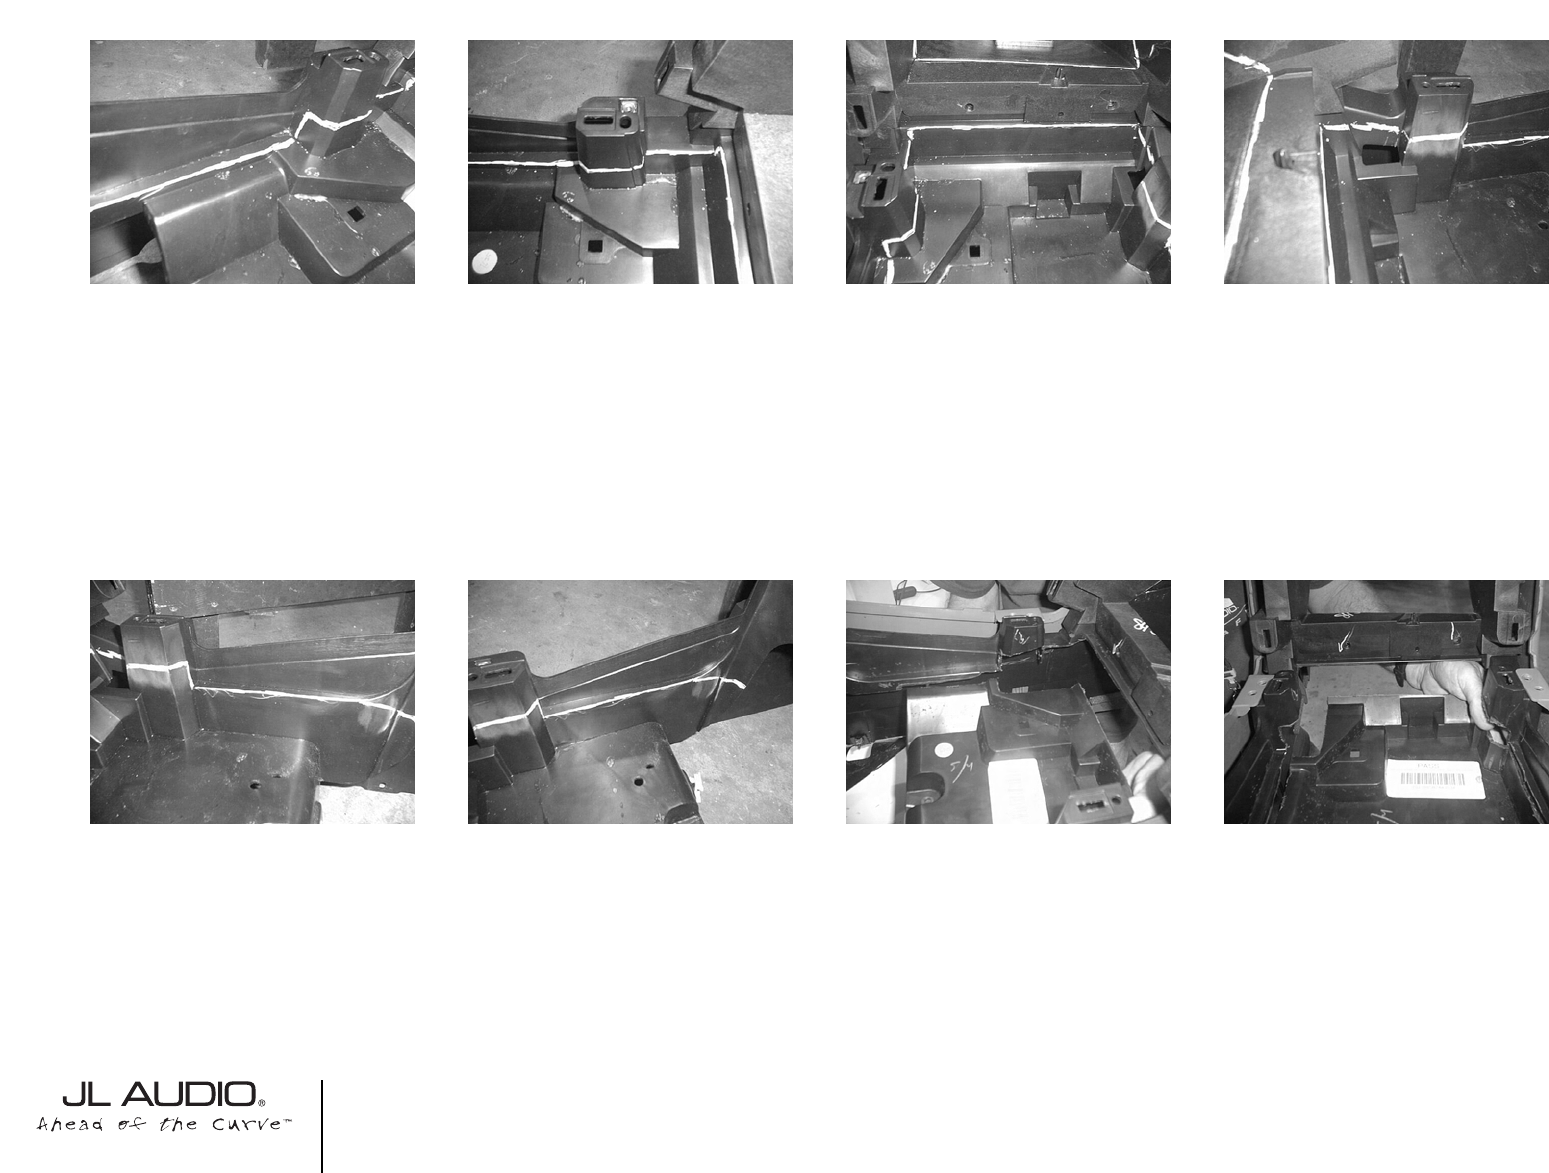
STEP 30: The mark line needs to jet up slightly to
this front edge. Mark across this edge from the dri-
ver’s side to the passenger’s side.
STEP 34: Time to cut. Using a wheel saw or
blade saw will be easier to use, then a jig saw.
Follow the mark lines with the cutting tool.
This is the view of the driver’s side, from STEP 27.
Cont.
From
Previous
Page
Continued on Next Page ➔
➔
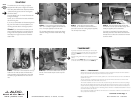
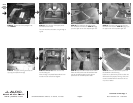
STEP 31: These next three STEPS are just
mirroring STEPS 27,28 & 29.This is for the
passenger’s side of the inner console.
The mark line needs to follow across to this passen-
ger’s side mounting leg. Using this inner edge as a
guide.
STEP 35: This is the view of the front, from
STEP 28.
➔
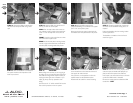
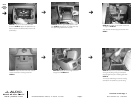
STEP 32: The mark line needs to come around
this leg. Go down to the inner edge of this flat lip.
STEP 33: Follow the inner edge of this flat lip,
straight back. Again, do not follow this inner edge as
it curves up.
SB-GM-BURBCNSL/10W3v2, JL AUDIO, Inc 2005
Sheet SKU#011167 3/08/2005Page 5
www.jlaudio.com
➔
➔
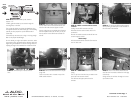
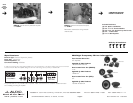
STEP 28: This is a view of the driver’s side, front
area.
The mark lines needs to follow this edge forward, to
this mounting leg.
(Arrow) The mark line needs to follow up this
mounting leg and stop at this upper wall edge.
STEP29: The mark line needs to follow around
this mounting leg. Follow this inside edge to the
front.